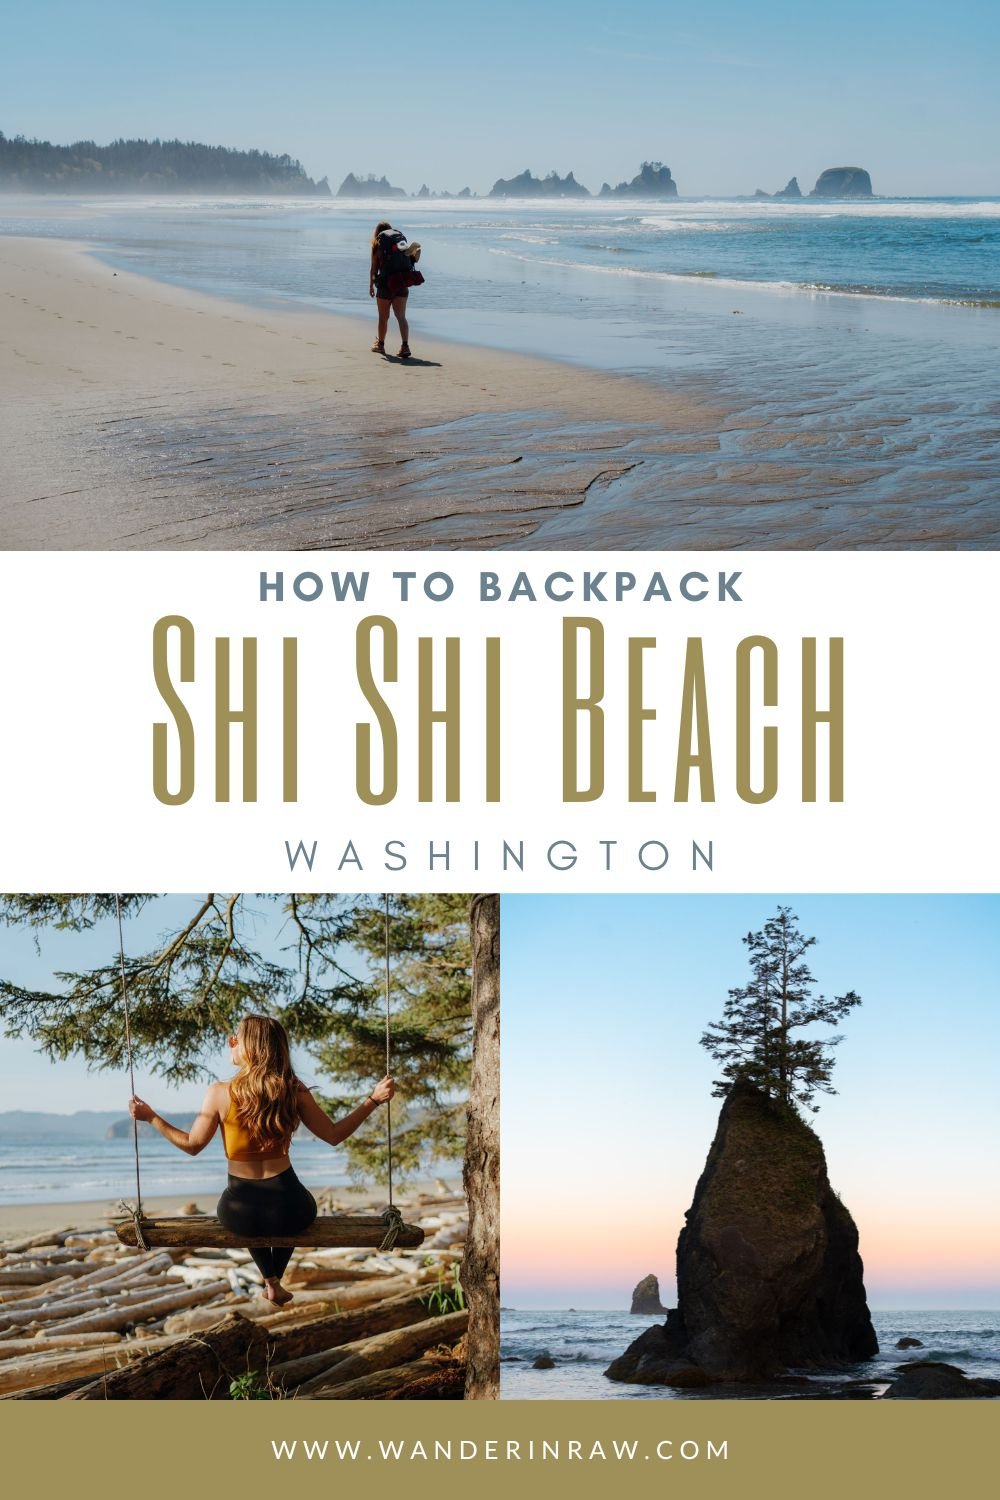
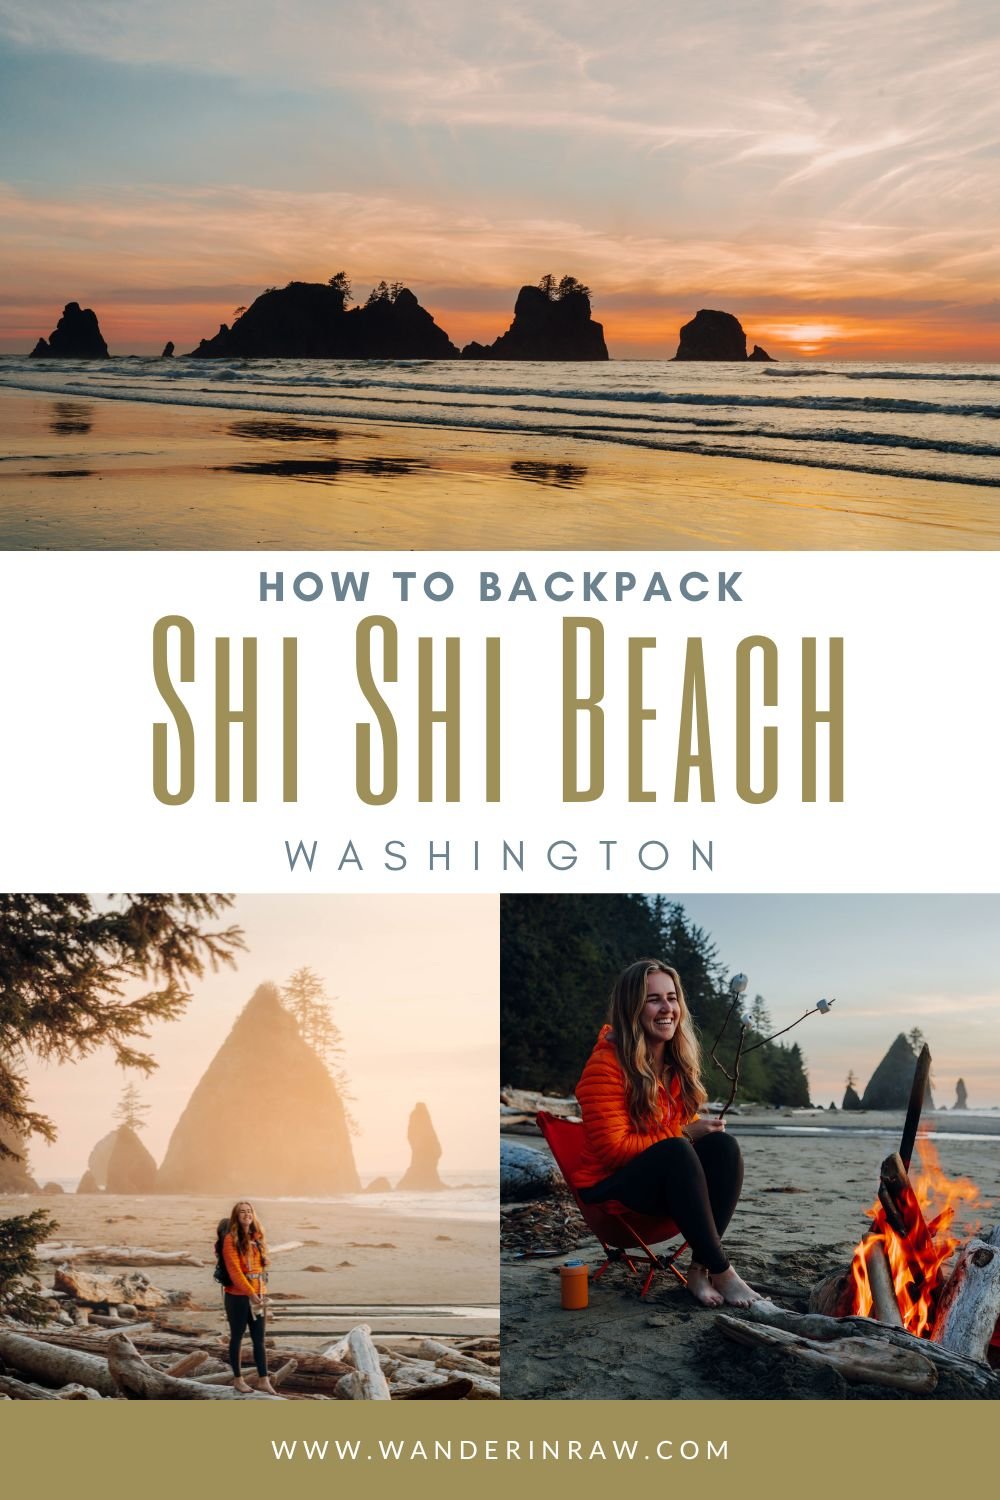
The Ultimate Guide to Backpacking Shi Shi Beach
Shi Shi Beach is the PERFECT backpacking trip for beginners or those who love a minimal effort backpacking trip with a massive reward. There’s only 200’ of elevation gain, and half of the hike is down the sandy beach! Imagine spending your evening around a driftwood fire, watching the sun set behind sea stacks after a full day of tide pooling. I mean, yes, please. Here’s everything to know before experiencing Shi Shi Beach for yourself!
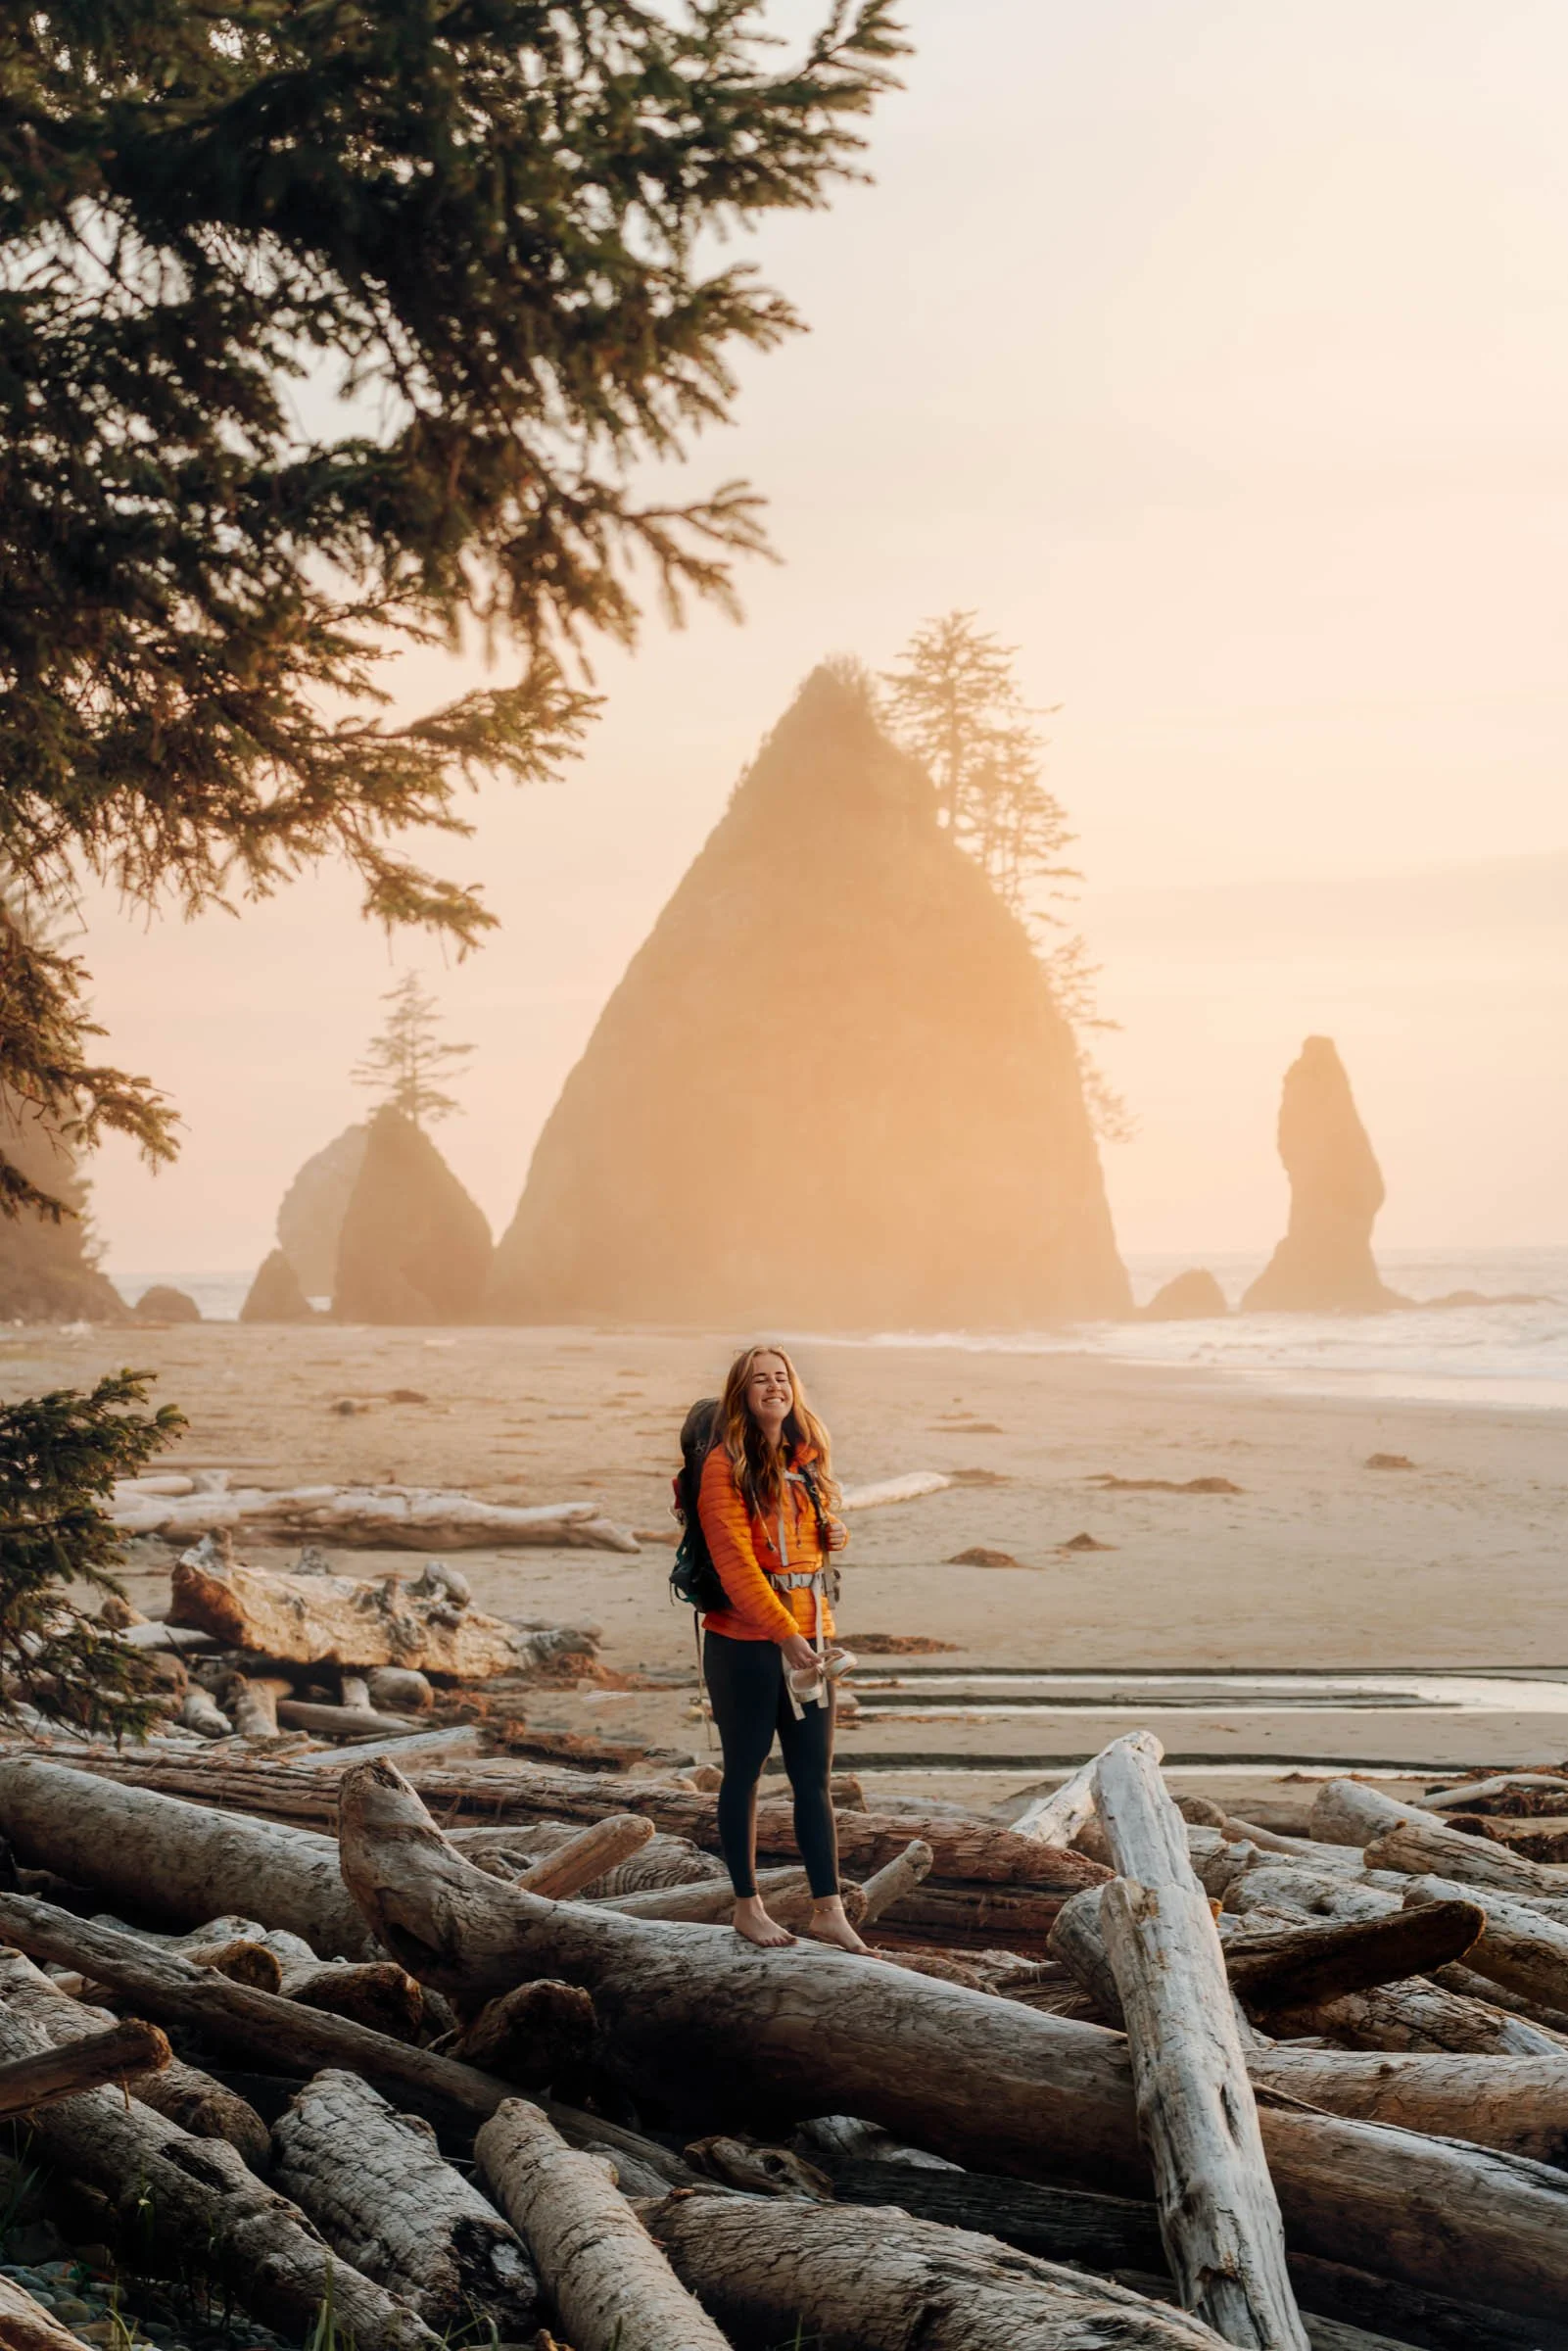
Table of Contents
FAQ
Where is Shi Shi Beach?
Shi Shi Beach is on the Washington’s Olympic Peninsula just south of Hobuck Beach and Neah Bay. Visitors must access through the Makah Reservation.
How to pronounce Shi Shi Beach:
It’s pronounced “shy-shy.”
How Long is the Shi Shi Beach Trail?
The Shi Shi Beach trail is about 2.2 miles to the beach, and another 2.2 miles down to the sea stacks if you choose to hike that it!
Does Shi Shi Beach allow dogs?
Dogs are allowed on the Makah section of the trail, but may not pass the Olympic National Park boundary at 1.7 miles.
Securing Permits
Before embarking on your Shi Shi Beach adventure, it's important to obtain permits for both Olympic National Park camping and the Makah Reservation. Don't worry, it's easier than it sounds! The park issues 200 permits for Shi Shi Beach campers every day, so you’re basically guaranteed a spot. Will it be crowded in the summer? Probably, but you’ll still get to go!
Here's what you need to do:
Olympic National Park Camping Permit:
Visit recreation.gov to purchase a wilderness camping permit. Click “Check Availability,” then click “North Coast” as your starting area, and select your group size. Then, select your desired dates and check cout! You’ll pay a $6 reservation fee, and $16 for each camper.
Makah Reservation Permit:
You’ll access Shi Shi Beach through the Makah Reservation, which means you’ll need to purchase a Makah Recreation Pass. Nearly every business on the reservation sells them. It’s $20 for the entire calendar year (so whether you purchase it in January or August, it expires in December).

Washington Beach Camping Tips
Camping along the Washington coast offers a unique experience, and a few tips can make your adventure even better:
Tides and Timing
Check the tide tables before your trip and plan your hiking schedule accordingly. The tides can dramatically affect your access to certain areas, and it's important to avoid getting trapped by incoming tides.

Weather and Layers
Washington's coastal weather can be unpredictable. Pack layers to adapt to changing conditions, and don't forget a waterproof jacket to protect yourself from the occasional drizzle.
Wildlife Awareness
While exploring the beach, keep an eye out for seals, eagles, and other wildlife. Remember to maintain a respectful distance and avoid disturbing their natural habitat.
Parking
The Shi Shi Beach trailhead allows day-use parking only. So where do backpackers park? There’s a private lot about 0.6 miles from the trailhead with a super kind owner. We paid $20 for one night, and overheard another backpacker paying $30 for two.

Shi Shi Beach Trail
The Shi Shi Beach trail is 8.8 miles RT (if you hike all the way down the beach). Some campers choose to camp at the beginning of the beach, which turns it into a 4-mile RT hike, it’s totally up to you!
The first 2 miles is an easy walk through rainforest (and it’s pretty much muddy year-round). I wore hiking boots but instantly regretted it and wished I was in Tevas instead!
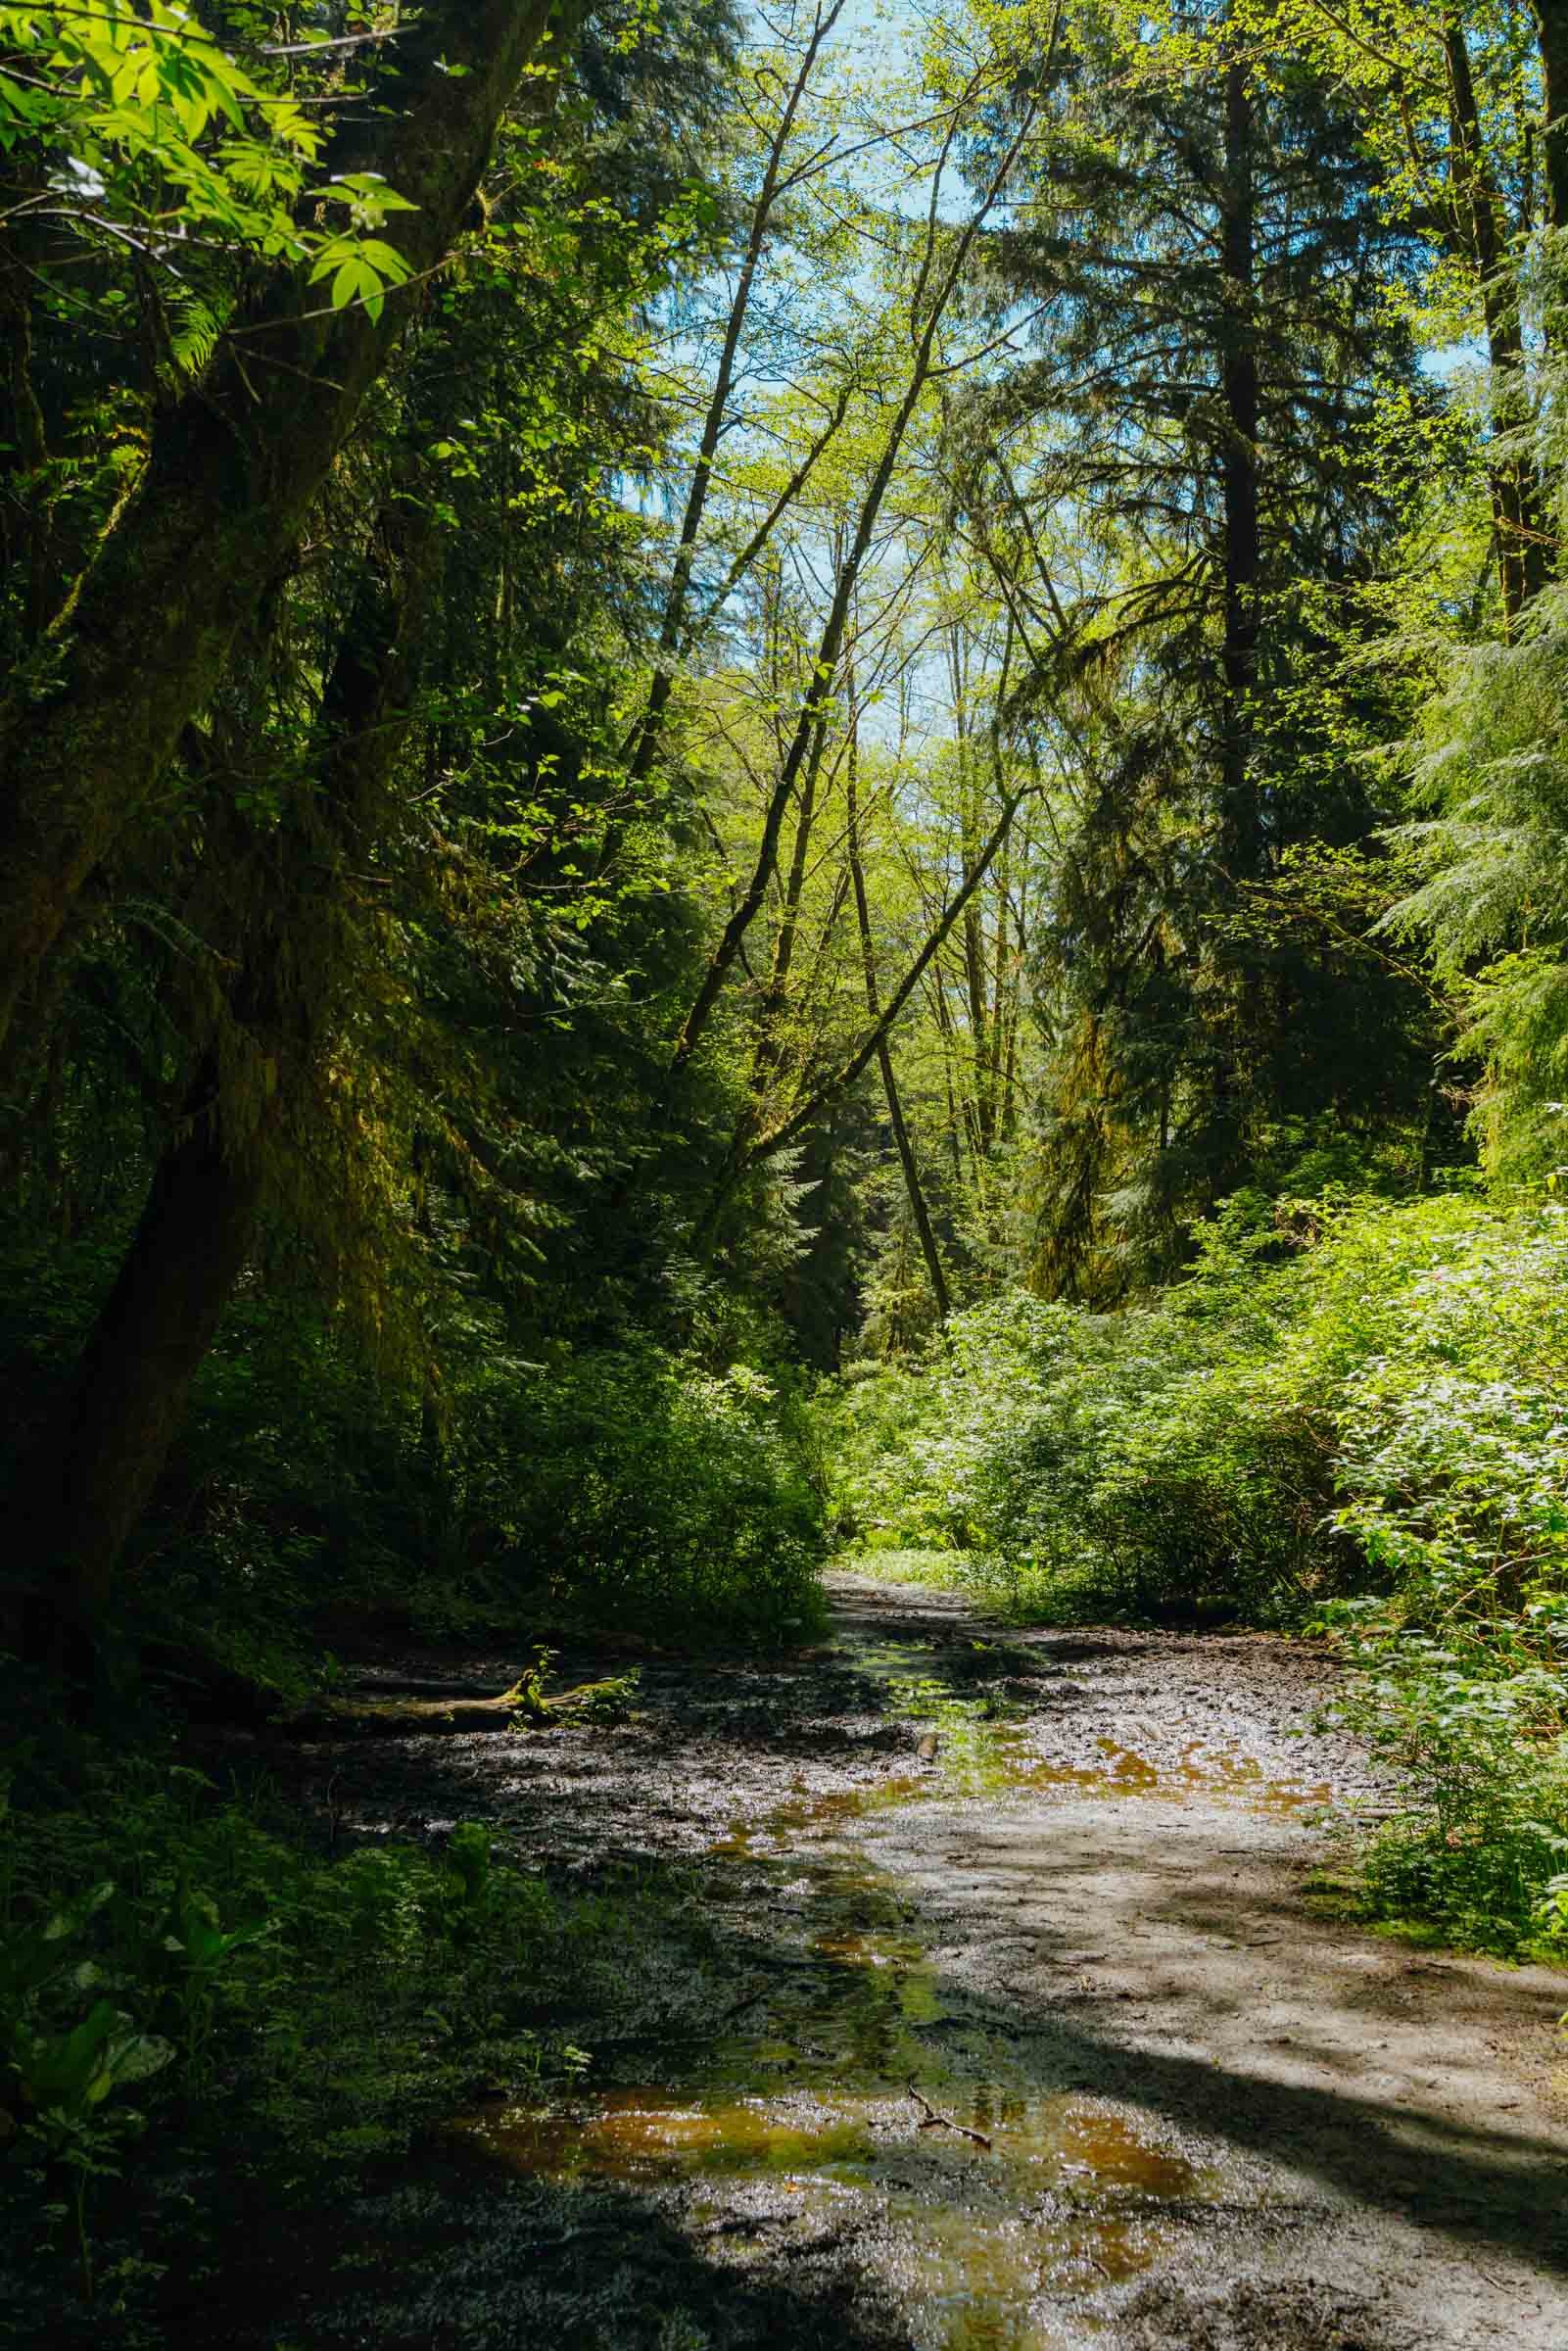
There are a few spur trails that avoid the mud pits that we ended up taking to save our feet.
After a few steep switchbacks down to the beach, you’ll encounter the first campground. This is also where you’ll find the first of two outhouses.
Pro Tip: Leave No Trace and use these privy’s!! They’re there to keep the area clean and sanitary for nature and future visitors!

The cool thing about Shi Shi (well, one of the many), is that you can camp literally anywhere on the beach, and many campers choose to do so! With 200 permits released every day, the tree sites fill up quickly. The best part is, it’s almost entirely sandy, which is such a rare find on our Washington coast!
Pro Tip: Pitch your tent above the high tide line! Can you imagine waking up to a wave taking out your tent in the middle of the night? Been there. It’s not fun. Trust me.

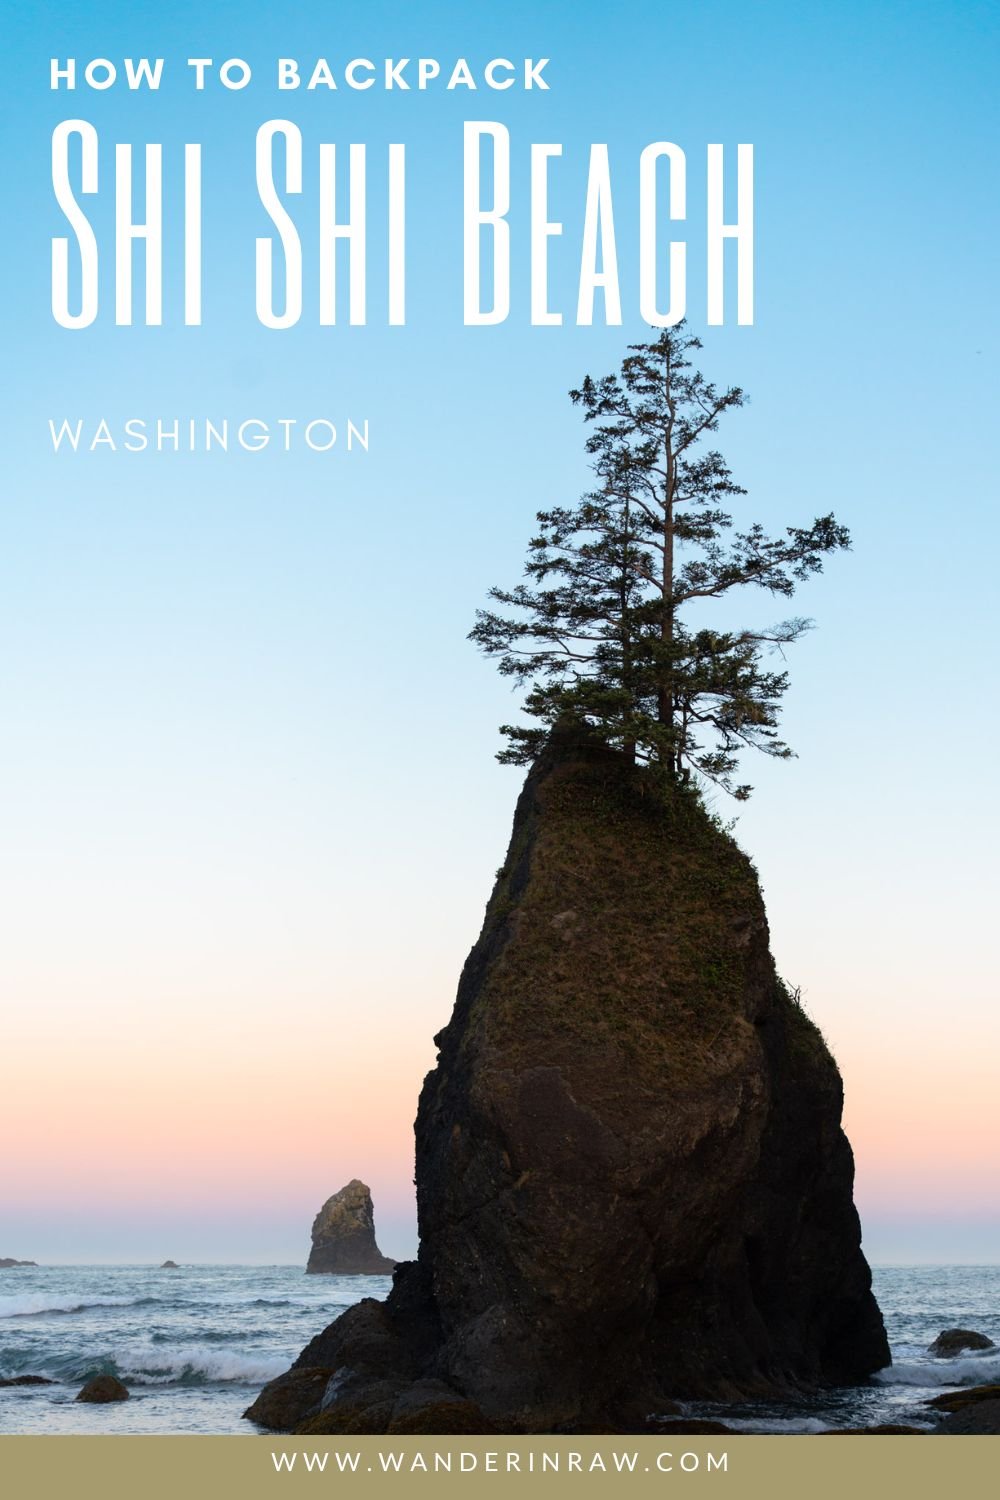
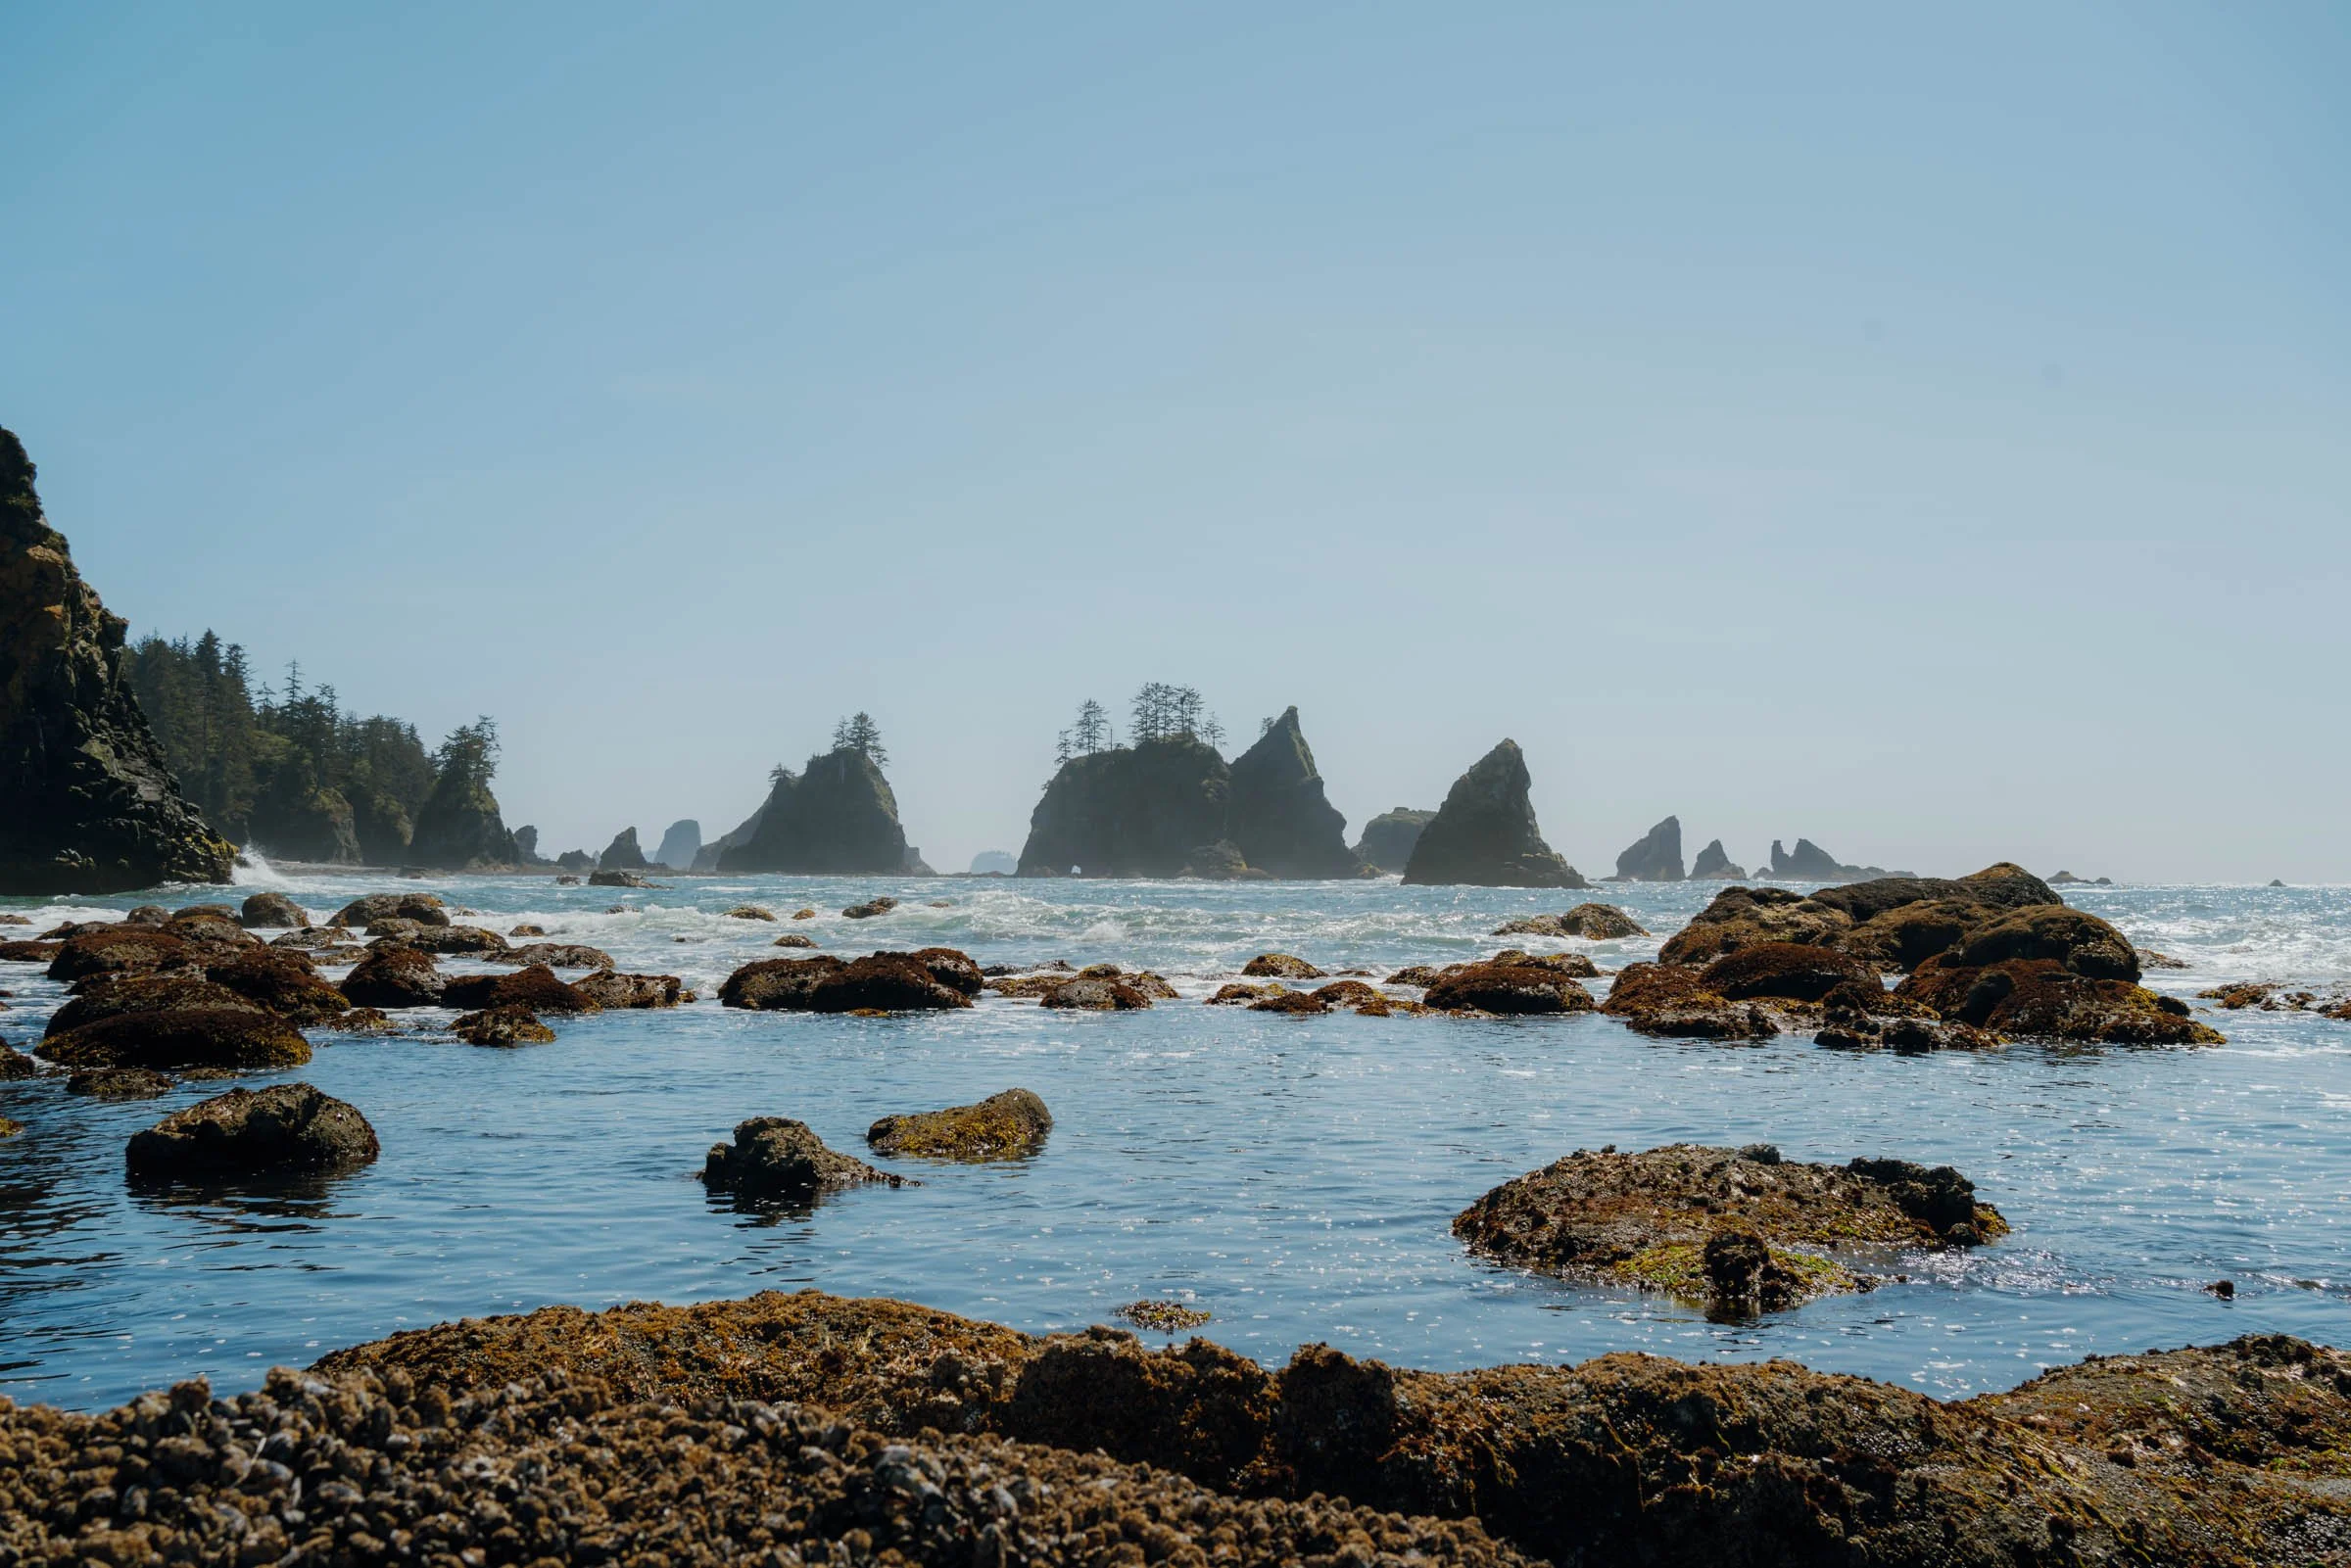
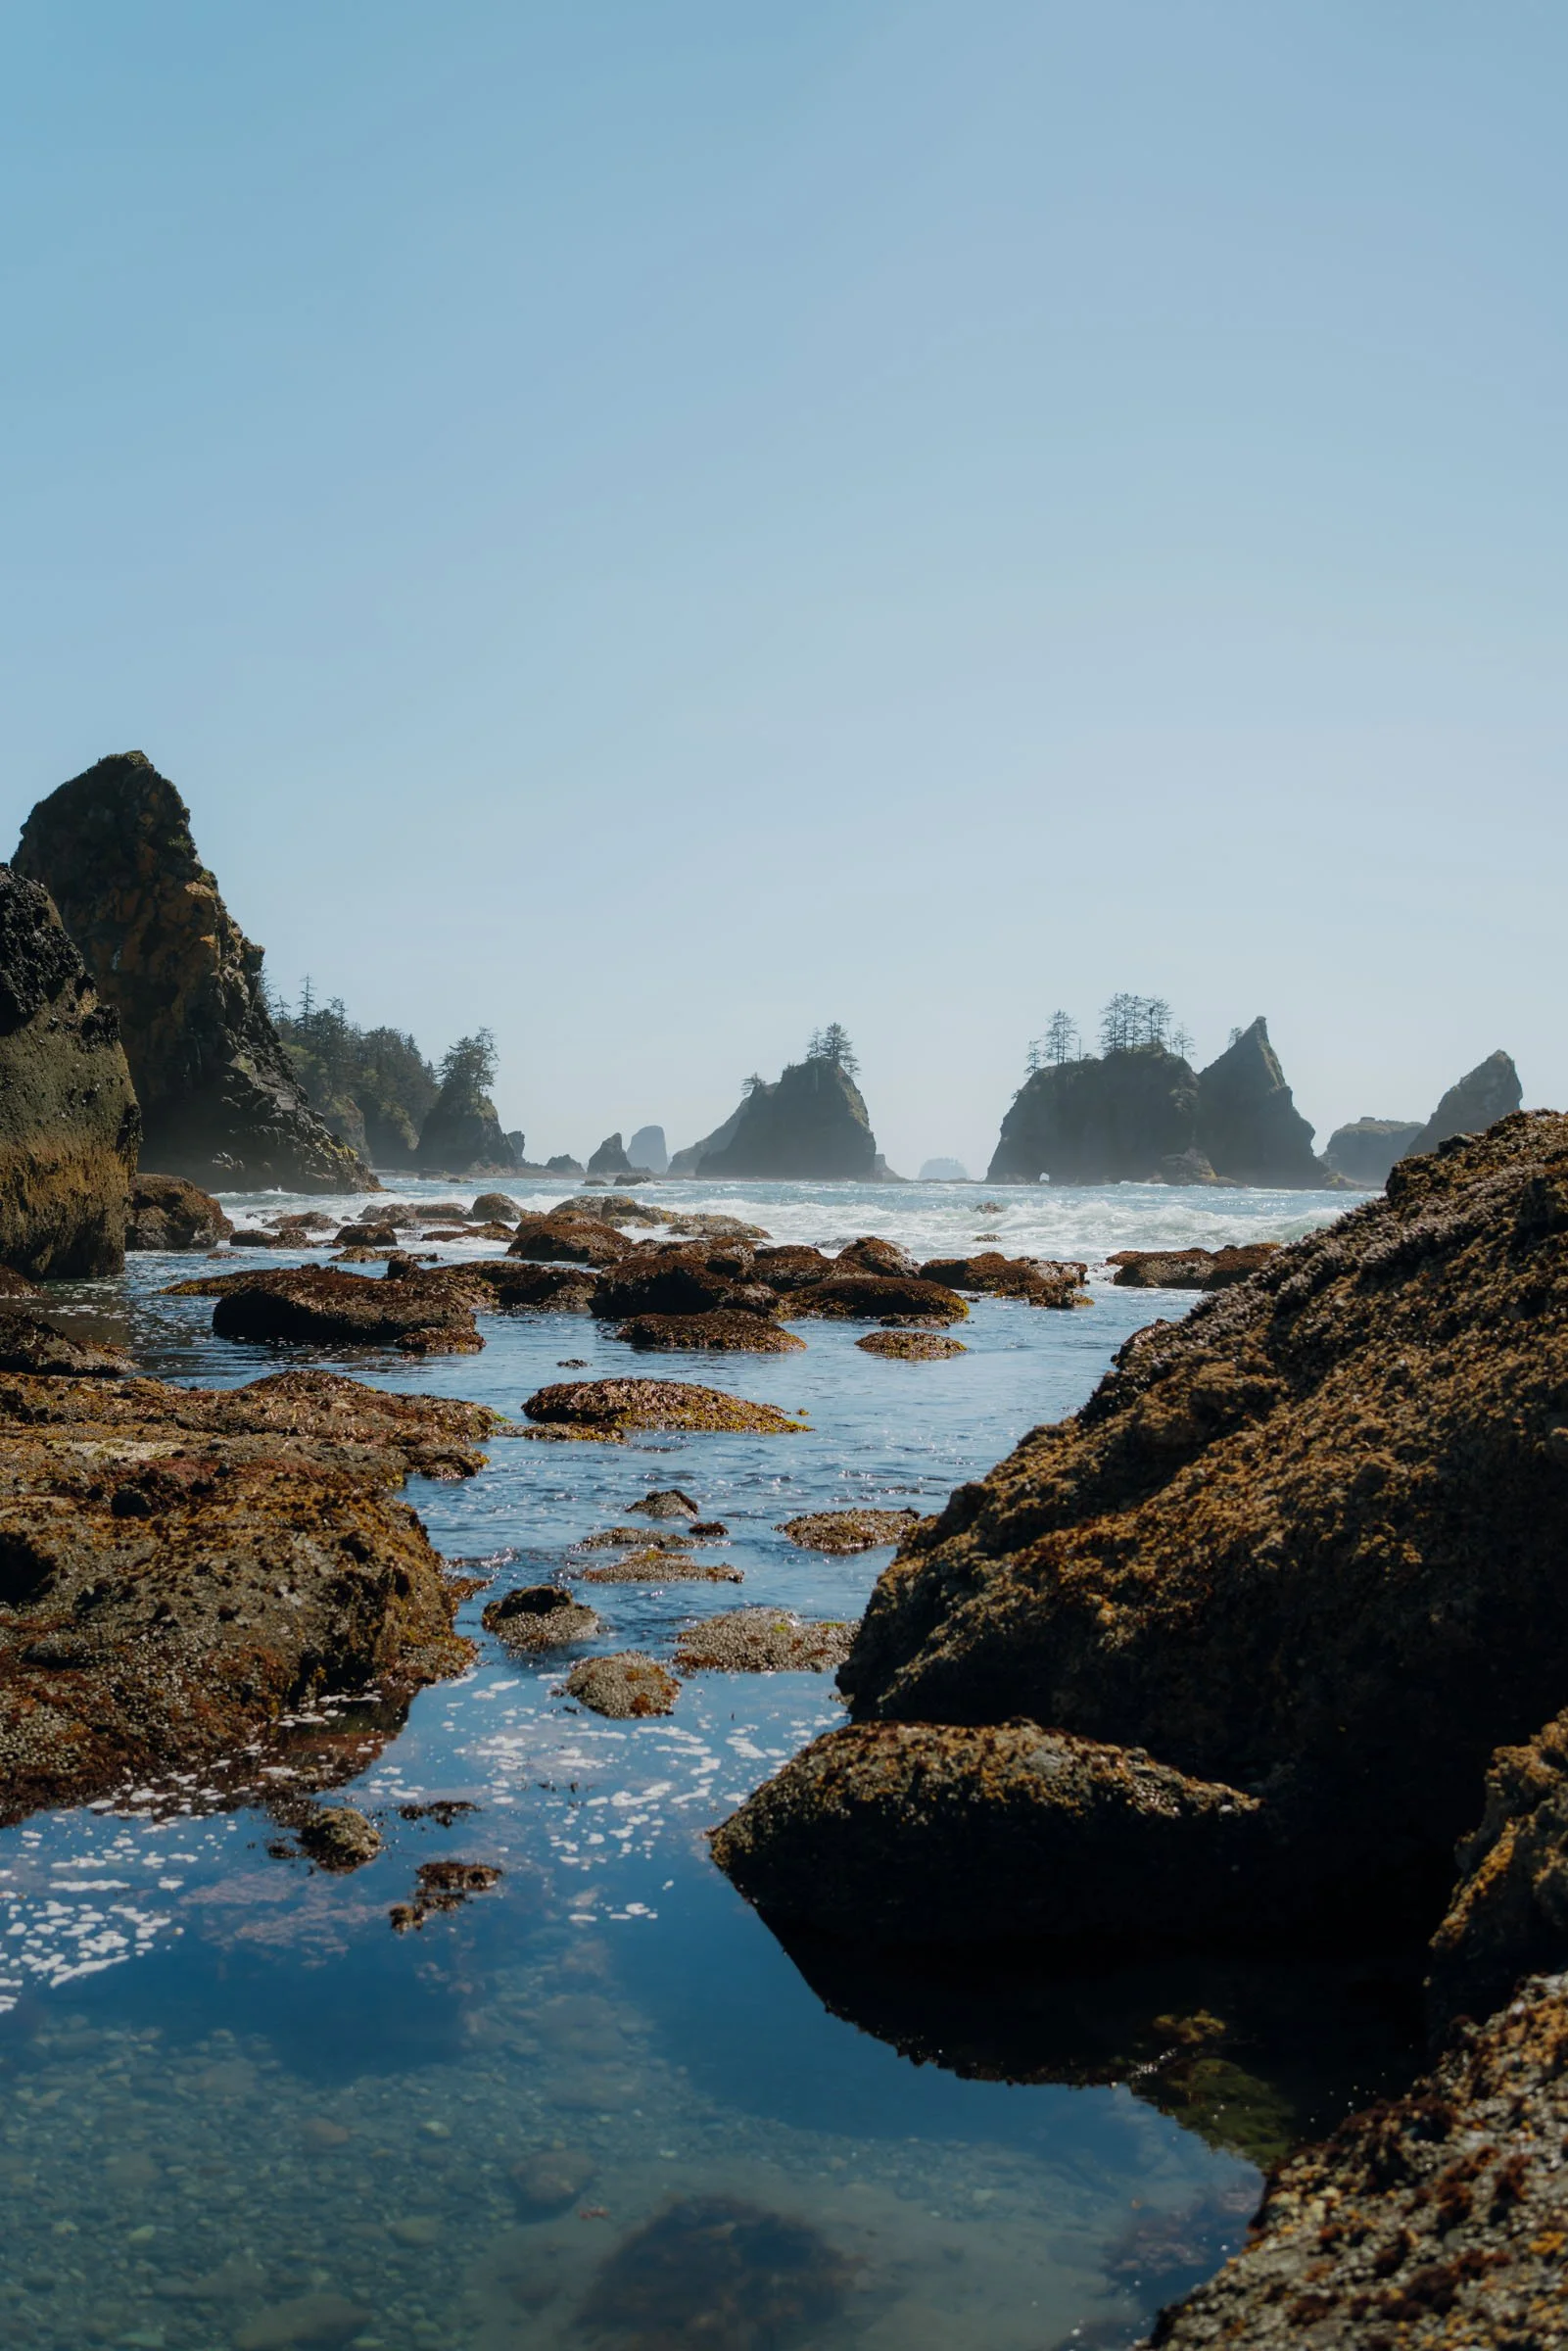
You know me, I had to hike all the way down the beach to the Point of Arches to get up close and personal with those sea stacks, so we did the full 4.4 miles that day. There are also a couple more designated campsites in the trees down there, one of the two rivers that flow onto the beach, and a privy too!
Pro Tip: The river closest to the sea stacks doesn’t flow all year, so if you’re worried about water or don’t want to walk back down the beach to fill up, filter some at the first river on your way down!

We found a sweet site in the trees with a killer view of the stacks, and even a swing!!!! If you find it, you’ll also see it has a fire pit. Beach fires are allowed in designated pits or below the high tide line on the beach, so the waves will wash away all burned debris.

A hanging buoy marks the entrance to the outhouse, which is on the north side of this campsite (the map says it’s on the south side closer to the river, which is not the case).

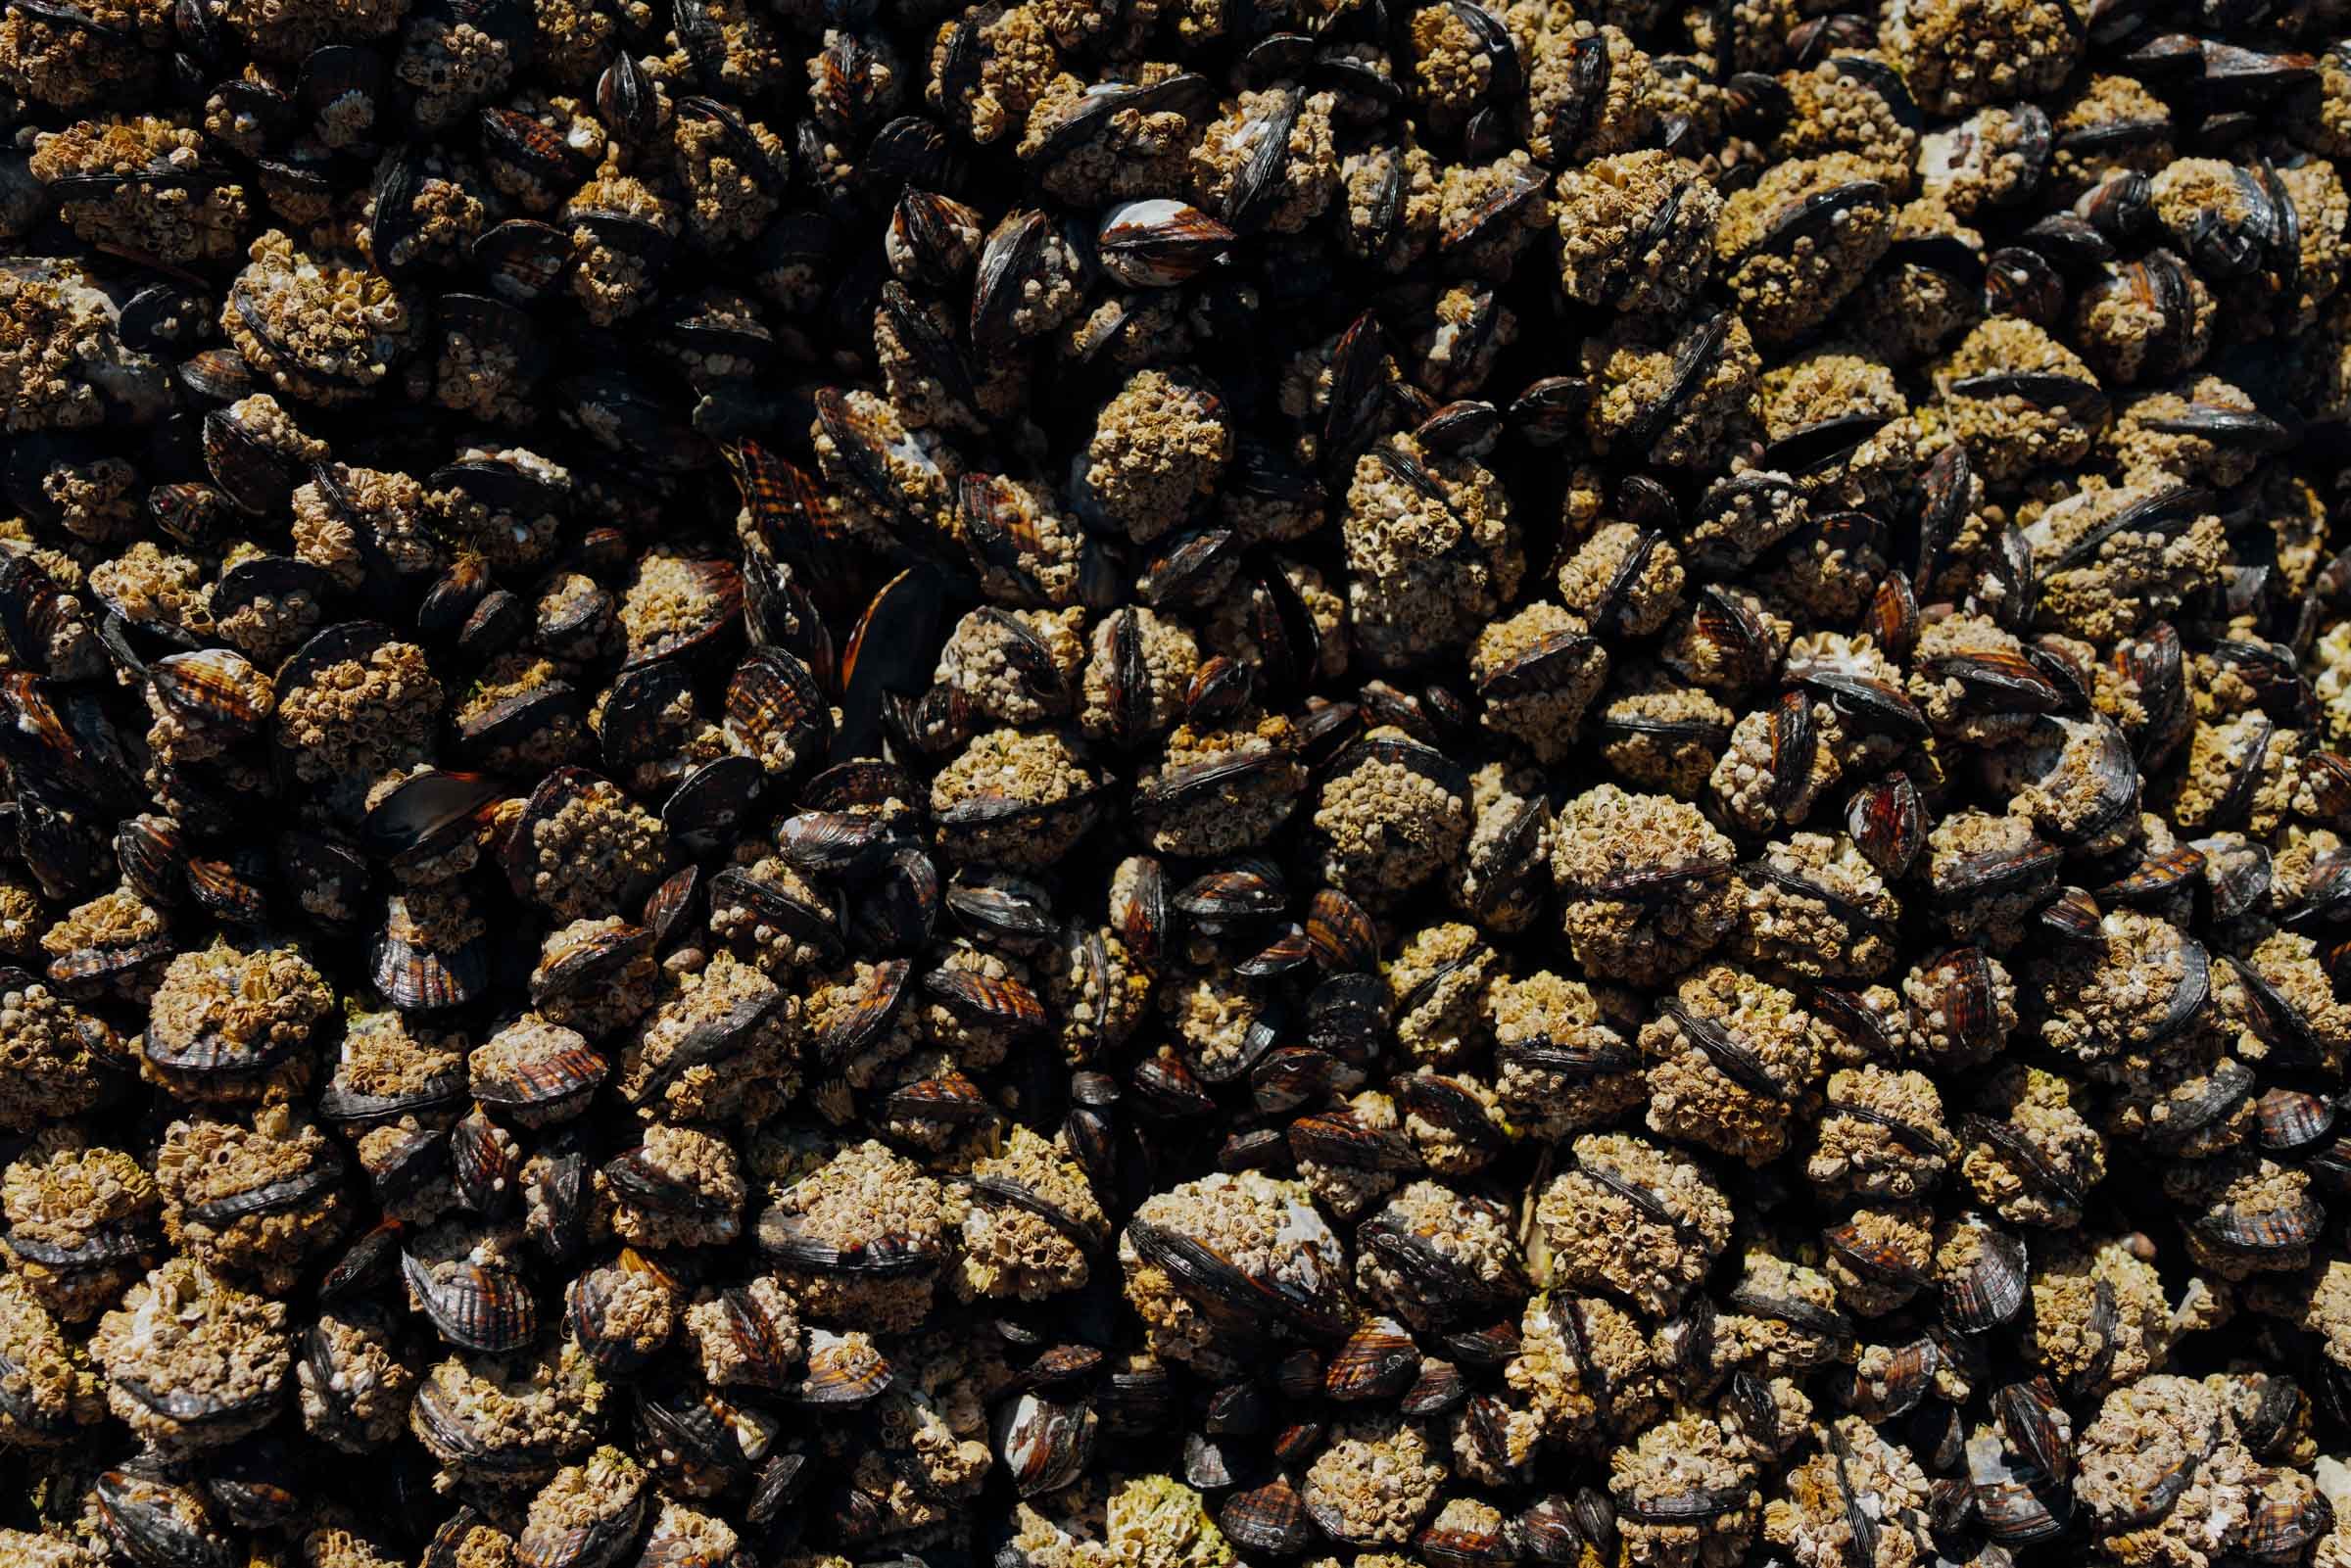

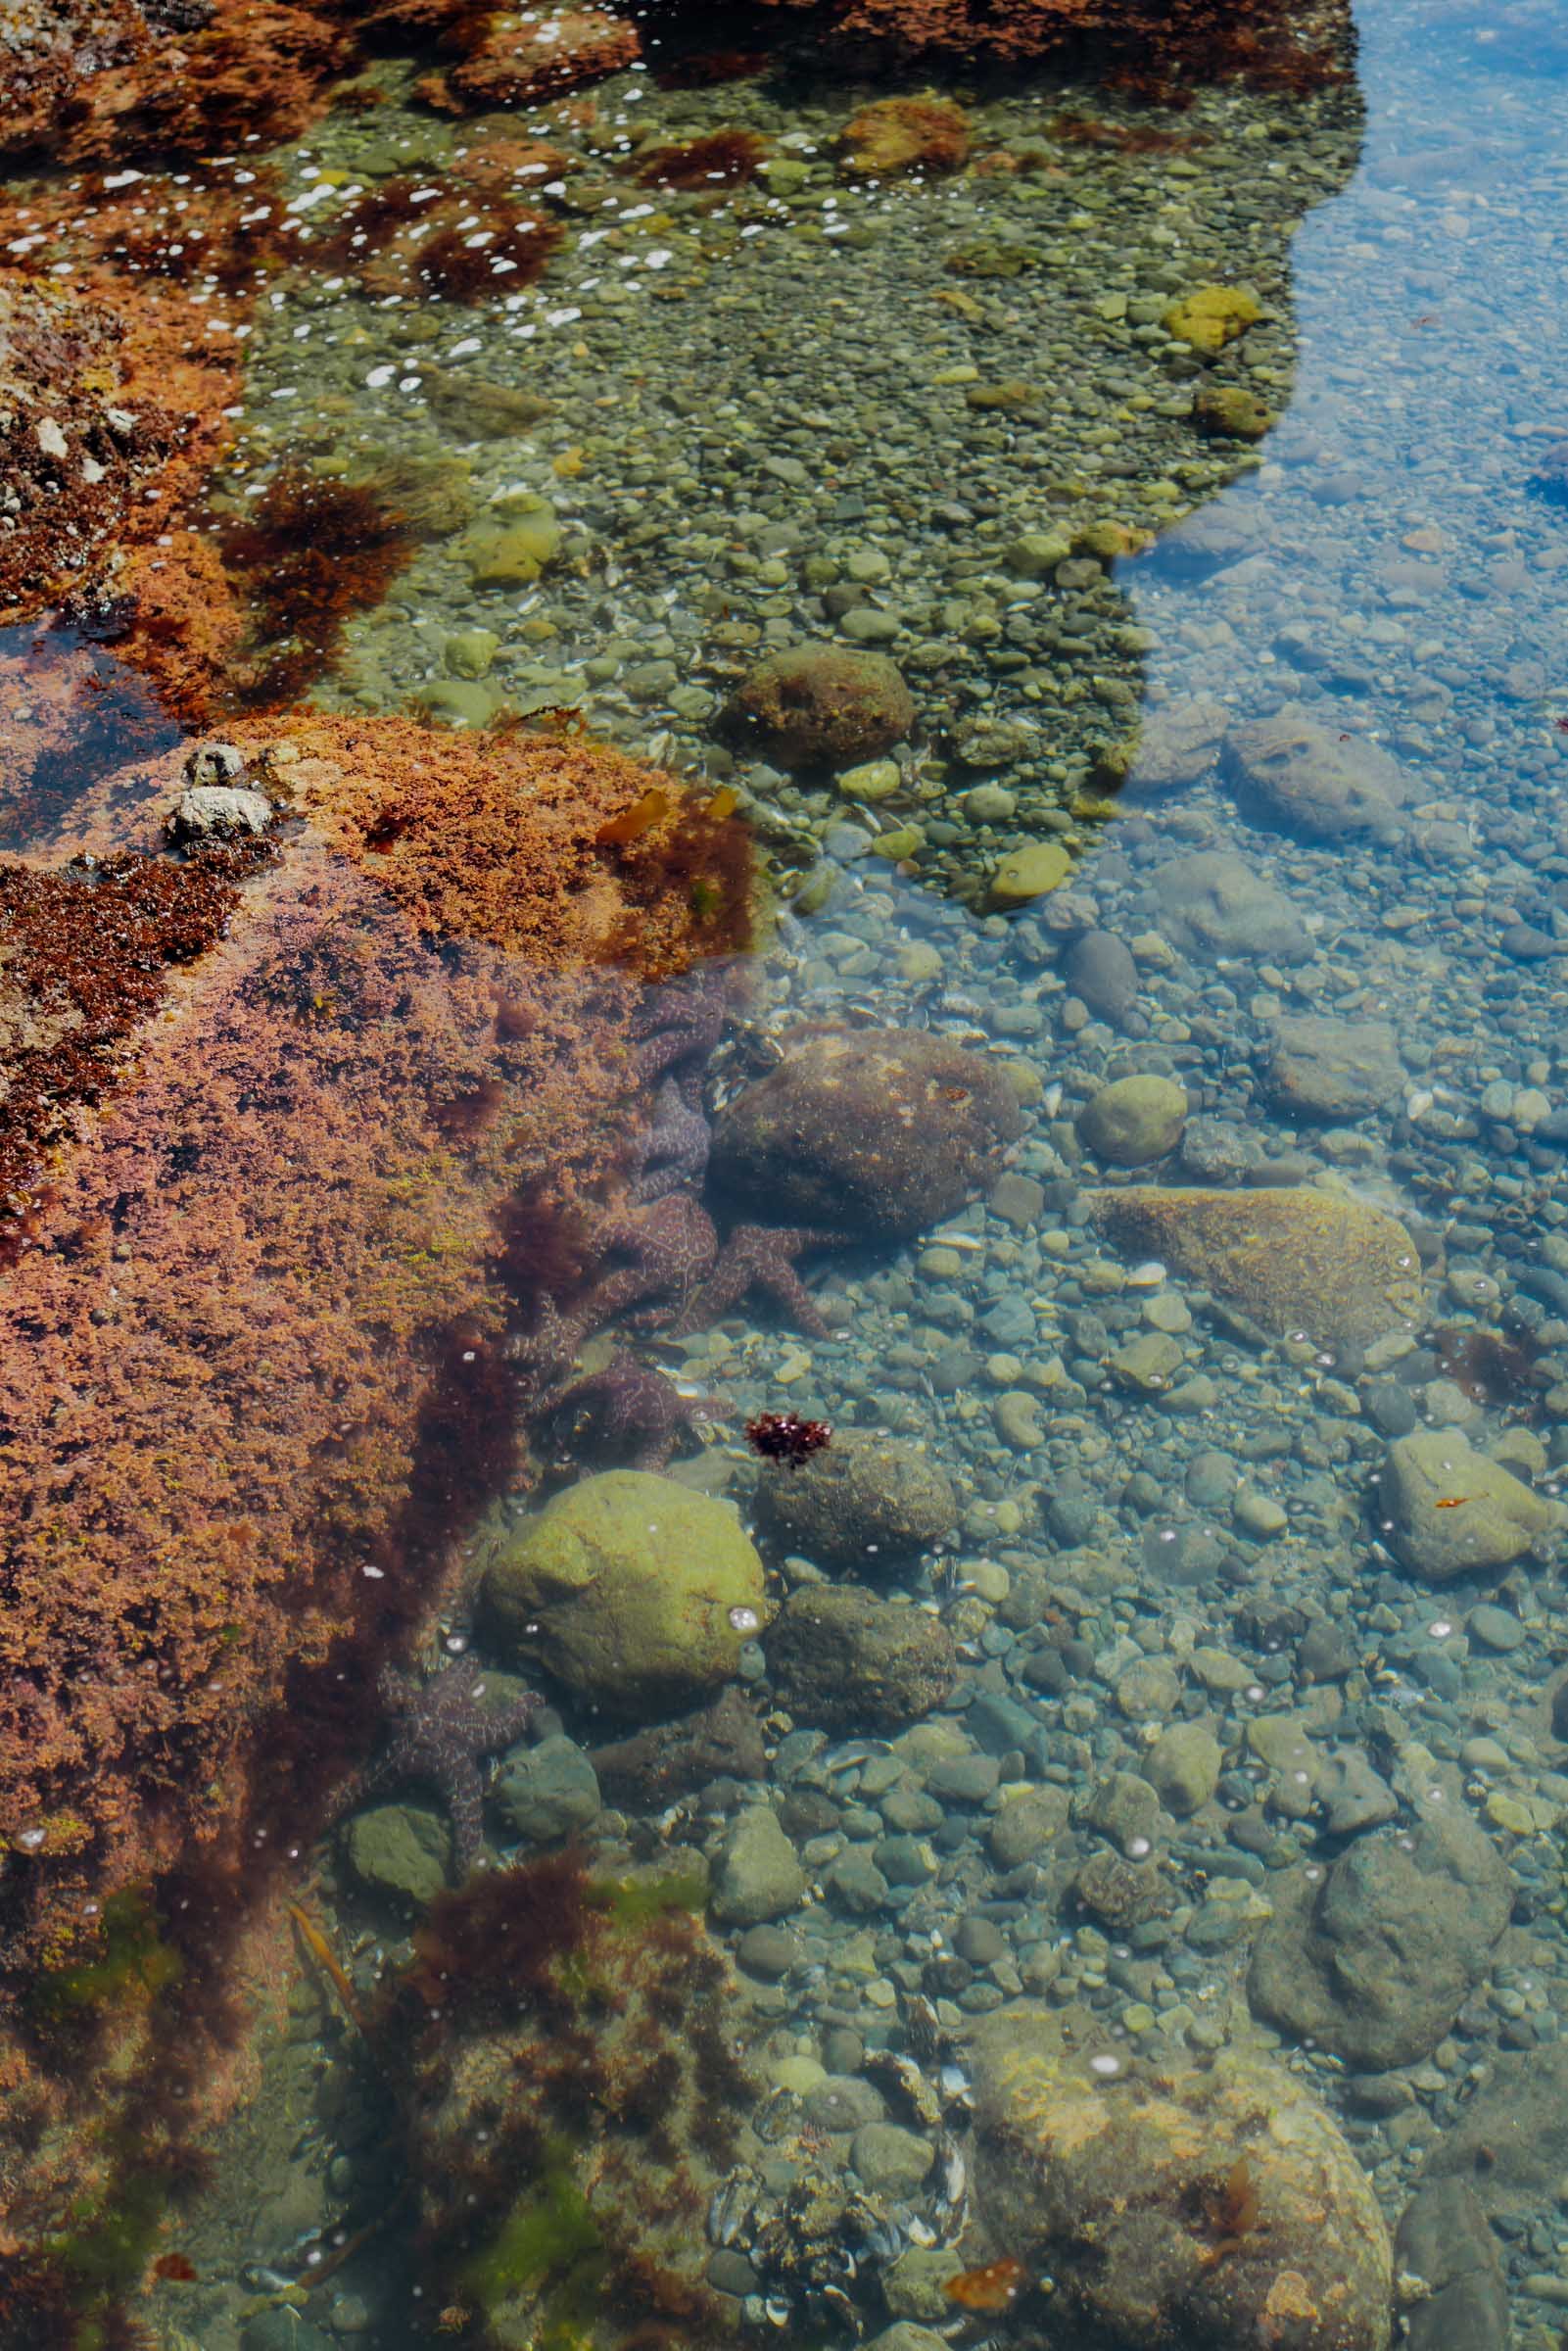
We dropped our stuff, set up our tent to reserve our site, and set off to explore the tide pools. We planned to be there by low tide so we could walk out as far as possible! Purple starfish, sea anemonies, and various fish call these tide pools home.
Remember not to step on the mussels and never remove these creatures from their homes. Touch them only with a single wet finger and while you can turn over rocks, make sure you turn them back over before leaving.
Tide Pool Etiquette
Avoid touching. Tide pools are active ecosystems and our interferance can be harmful to the creatures (both visible and invisible). It’s best not to poke, pick up, or move them.
Try to stick to bare rock and sand when tide pooling. Try to avoid plants, mussels, and other small animals.
Always keep an eye on the ocean. It can be unpredictable even on the calmest of days. Sneaker waves and drifting logs can come out of nowhere!
Appropriate footwear is important. I’d recommend Tevas, Chacos, or other waterproof sandals that have a heel strap to avoid slips.
If you touch, touch softly with a single, already wet finger. If you turn over a rock, gently put it back the same way you found it.
Always practice the principles of Leave No Trace.

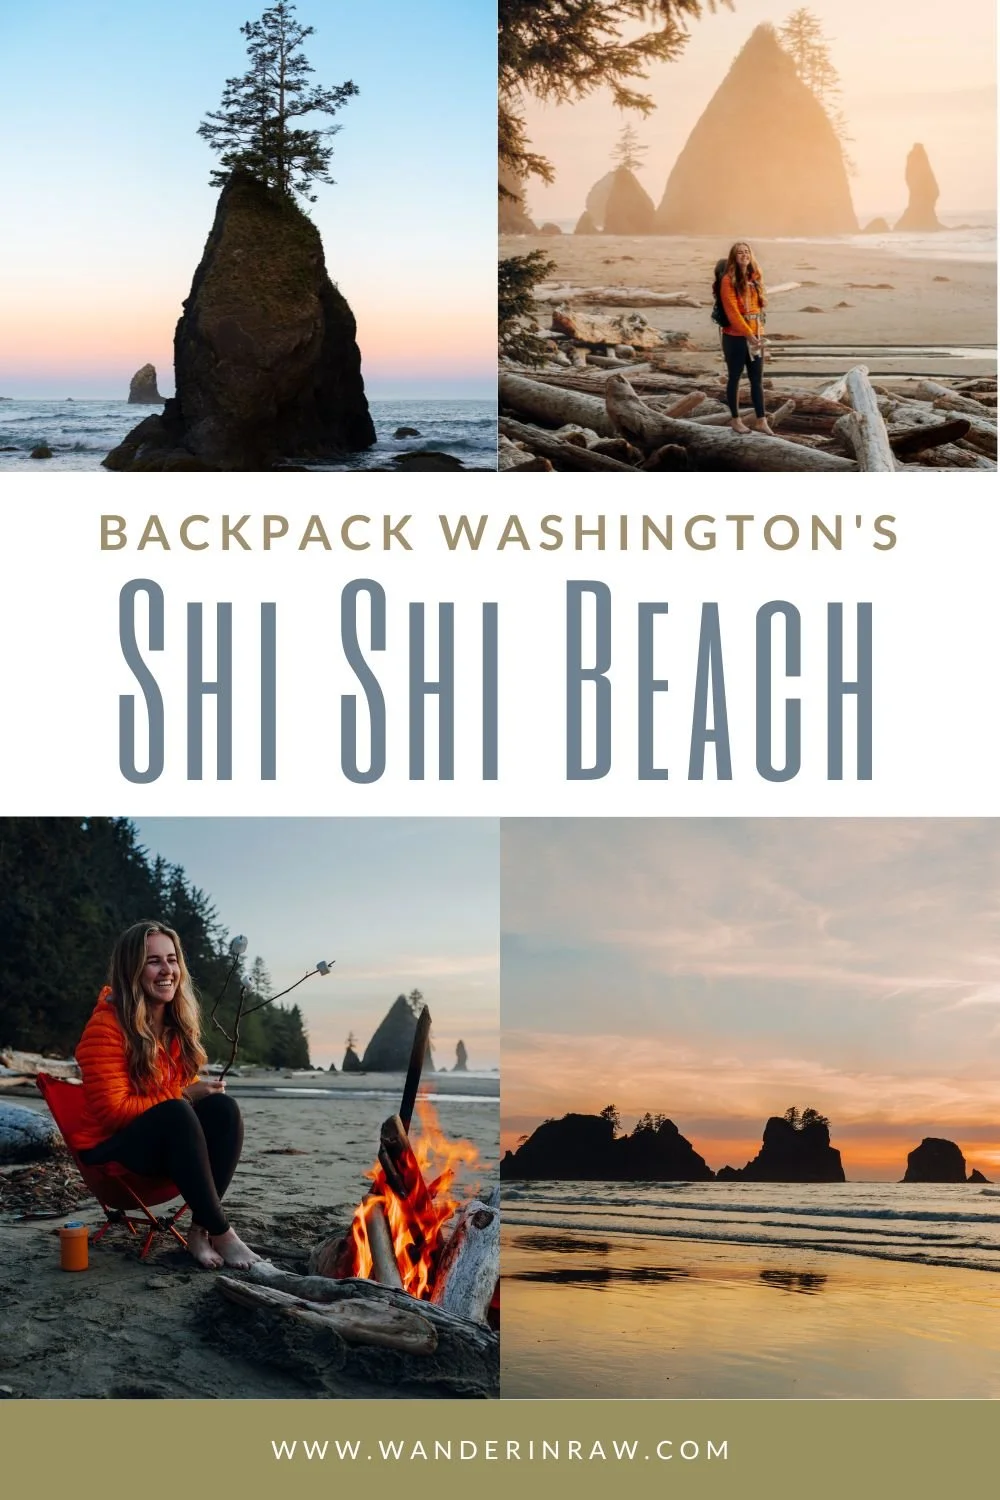
Building a Beach Fire on Shi Shi Beach
One of my all-time favorite things to do on a beach camping trip is build a beach bonfire, and campfires are allowed on Shi Shi Beach!! Wahoo!! Here are a few tips!
Collect driftwood that’s no bigger than your fire ring–do not take brush from the forest floor!
Build it in a pre-existing fire ring or below the high tide line so the waves wash away all burned debris.
Make sure the fire is completely out before going to bed. Do NOT bury it in the sand. This actually insulates the coals and makes the fire last longer, and increases the risk of someone accidentally stepping on it!
Enjoy!!

Food Storage at Shi Shi BEach
Bear canisters are required, not so much for bears but for the sneaky raccoons and other wildlife that love to snack on a good marshmallow or half-eaten Mountain House. Never leave your food (or trash) unattended, make sure it’s always locked away! You can rent a bear canister from any National Park office, but in the busier summer months, they can be hard to come by. I’d recommend purchasing one of your own to save on time and stress!
Toilets at Shi Shi Beach
With 200 permits per day and probably even more day-use visitors, that’s a heck of a lot of human waste to stumble upon. How gross would it be to be staking down your tent into a pile of you know what. GROSS. Please, and I can’t stress this enough, pleaseeee use the privies (pit toilets). They’re there for a reason and there are 3 to choose from, so at least one should be within walking distance of your camp! One at the south end of the campsites in the woods at the park boundary; one behind the wooded campsites on south side of Petroleum Creek; and one near Willoughby Creek. Look for the hanging buoy to find the trail up to it! If it’s an absolute emergency and you can’t make it to a pit toilet, dig a hole 6”-8” deep in the forest at least 200’ from a water source.

Water Availability
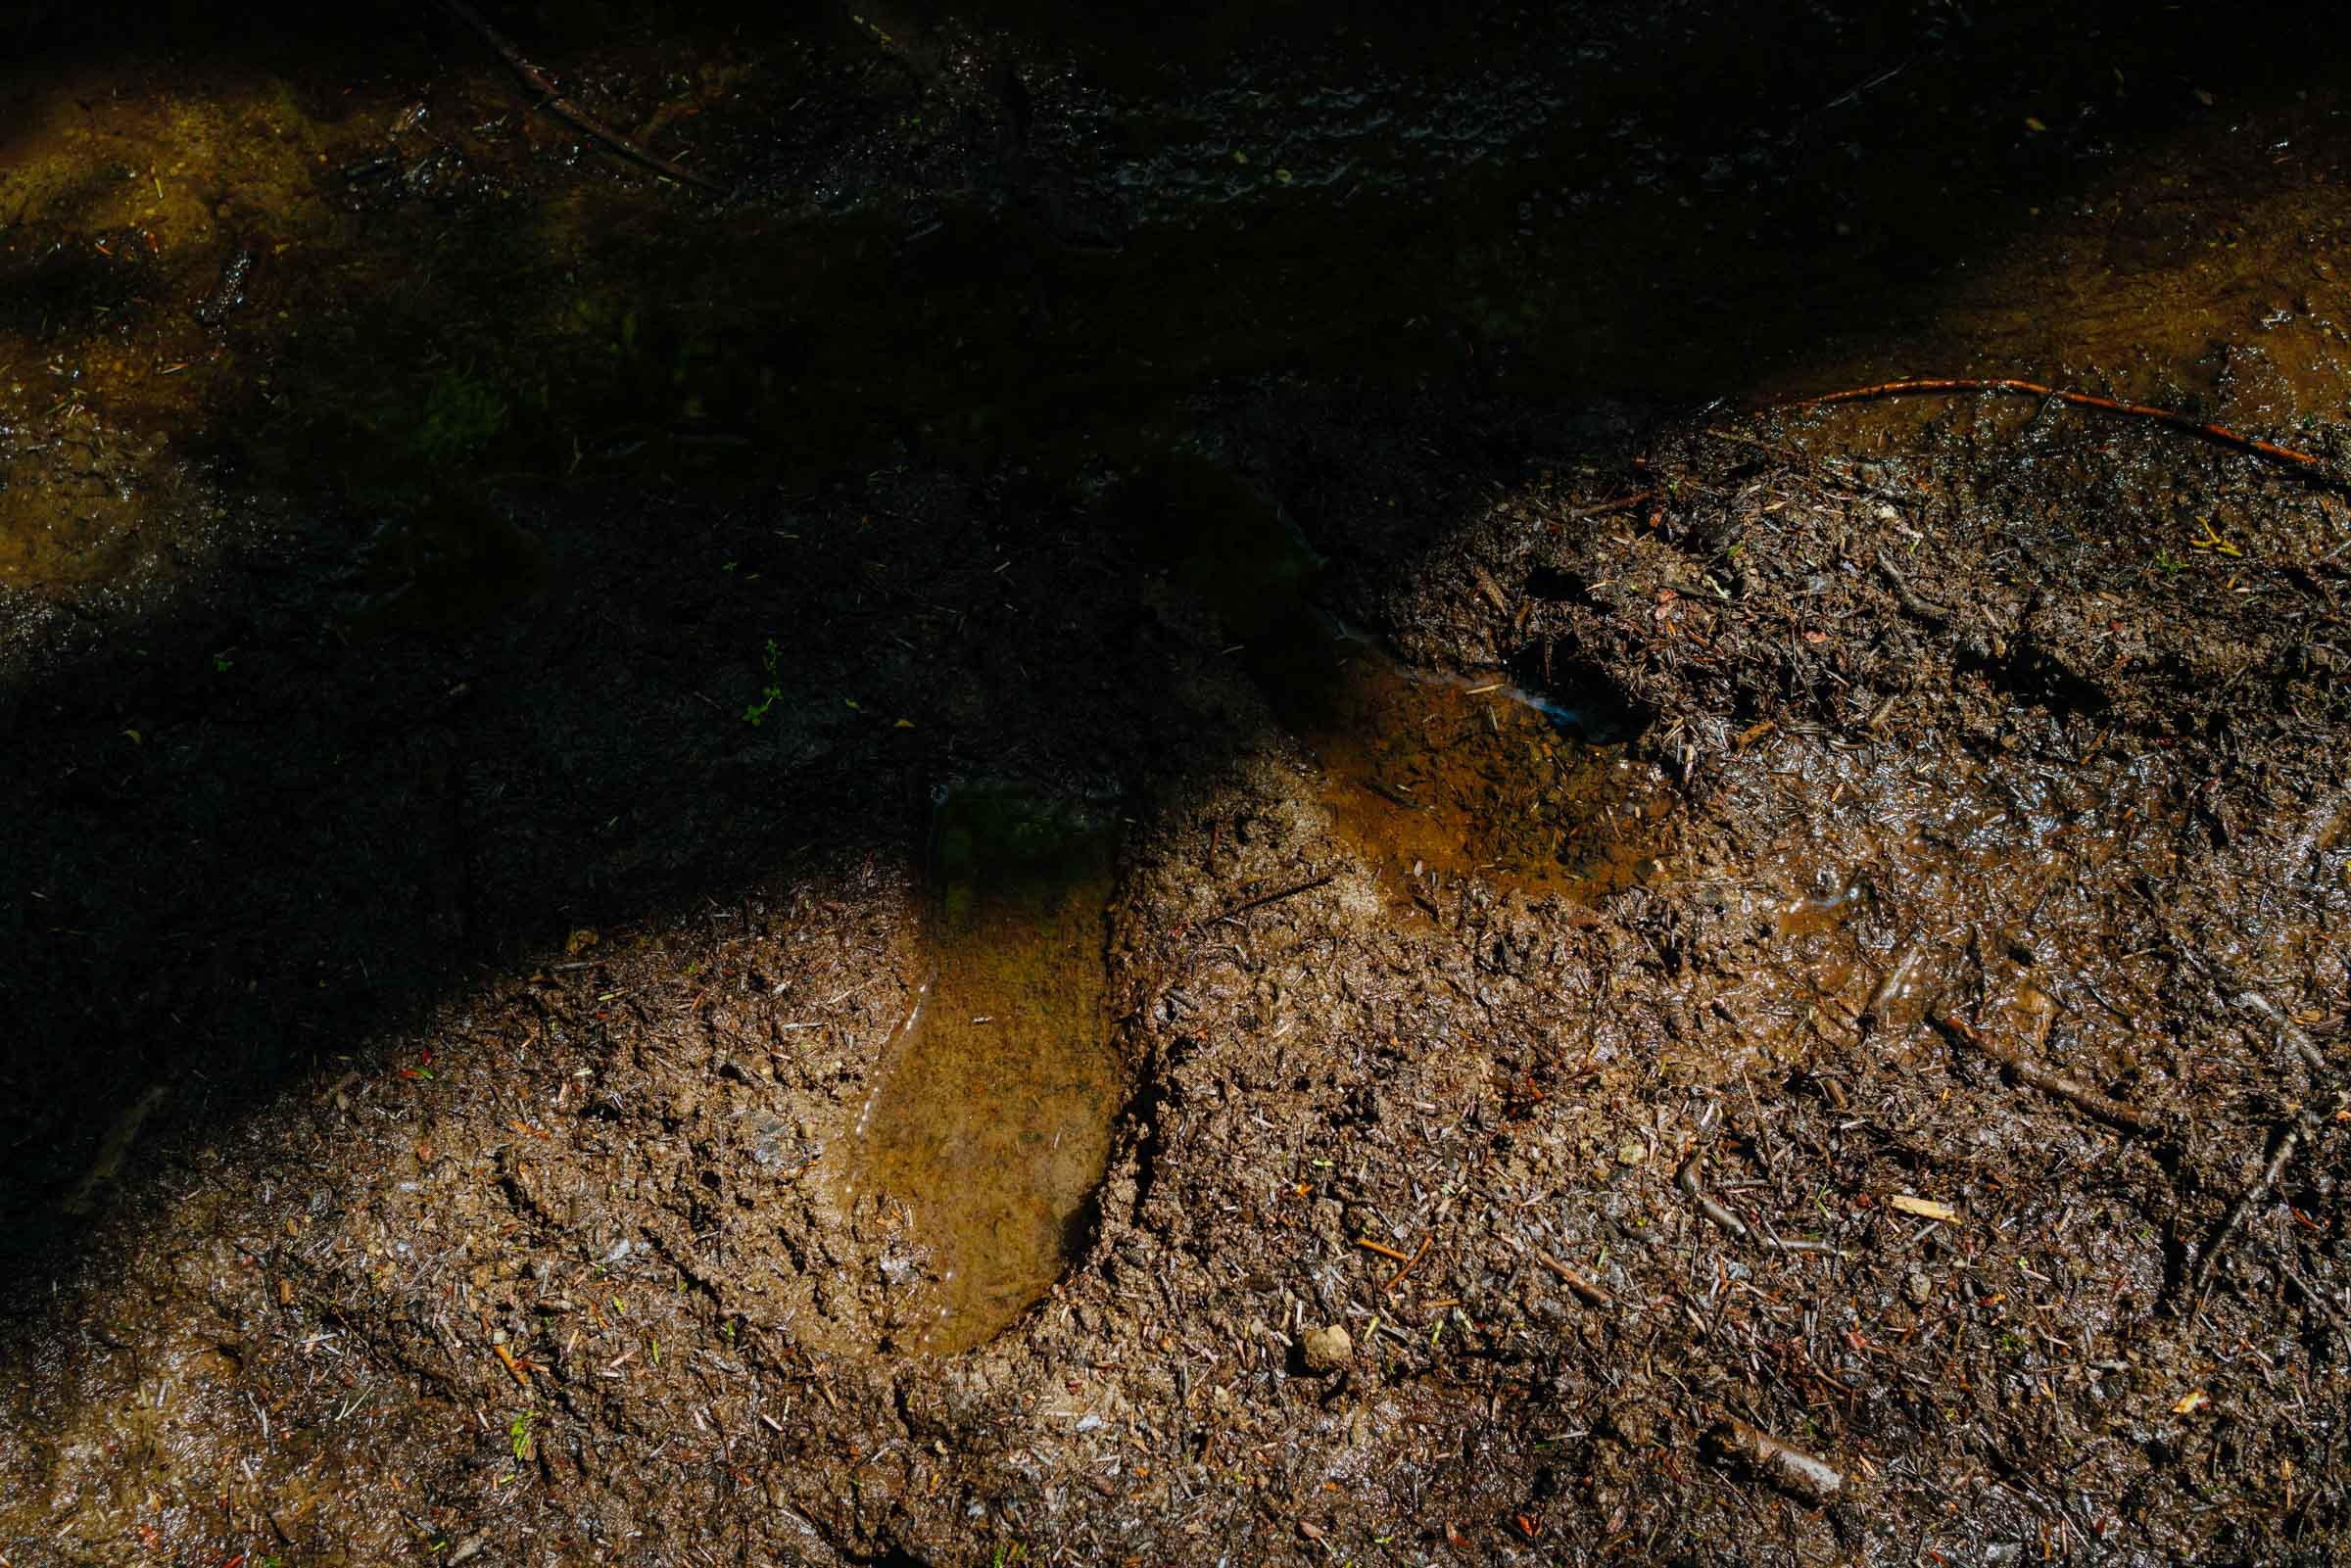
There are two streams along the beach (one has been said to dry up during drying summers, but the other one flows year-round). I’m a big fan of only carrying as much water as you need, so I started with 1.5L and planned to filter water once at camp. Our Grayl and Sawyer Squeeze did the trick! Because this water has cryptosporidium and giardia, you’ll need something with a little more oomph than just Iodine tablets. In other words, Iodine won’t kill this bacteria. Bring a filter!
You’ll find the water has a brown tea-like appearance–this is from all the tannin leached from leaves! It’ll likely stick around even after it’s been filtered.

Packing List
Now that you're all set with permits and armed with knowledge about beach camping, let's take a look at the essential items for your one-night backpacking trip:
A sturdy backpack. I love my Osprey Aura!
A good quality, lightweight tent. I bring my MSR Hubba Hubba NX2 tent on every adventure!
Sleeping bag: I use the REI Co-op Magma 15 women’s sleeping bag. It’s lightweight, packs down small, and is super warm!
Sleeping pad: I brought along the Klymit Ultra V-Lite
Water: It's important to stay hydrated while hiking, especially in the hot summer months. I keep about 1.5L of water on me to start, and refill my water along the way so I’m not carrying too much weight!
Water filter: You’ll be drinking a lot of water on this trip–instead of packing allllll of your water and trying to manage all that weight, bring a filter to get more water as you need it! I like the Sawyer Squeeze filtration system for its weight and size.
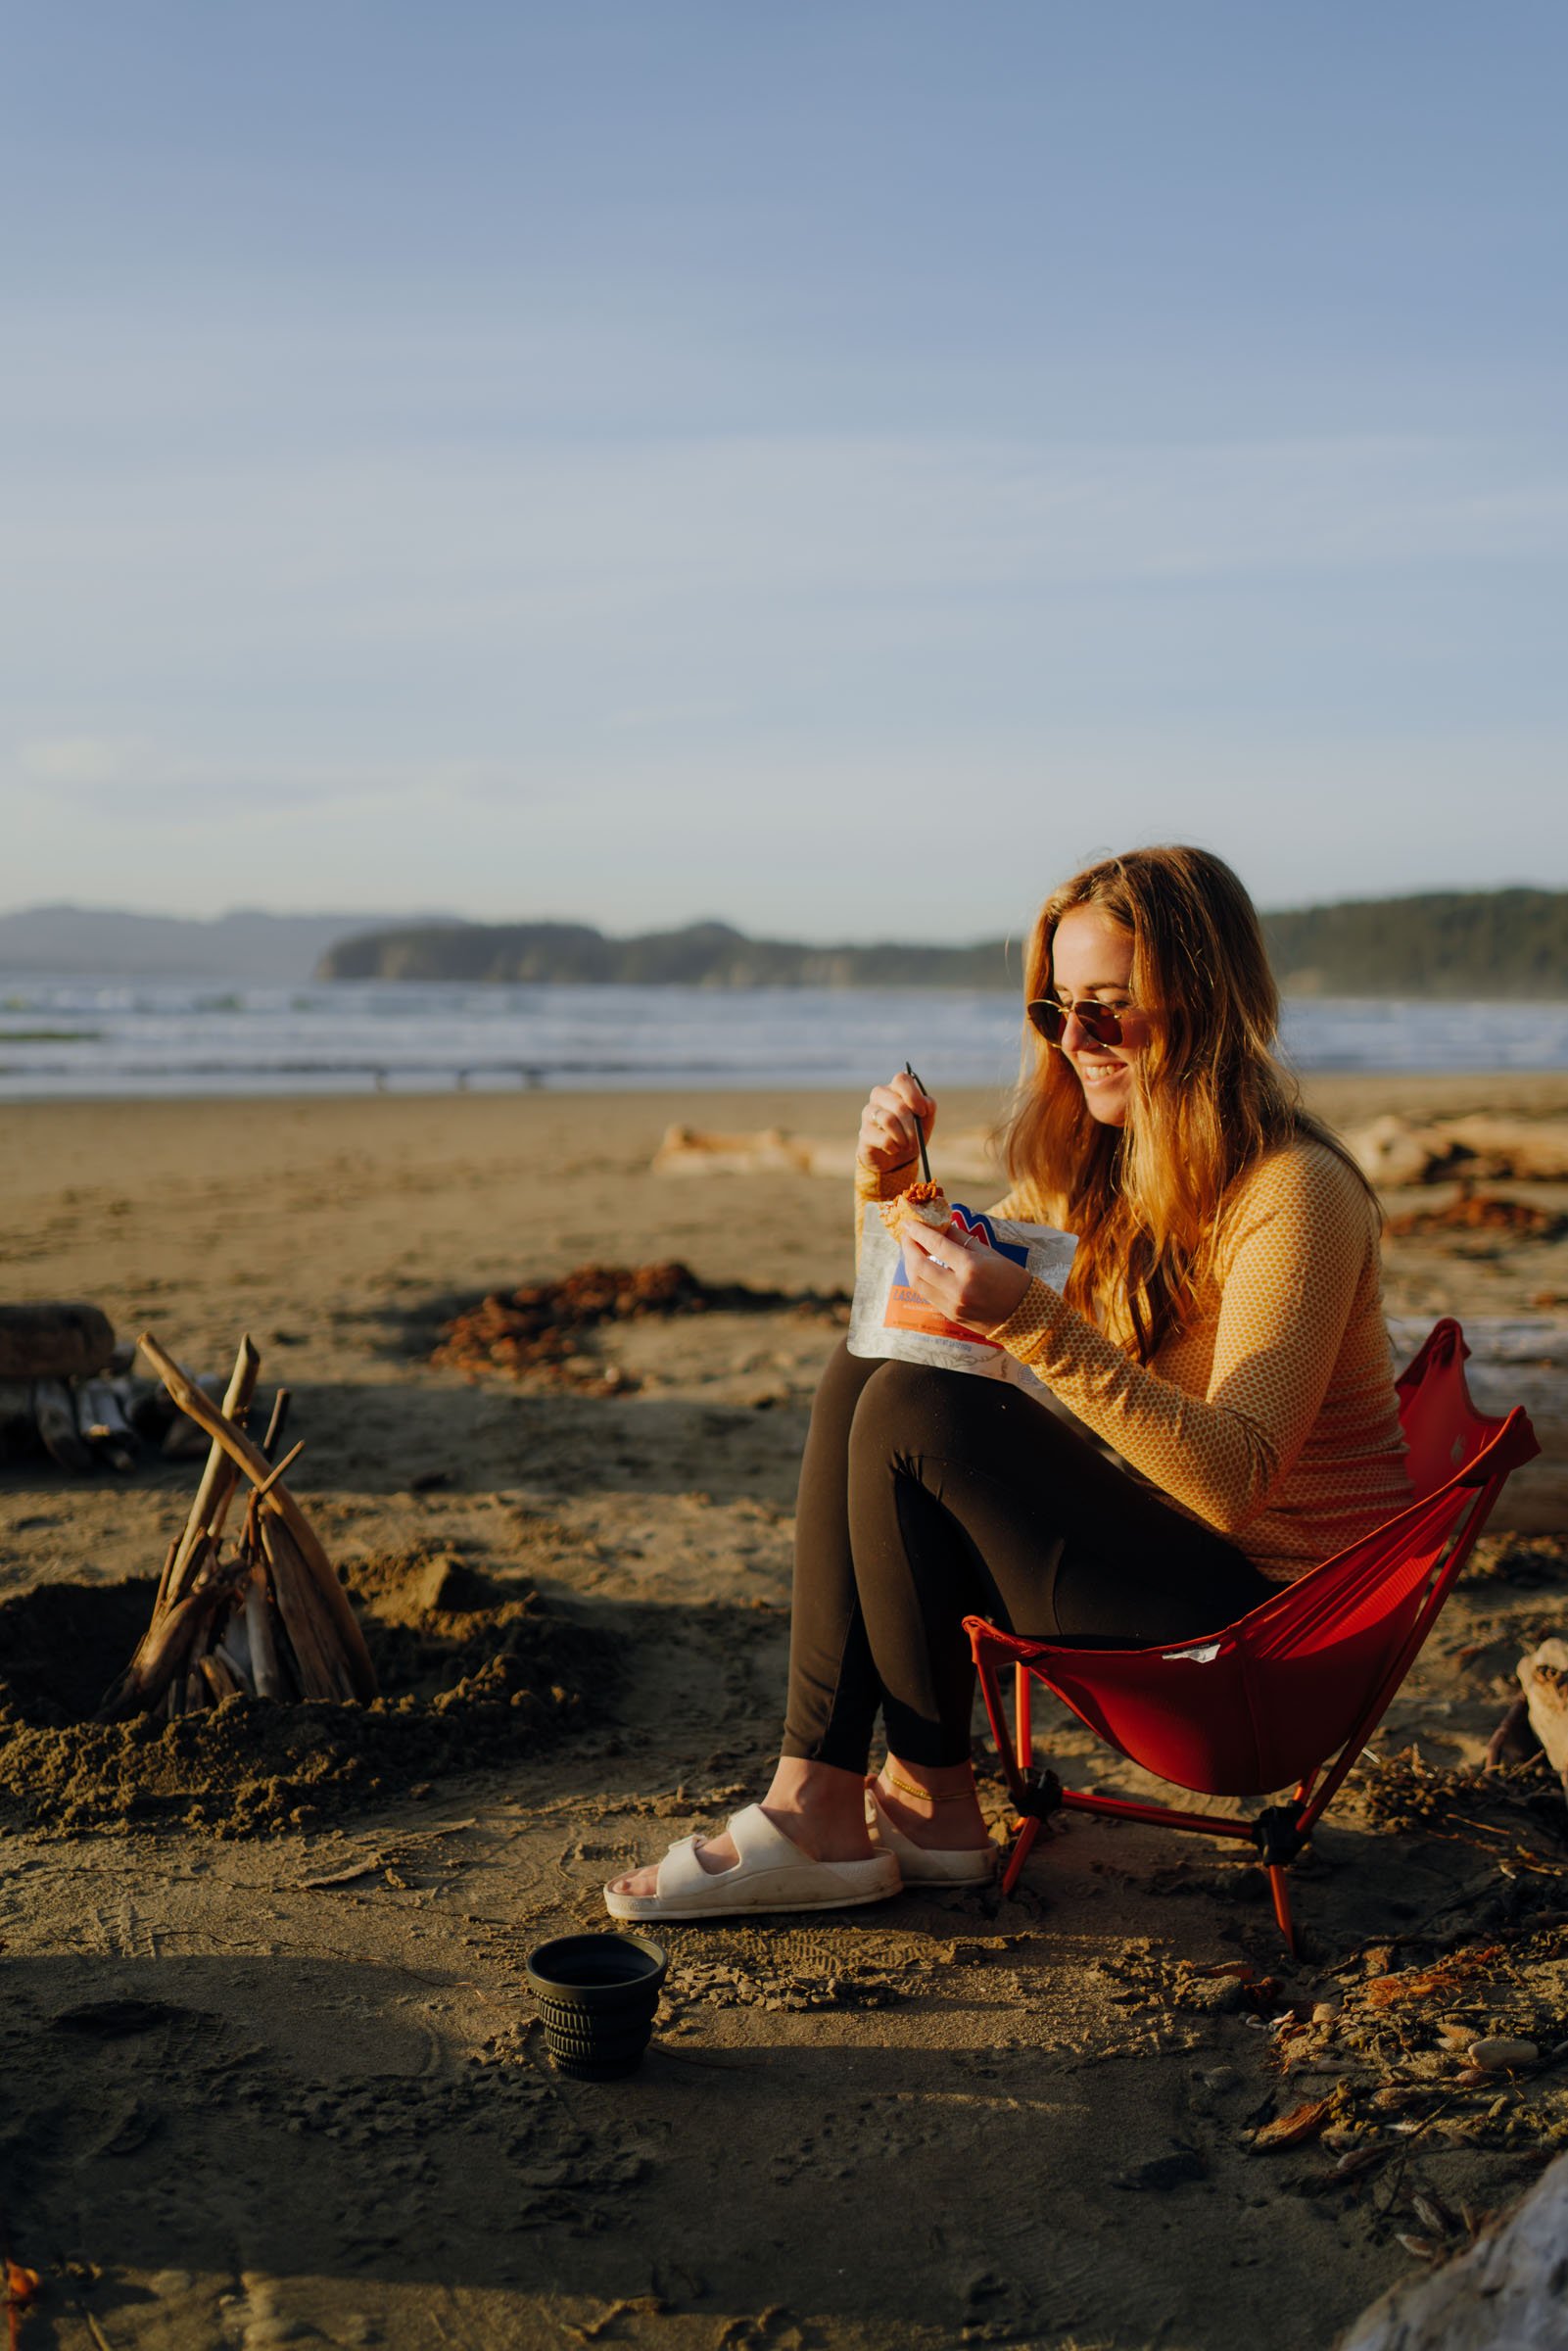
Food and snacks: Pack plenty of high-energy snacks and meals to keep you fueled during your hike. My favorite dehydrated meal to bring is Mountain House’s Lasagna with Meat Sauce.
Camp stove: The MSR Pocket Rocket is my go to for its small size!
Cookware and utensils. I purchased the MSR PocketRocket 2 Mini Stove Kit, which comes with a small pot and a cup. It’s all I need! For the utensil, a longer-stemmed spork is the move to help avoid getting food all over your fingers when you dip it into a dehydrated camp meal bag.
First aid kit: Always bring a basic first aid kit with essentials like bandages, antiseptic, and pain relievers.
Navigation tools: Bring a map and compass or a GPS device to ensure you stay on the trail.
Headlamp: A headlamp or flashlight is essential for navigating in the dark and for finding your way to the bathroom at night. I love my Black Diamond one!
Sun protection. Bring a hat, sunscreen, sunglasses, and chapstick with SPF. It’s hot and sunny out there!
Clothing: Dressing in layers is key! Bring lightweight, moisture-wicking fabrics that can be easily layered to adapt to changing temperatures. Here are some essentials:
Long-sleeved moisture-wicking shirt
Mid-layer (fleece or puffer)
Rain jacket or waterproof layer (I like to bring an emergency poncho even if there’s no rain in the forecast
Leggings or hiking pants for chilly mornings/evenings
Shorts
Hiking socks
Camp shoes that are okay getting wet
Hiking boots or shoes. Proper footwear is essential for a comfortable and safe hiking experience. Look for hiking boots or shoes with good ankle support and a sturdy sole. Make sure to break them in before your trip to avoid blisters. I love my Danner Mountain 600s!
Toiletries: Bring some toilet paper, a toothbrush, toothpaste (I love these tiny toothpaste tablets for backpacking!), and any other personal hygiene items you may need.
Duct tape
Paracord