How to Take Good Pictures of Yourself While Traveling Solo
Capturing epic travel bangers with friends is one thing, but what happens when you full send it on a solo trip, just you and the great big world? How do you take good pictures of yourself while traveling solo?
That’s something I struggled with for a while–there’s been a lot of trial and error to find my solo travel photo rhythm. A lot of wet cameras, scratched lenses, embarrassing moments, you name it. Now that I’ve got it down pat, I thought I’d share how to take good pictures of yourself anytime, anywhere.

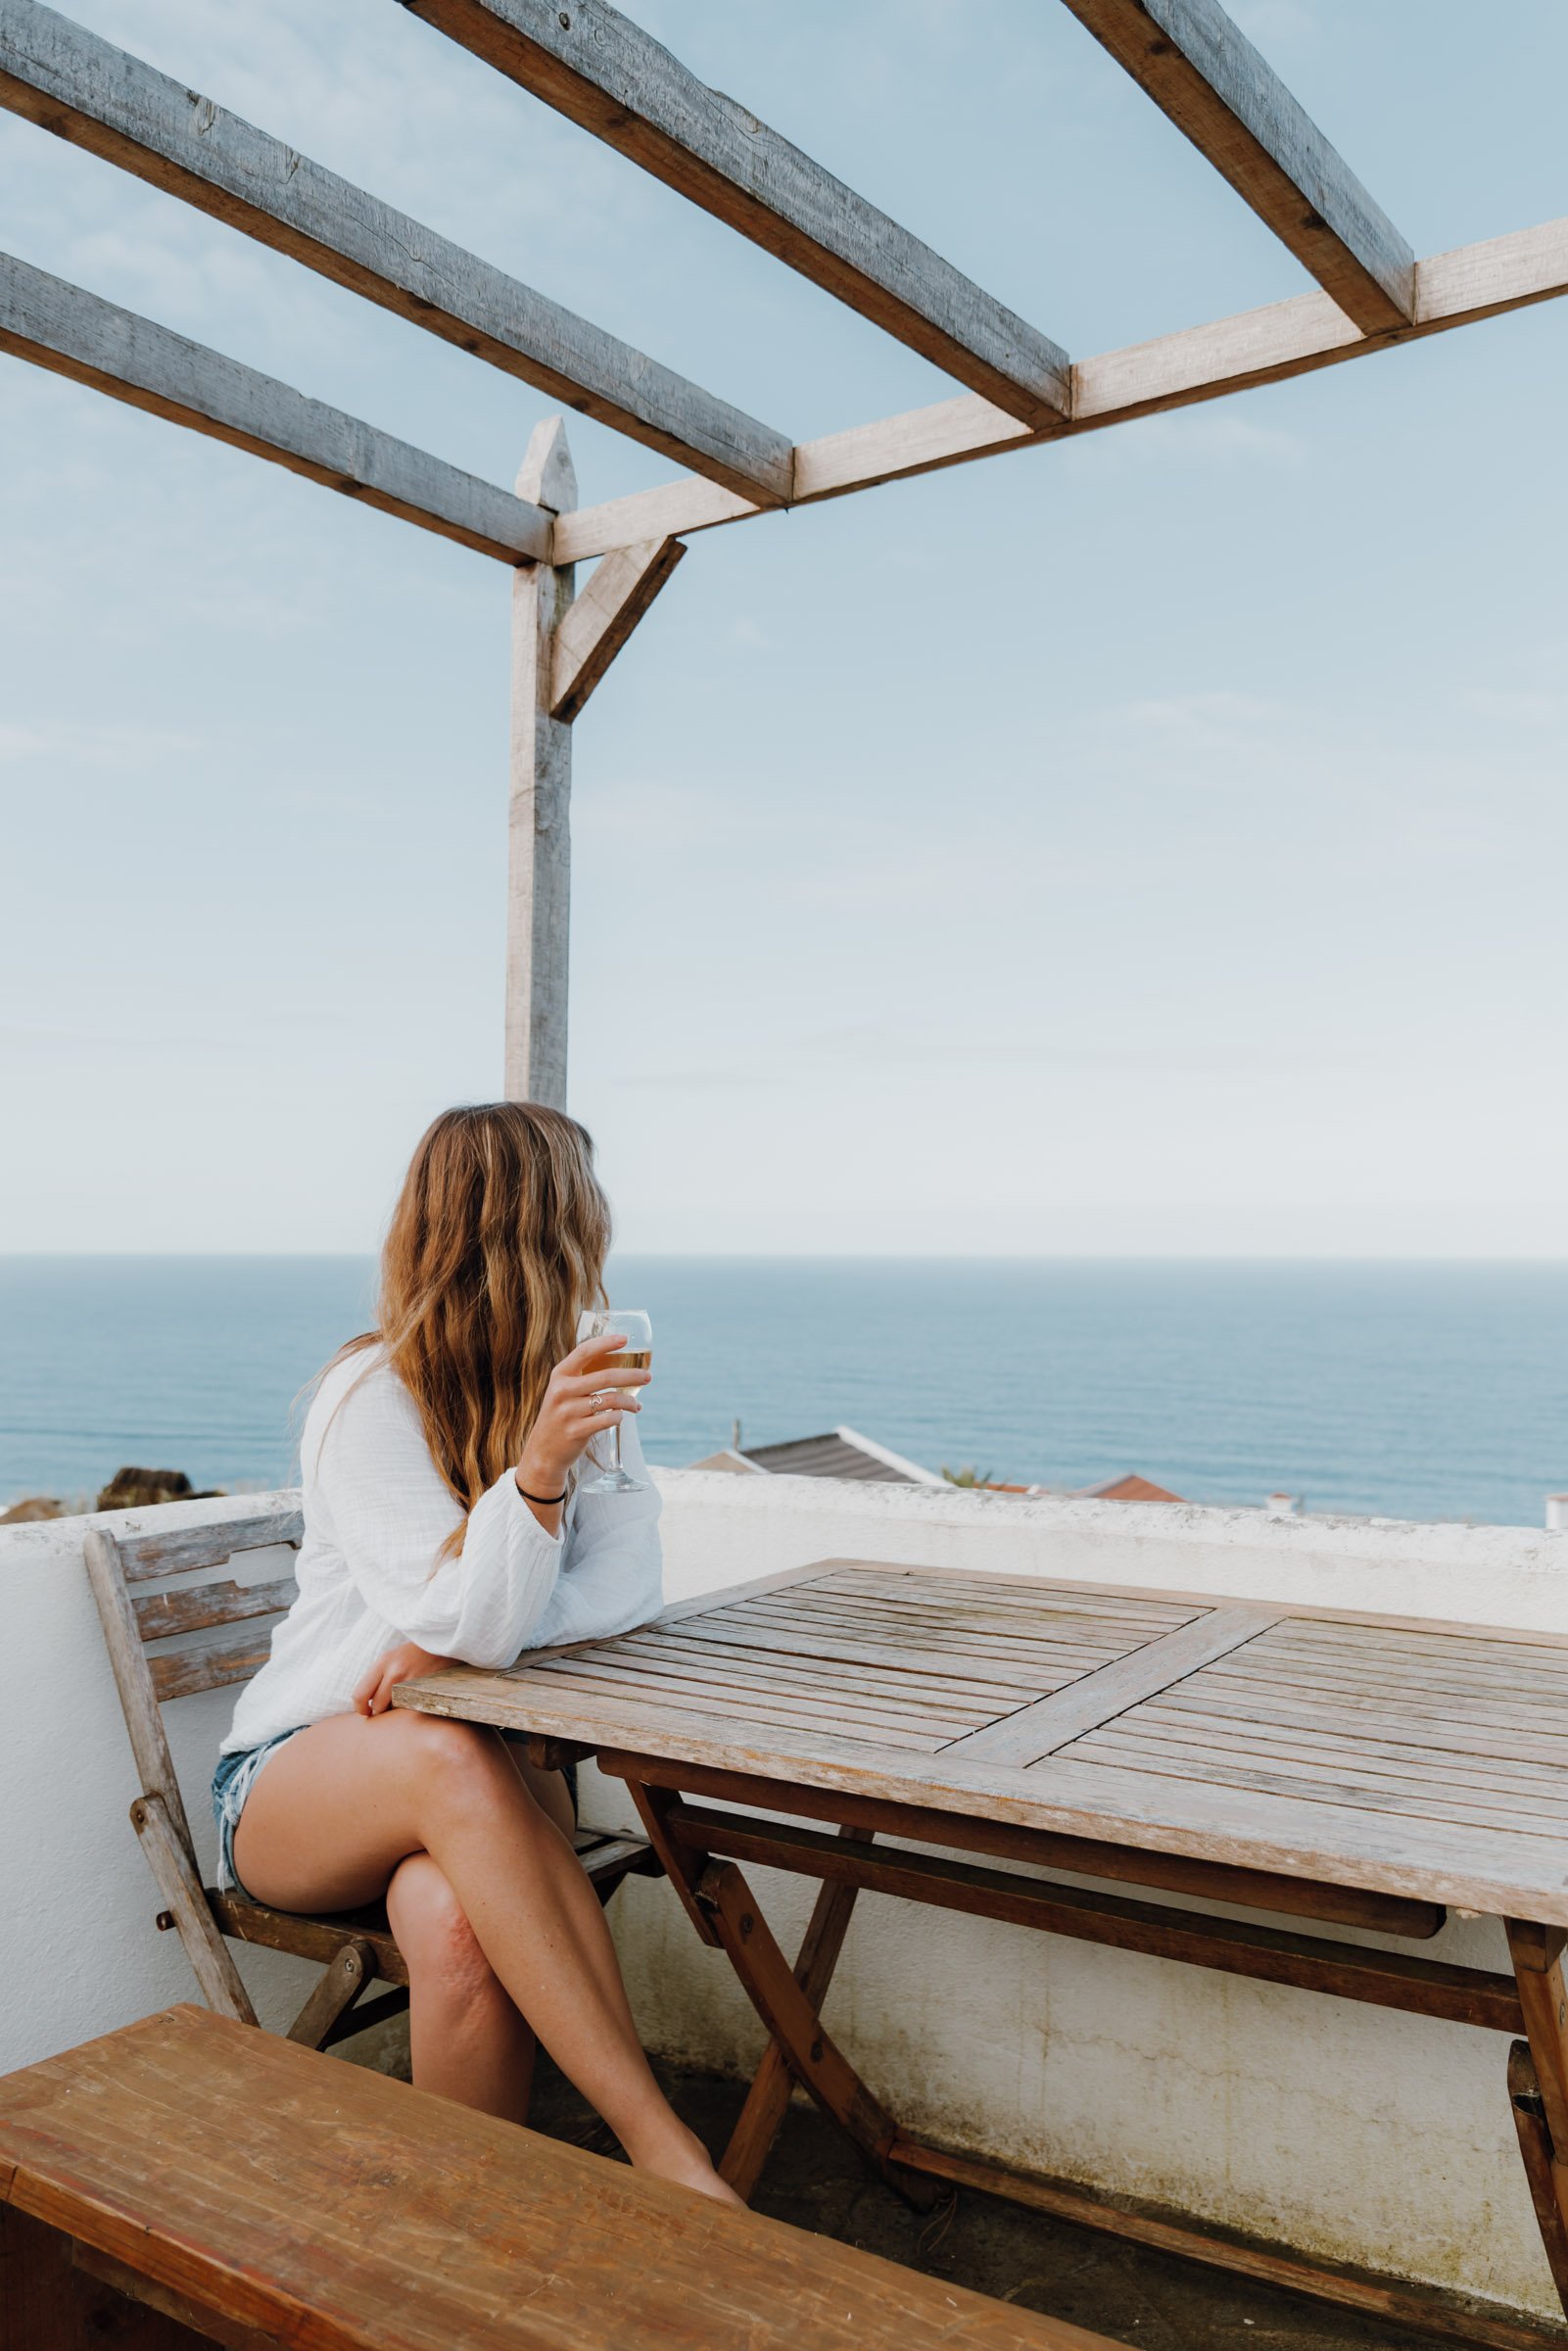
This was one of the most popular spots on all of Sao Miguel Island–you have to buy tickets in advance to enjoy these hot springs. I had a whole audience watching my process. I walked across the pool holding my camera on my tripod high above my head so they wouldn’t get more wet than necessary, set everything up exactly how I wanted it, and waited about 20 minutes for the spot to open up. Then I made my move. Unfortunately, I had to use my phone as my remote (it got SOAKED) with a 10-second countdown so that I could set it down (beside of the waterfall) and run into position for the shot.
By my walk back across the pool, an entirely new set of onlookers were quietly wondering whether or not I was going to drop all my expensive gear in the water. I didn’t, thank god, but I’m sure I put on a show. But who caresssss I’m never going to see them again! And now I have this fun picture to remember the place by!
Hey adventurers! I love recommending the gear and stays that I'm stoked about and use on the regular. As such, this post contains affiliate links to some of the products I love, and I'll receive commission upon any purchases made through those links at no expense to you.
Be Confident!
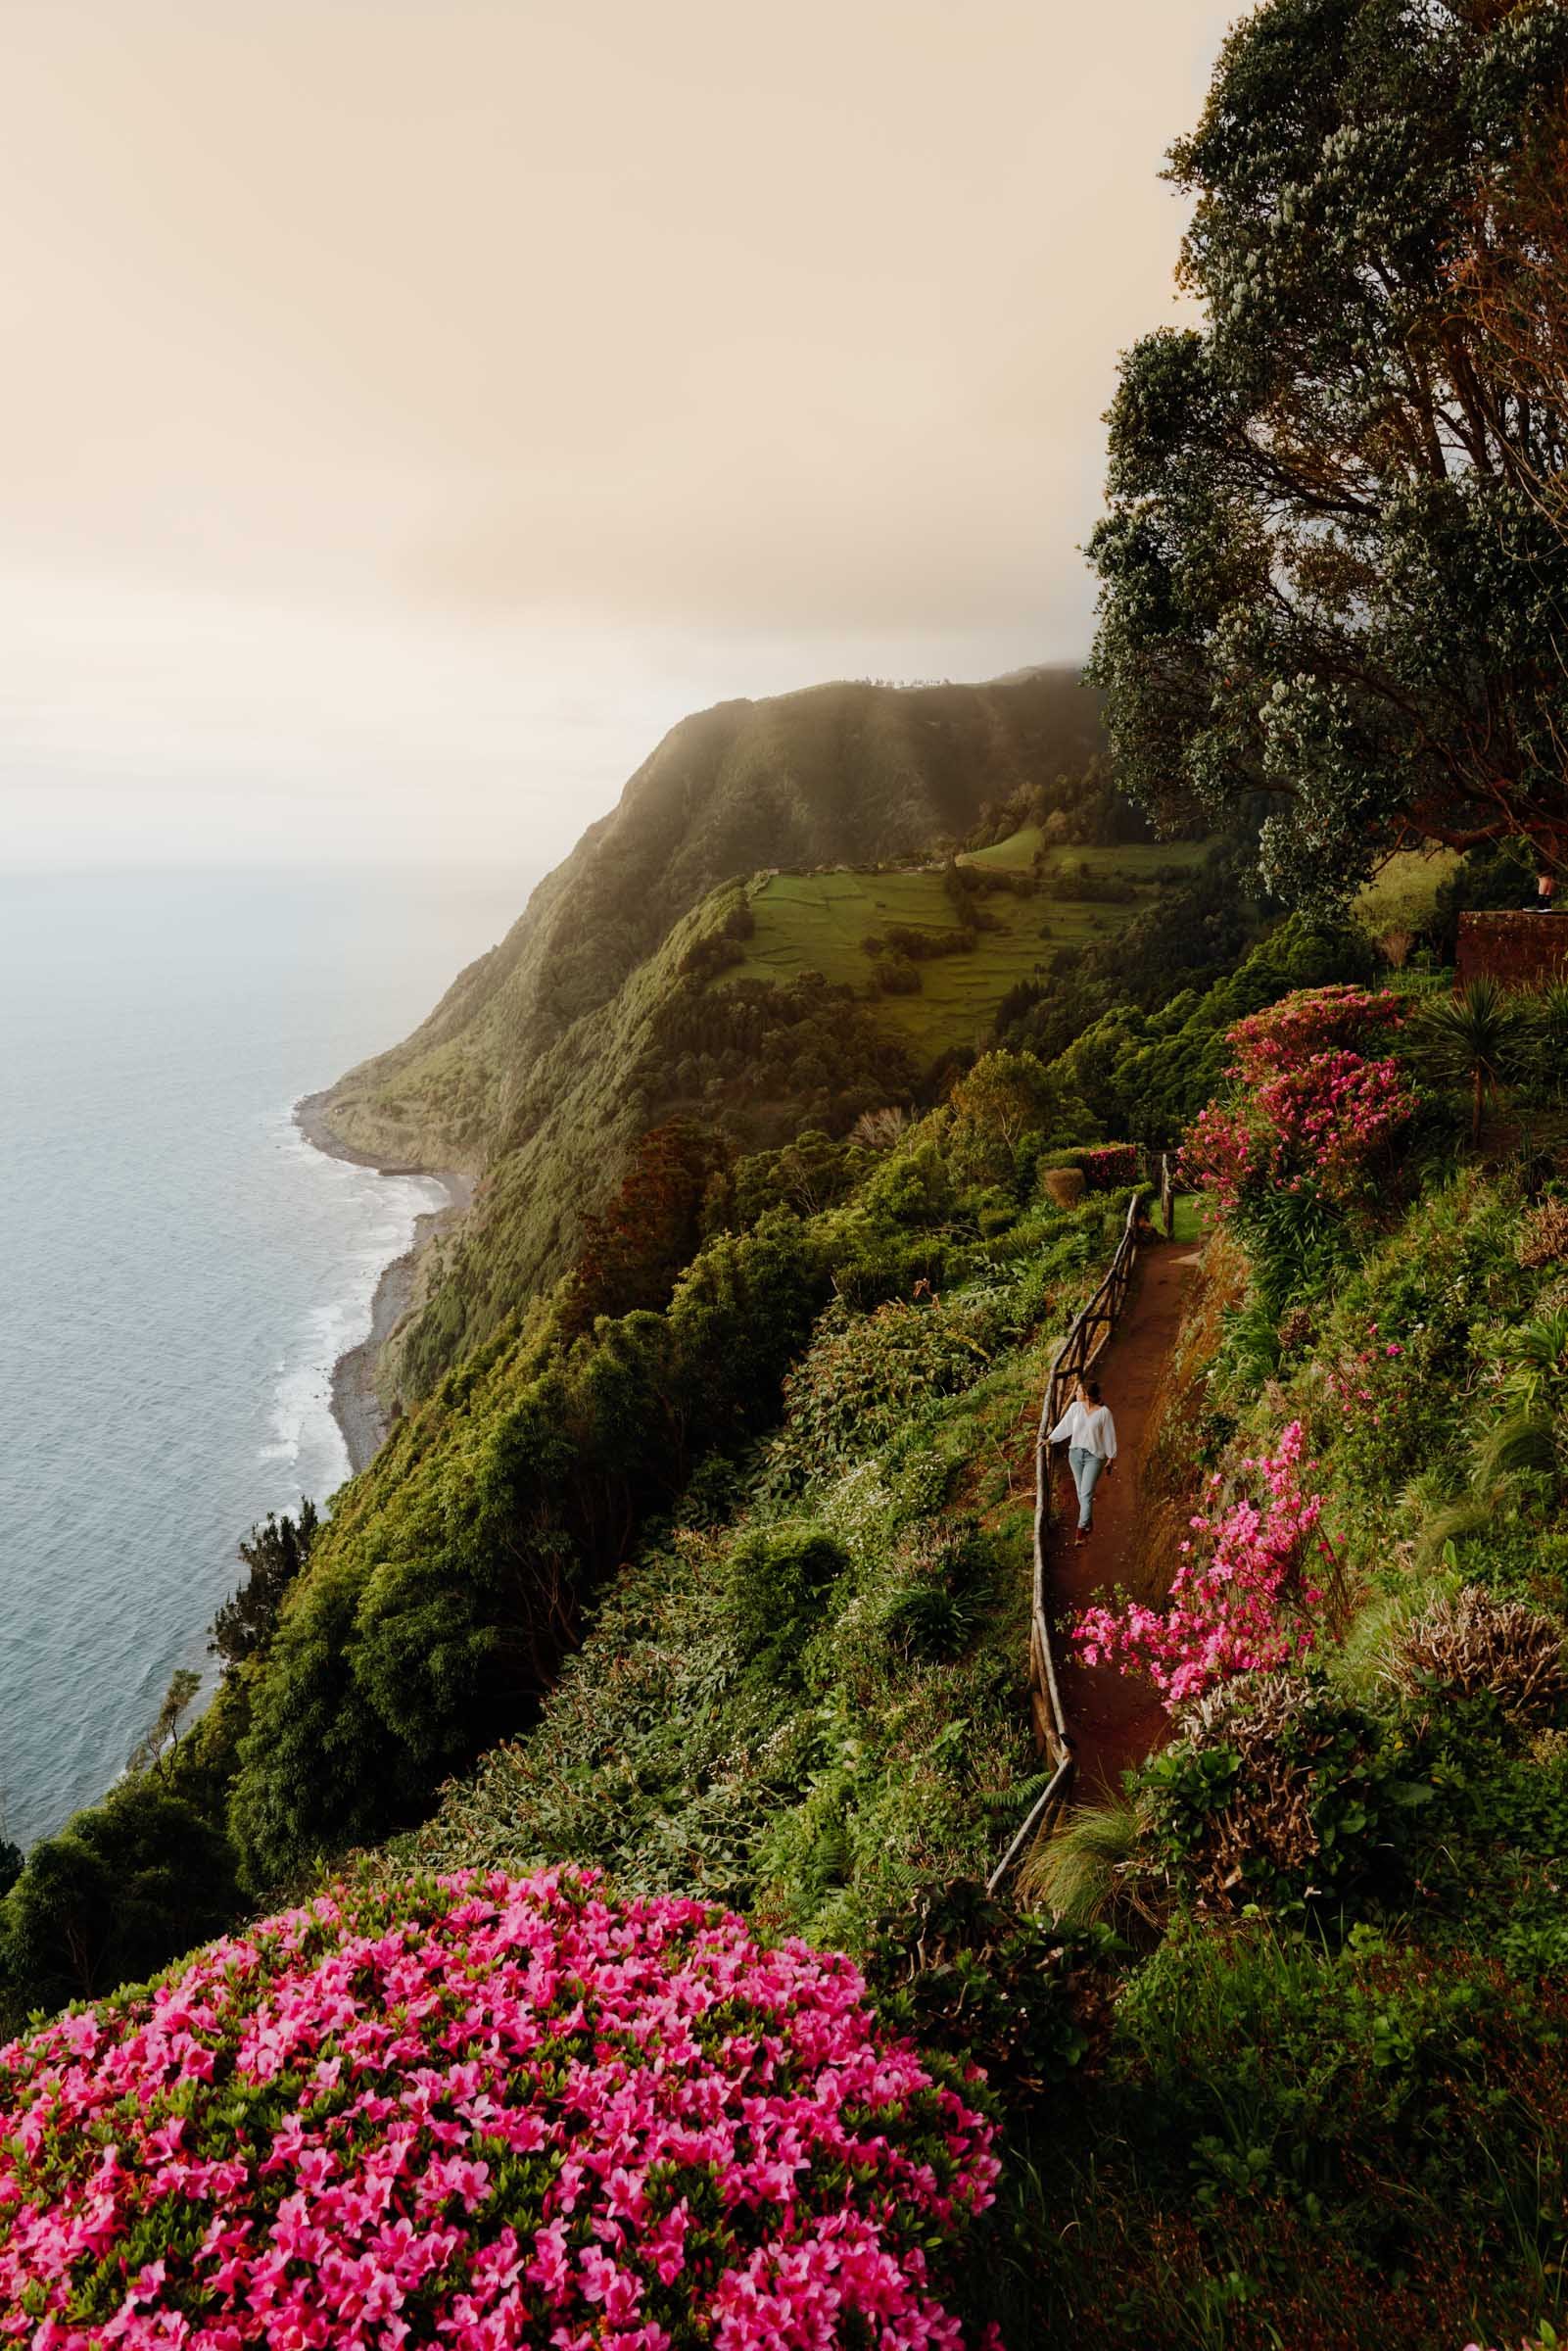
Say eff it, toss on that flow dress and prance through the wildflower fields in front of all those onlookers. They’re going to WISH they had epic photos like you! This is the biggest secret for how to take a good picture of yourself!
Okay, so it’s not as easy as it sounds, I get it. It can be totally scary. I’ve been there. I still am there sometimes.I still occasionally get nervous, and some destinations make posing in front of a bunch of lookie-loos much easier than others, but the more you do it, the more confident you become! You’ll be happy you did it when you see those bangers!

I propped my tripod up in the middle of a banana forest for this shot. Using just a 10-second timer, I ran into position and pretended I was walking forward (when really I was just rocking back and forth to fake a little movement).
Learn How to Use Your Camera
I knowww, obvi, right? Well, I decided to purchase my first mirrorless right before a big trip, confident I’d figure it out as I went. I did figure it out eventually, but the buttons and settings were all so different than the Canon I was used to, and I missed a bunch of shots because I wasn’t quick enough with the settings. Major bummer.
Not only that, but knowing how to use your equipment can also help your confidence when taking photos in public. When I feel like I look like I know what I’m doing, I feel more confident doing it, and the photos usually turn out better because of it!

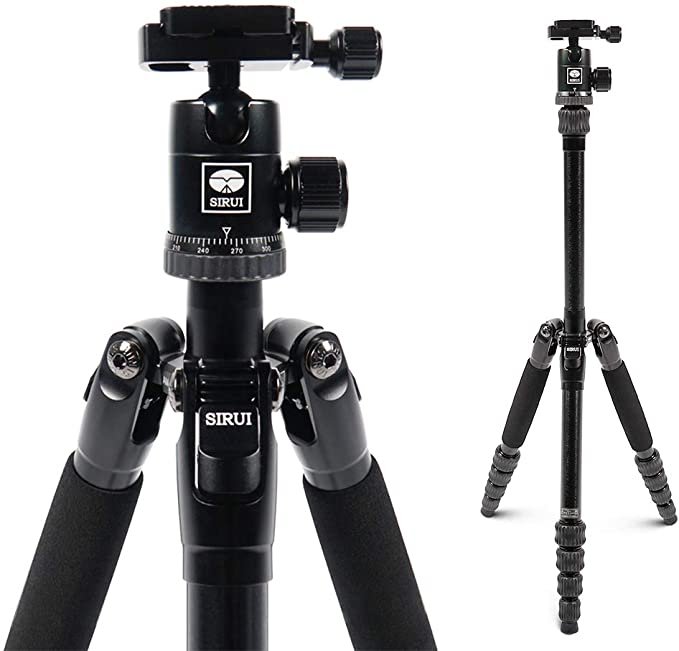
If you’ll be hiking or carrying your gear on your back, every pound counts. This particular hike was sketchy and steep–I was so thankful I had a smaller lightweight tripod for the wild walk down.
Get a Lightweight Tripod
I always used to try to swing it, setting my camera up on rocks, cliffs, sand (cringe), and everything in between to get the shot I wanted. Tripods are annoying, I thought. Well, they still are, but friends, do yourself and your photography a favor and don’t just get a tripod, but actually bring it with you.
Oh, the freedom!! With a tripod, I can now get super precise with the angle and framing in every single shot, which cuts down the actually shooting time (no more balancing the camera on a sketchy rock and crossing my fingers it doesn’t fall while I run to position). I also have so much more flexibility with locations. I can set it up in a freaking riverbed if I have to to get that shot of me in front of a waterfall. Say it with me. Tripod=freedom (and epic shots).
Things to consider when choosing your travel tripod:
Tripod weight
Camera weight limit
Extended height
Folded height
Head type (I prefer ball heads so I can rotate the camera in any direction)
Material (I opt for aluminum over carbon fiber–carbon fiber shatters if broken whereas aluminum just bends, so you can bend it back)
I have a MeFOTO Aluminum Travel Tripod at home. I LOVE it–it’s sturdy, relatively light, and has all the best features, but I found it still a little too bulky and heavy to travel internationally with. I usually take just a carry-on and personal item while traveling, so I have to choose what I bring very carefully. Every pound counts!
I was about to spend an extended period of time abroad, so I decided to downgrade to a lighter, smaller, and less expensive option for the wild road ahead. The SIRUI Compact Traveler Tripod weighs just 2.3 lbs with a max load capacity of 8.8 lbs (if you’re shooting macro, you may need a tripod with a higher load capacity). It has an extended height of 54.3” and a folded height of 13”, and has a center hook for hanging heavy items to increase stability. You can also invert the center column for extreme low angle shooting! I carried it around Europe for three months in my backpack and it did me well! A little unstable at times, but that’s to be expected with a tripod this light.
This one was also taken using my phone as my remote shutter. Not me casually hiding it in my lap ;)
Use a Remote
Many of the newer DSLRs and SLRs have a wifi function that allows you to connect your camera to your phone for remote shooting. You can also select where you’d like your focus to be. You’ll need to download the associated app, but after setting it up, being able to control your camera from your phone is a game changer!
I love getting to see what I look like in real time so I can adjust my pose to get the shot the first time.
If your camera doesn’t have wifi capabilities, consider getting a cheap remote (they’re usually around $15 and are easy to set up). Here’s one for Nikon, Canon, and Sony.
I set up the camera on a cement wall using my tripod, connected it to my wifi, rand down to this walkway, found an angle I liked, and clicked the shutter from my phone. I lost my connection a few times because of the distance between my phone and camera–this is one instance where the interval timer would’ve come in handy.
Take Advantage of the Interval Timer
Some cameras have an interval timer or a time-lapse setting that automatically takes photos every couple of seconds, which is ideal if you plan to meander a bit–remotes and phones can lose their connection if you travel to far from your camera, but with an interval timer, you can adventure to your hearts desire. Little human, big world photos, here we come!
Okay, this one wasn’t taken by a stranger, it was my mom. But I always take a test shot first to show her what I’m looking for, sometimes with her as the model. Then we switch spots and she captures exactly the same thing. Works like a charm! :)
Ask a Stranger, But Set Up the Shot First
Asking a stranger is always hit or miss, but maybe you forgot your tripod that day and the rocks on the ground don’t give you that perfect angle, and asking a stranger is your best option. Here are some tips to get the best out of your stranger-taken photos:
Ask someone with a camera–odds are they’re familiar with photography and you’ll have a better likelihood of getting a good shot.
Set up the shot–make sure the f-stop, shutter, and ISO are all set up to perfection and take a photo EXACTLY the way you’d like yours to look. Then, respectfully show them the photo and say, “this is what I’m thinking for the photo!” You basically want to give the shooter no creative freedom, which they usually appreciate.

Golden hour is my favorite time to take photos!
Consider Your Timing
There are two important things to consider when it comes to timing: light and popularity.
Lighting + Popularity
The best lighting for photography is always early morning and late afternoon (sunrise or sunset, better known in the photography world as “golden hour”), but it also depends on the vibe you’re going for. I love the long shadows and glowy light that comes with golden hour, but some locations tend to do better in midday harsh light. For example, lakes reflect the most light when the sun is right overhead, which lets them show off their brightest hues. If you’re photographing Banff’s blue gatorade lakes and want that color to POP, check it out at noon.
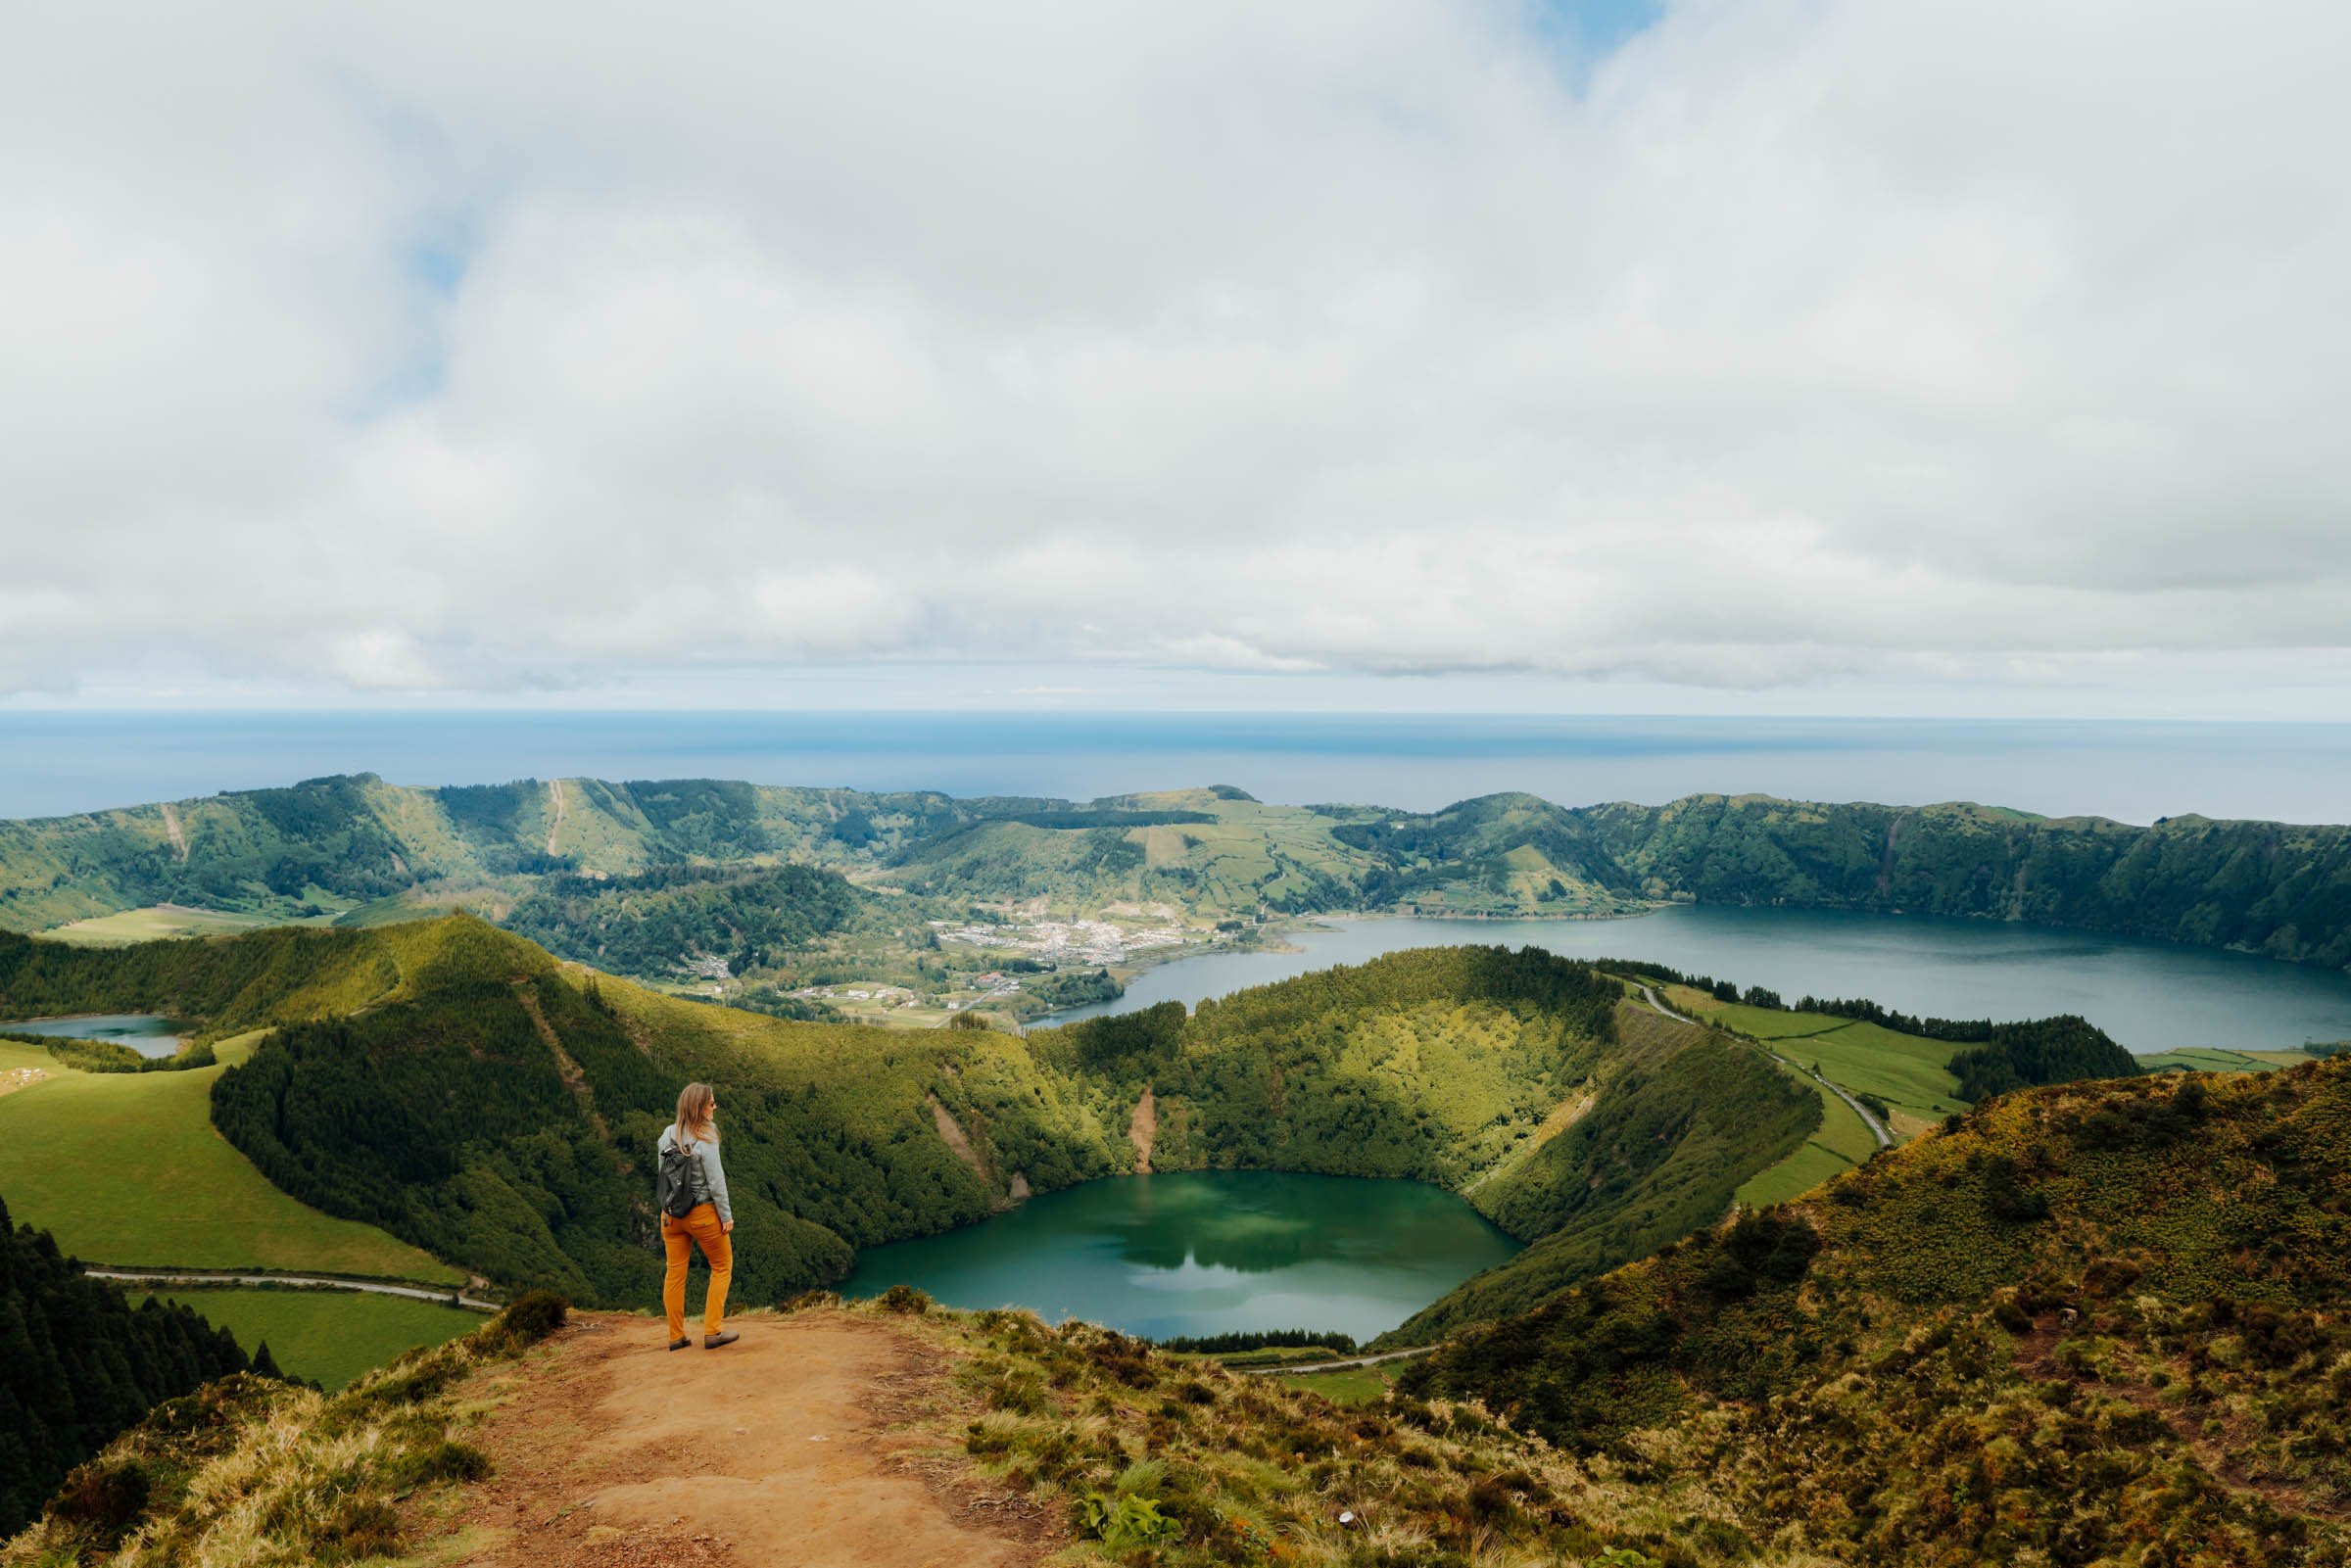
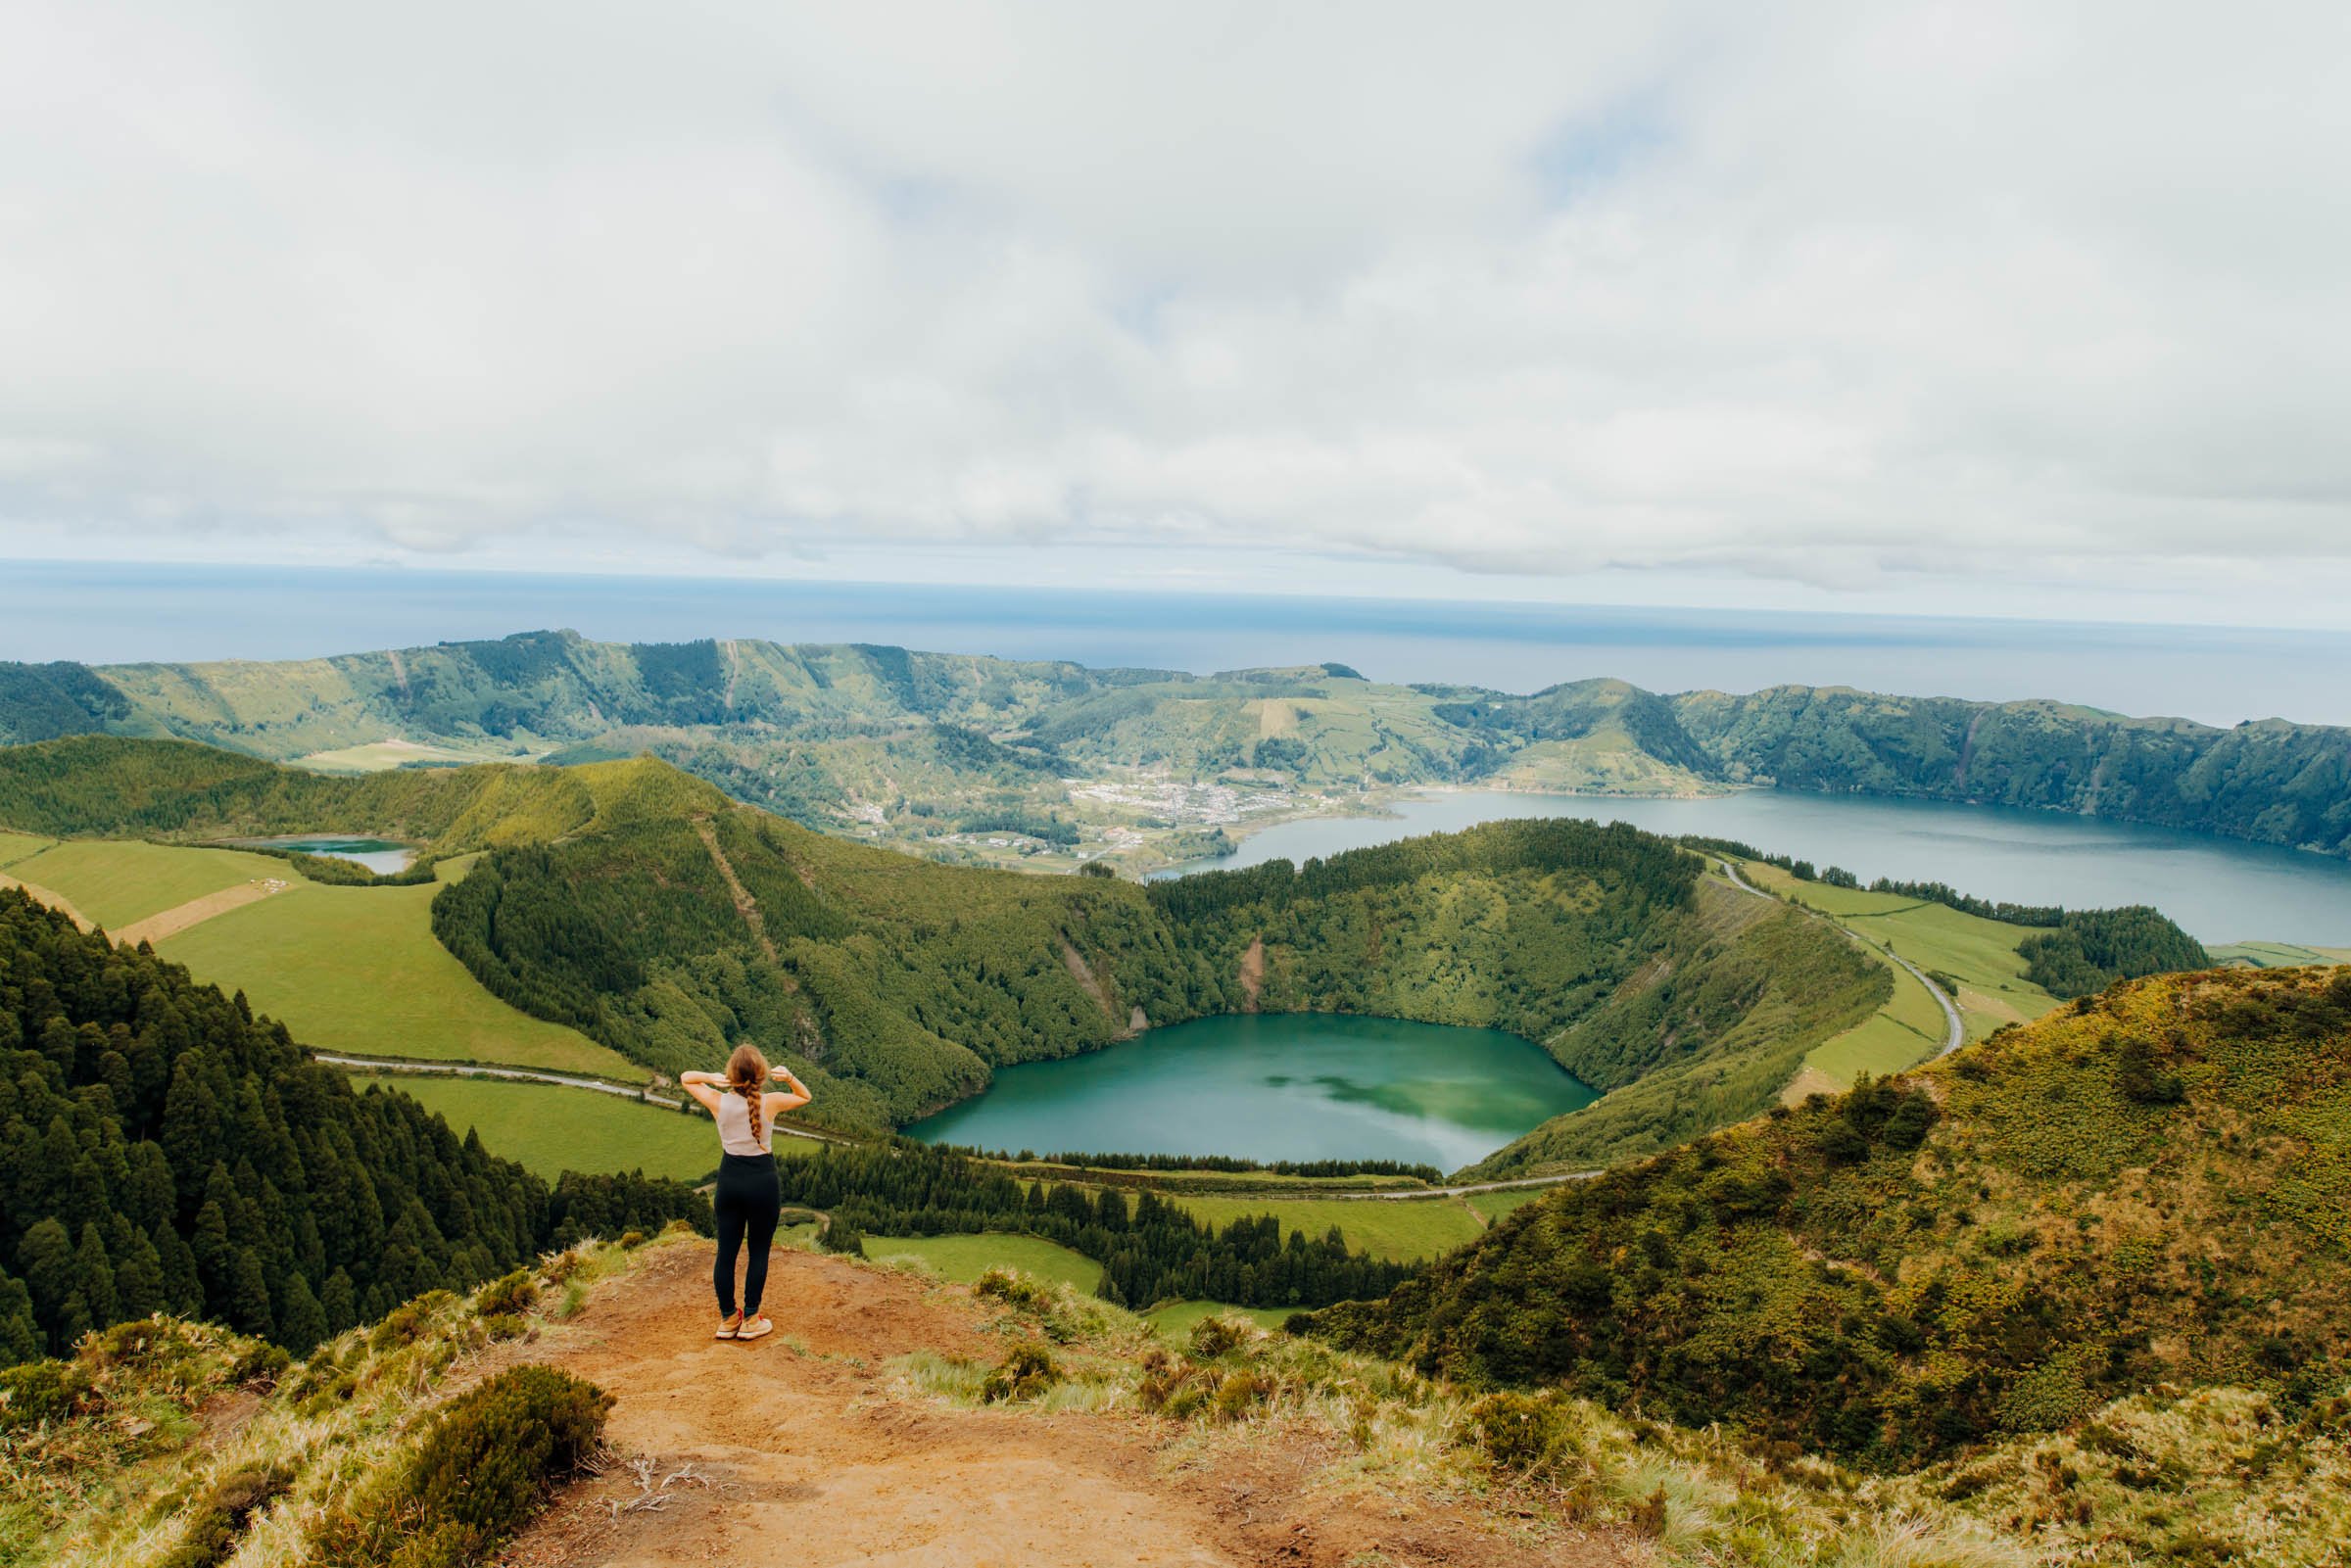
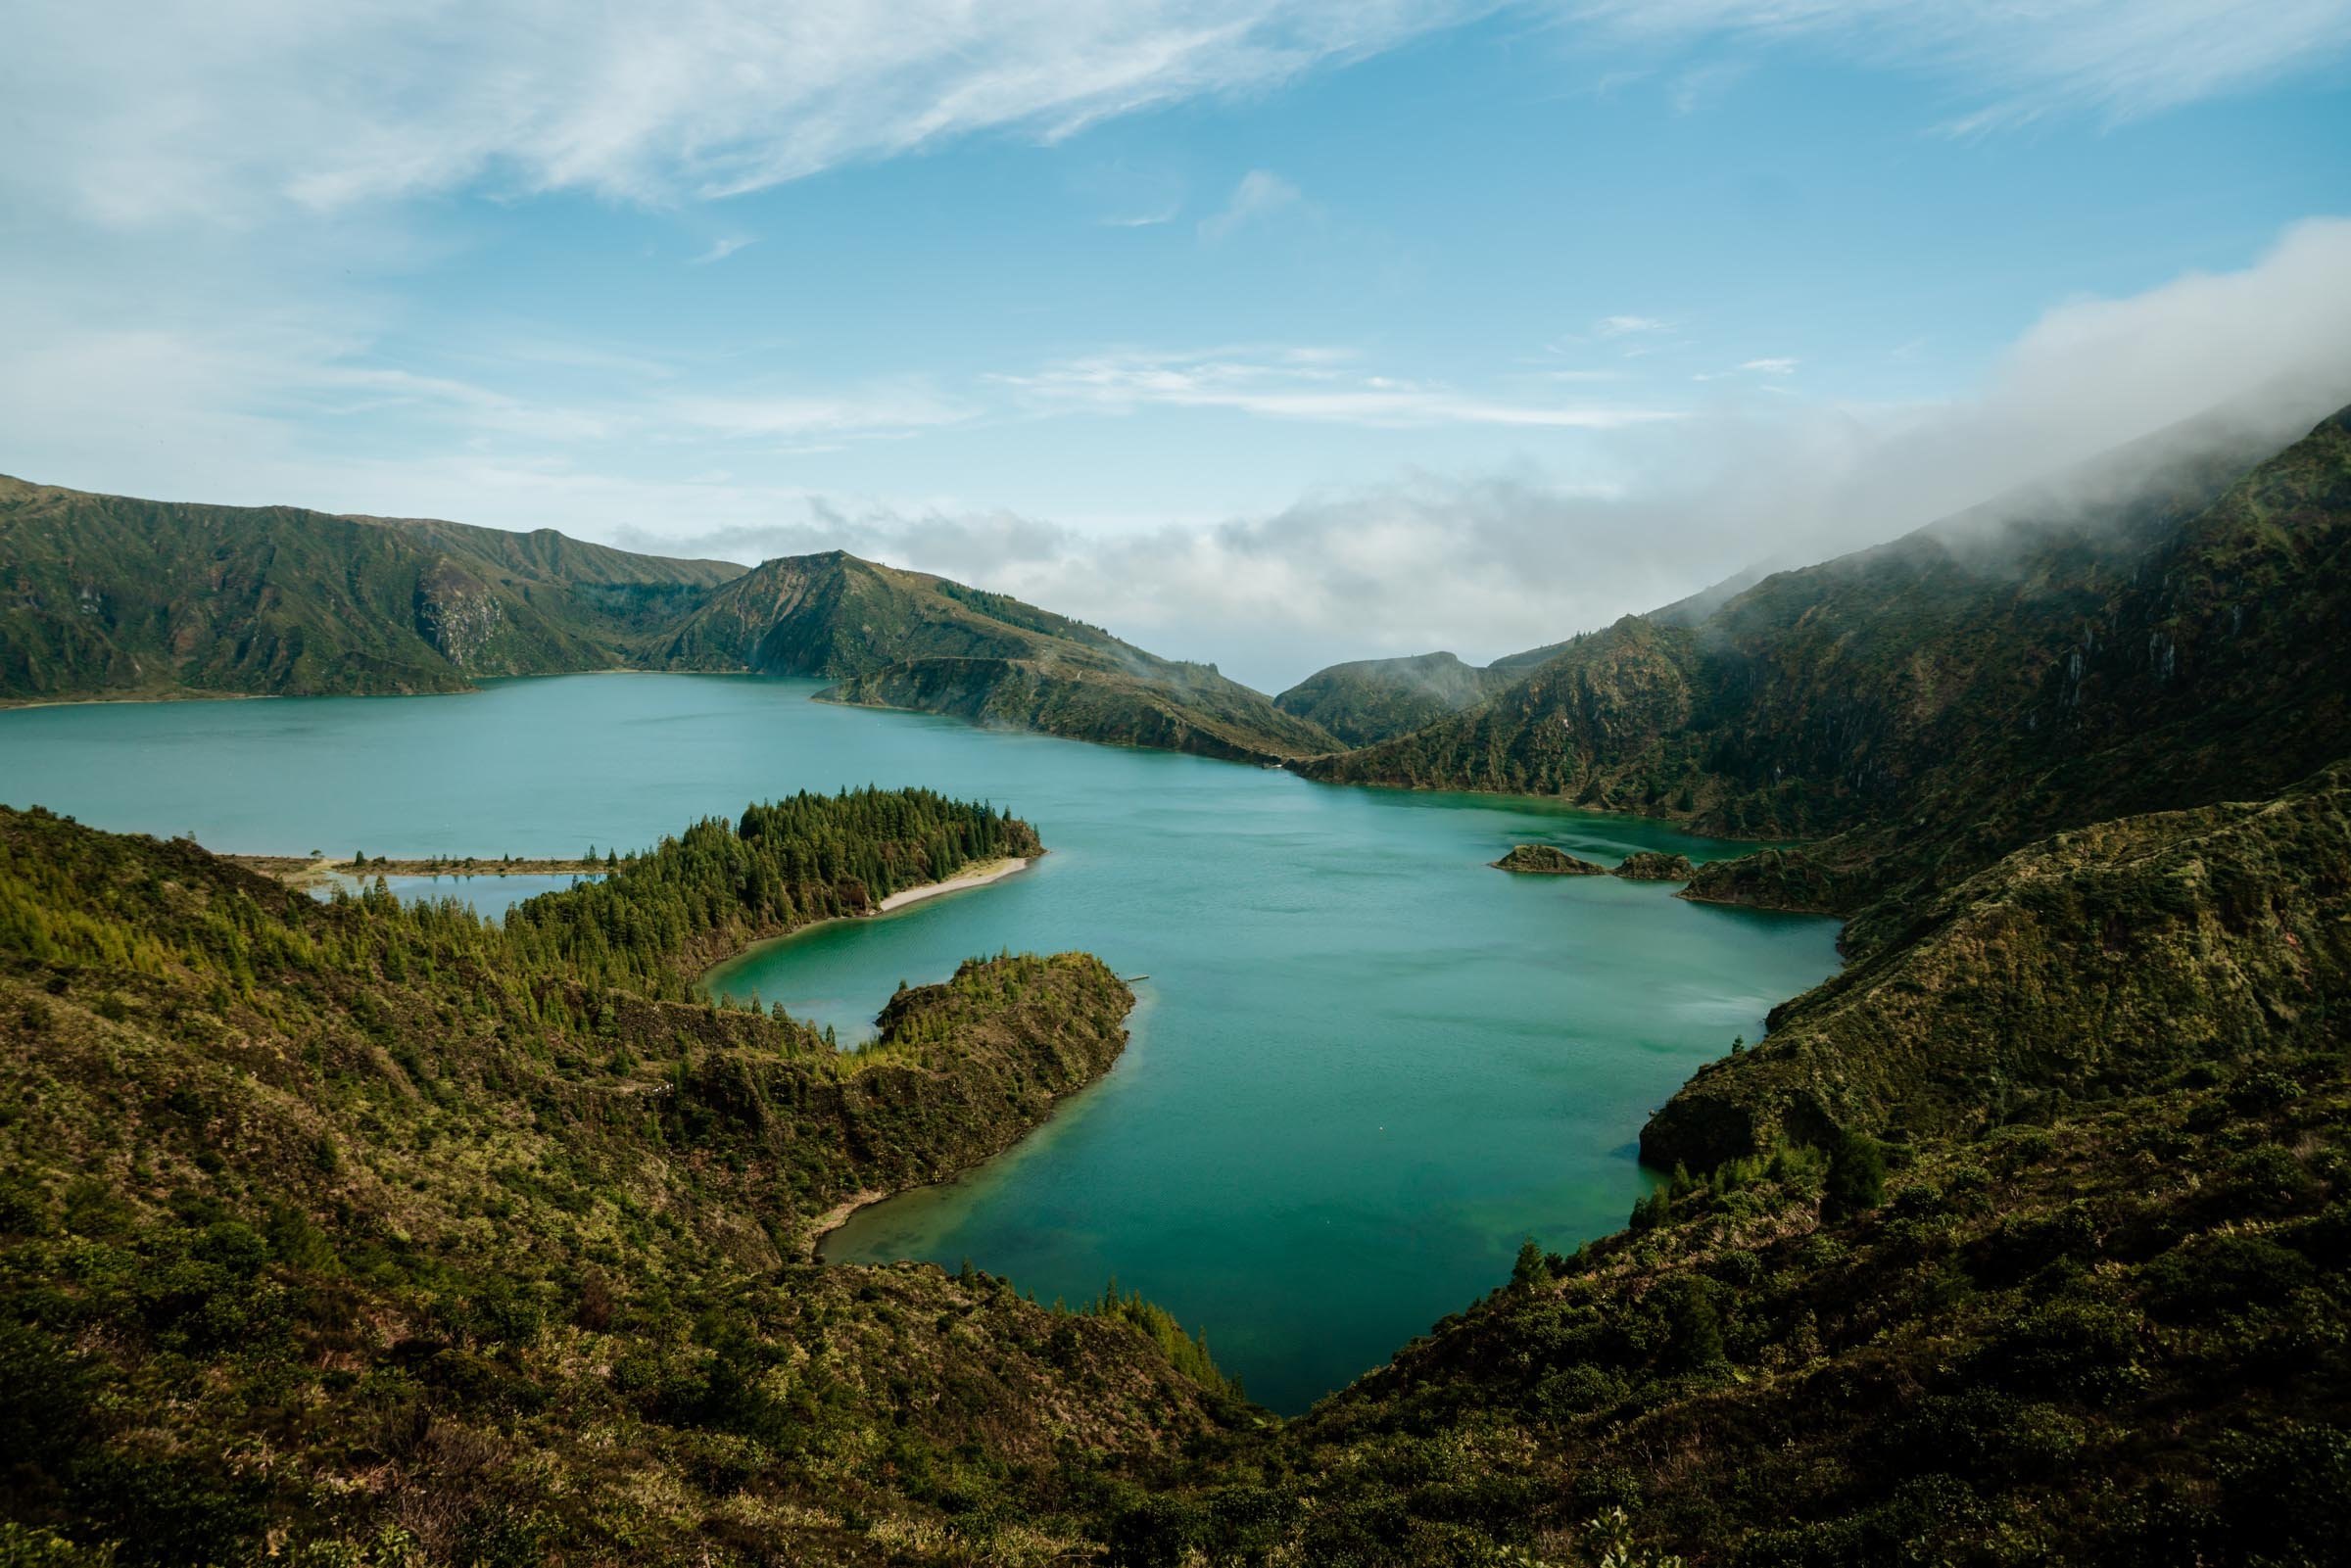
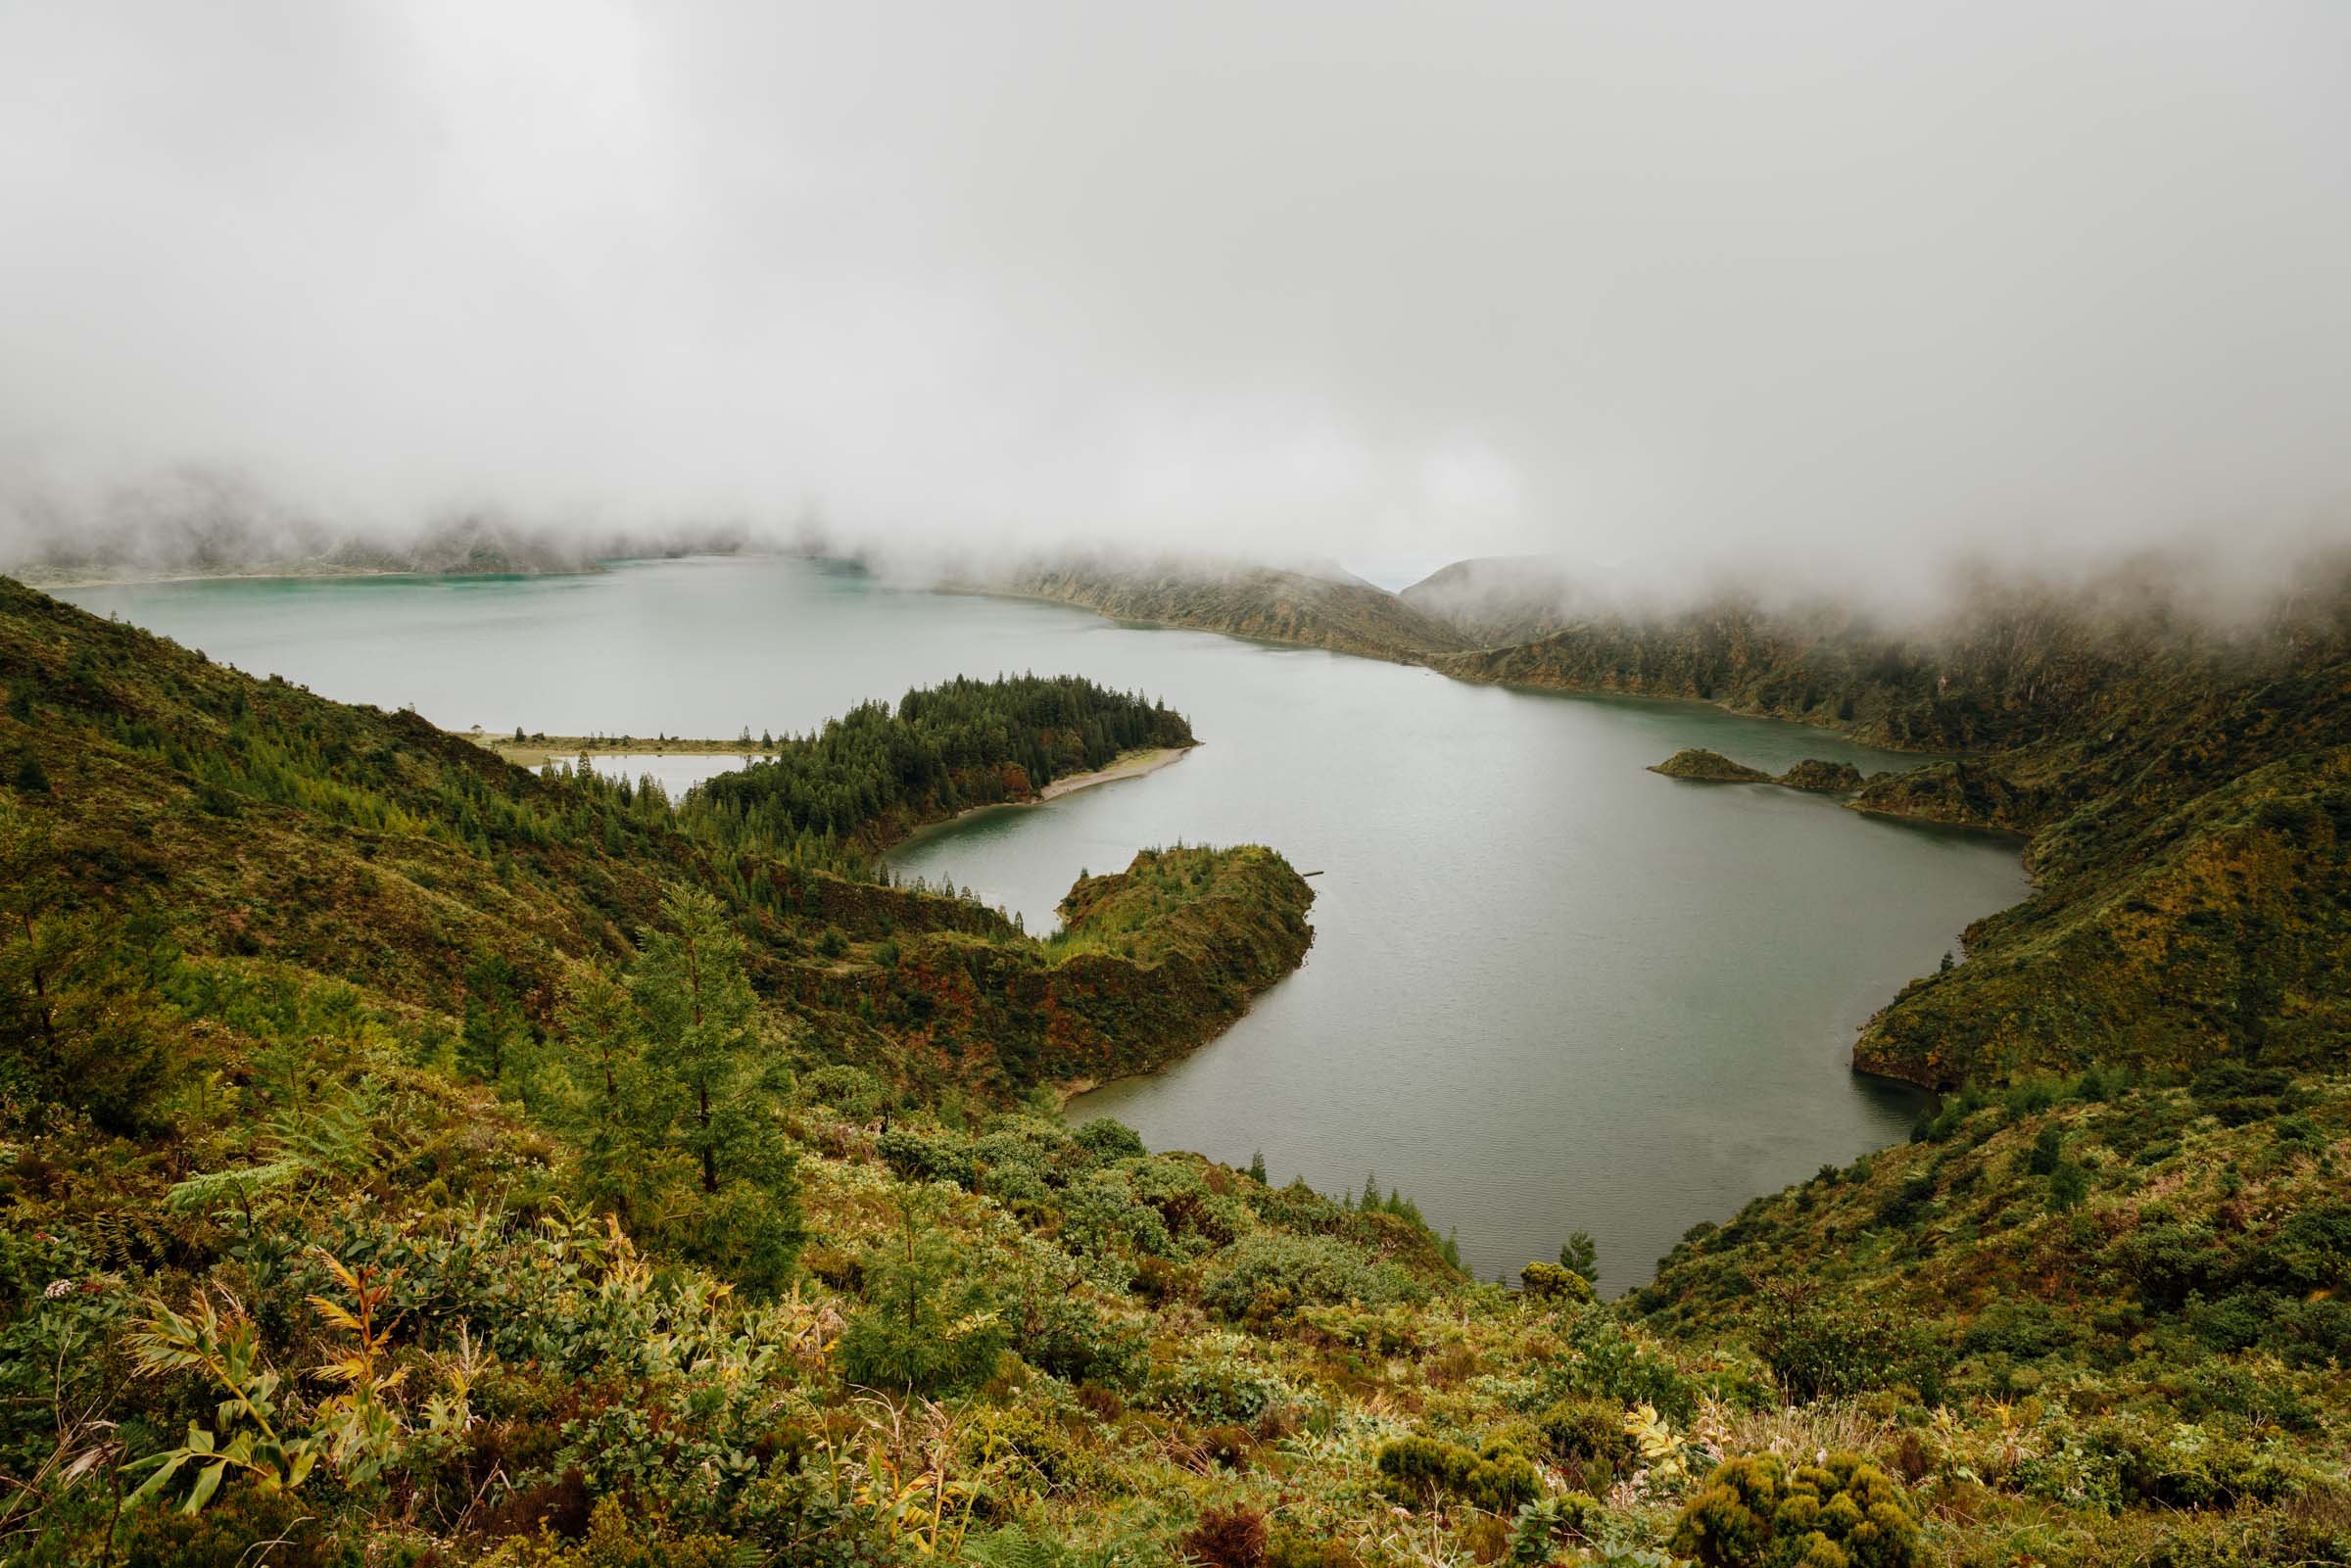
Look at the difference in the two photos below: The one on the left was taken at high noon on a partly cloudy day while the one on the right was totally fogged in. Look at the water color and how lighting can change the entire tone and feel of the image!
BUT, if you’re shooting a lake or pond and are hoping for a beautiful reflection, everything is a little more still in the early hours of the day–sunrise will be your best bet! I guess we has a species aren’t morning people, because the streets are typically pretty empty in the a.m. If you’re looking to photograph a popular destination, (you knowww, the Trevi Fountain, Effel Tower, you get the gist) definitely check it out in the a.m.
Weather
Weather is another important factor to consider–are there patterns? Is it usually sunny in the morning and raining in the afternoon? With travel photography, it’s important to be flexible. Mother Nature is full of surprises :)
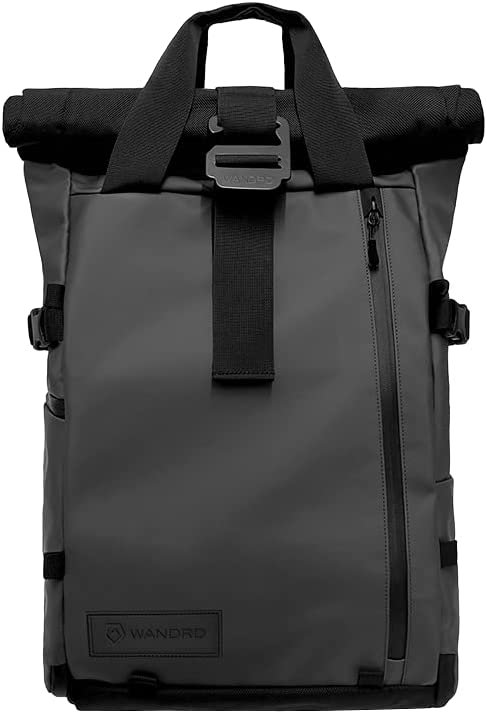
This is also why it’s important to have a great travel bag! I have the Wandrd Prvke backpack with the camera cube add on, which is water resistant with a waterproof cover for those wetter days!
Leave No Trace
And, as always, leave what you find, respect nature and each other, and pack out everything you pack in! Feeling a little rusty on those Leave No Trace principles? Brush up on them here!
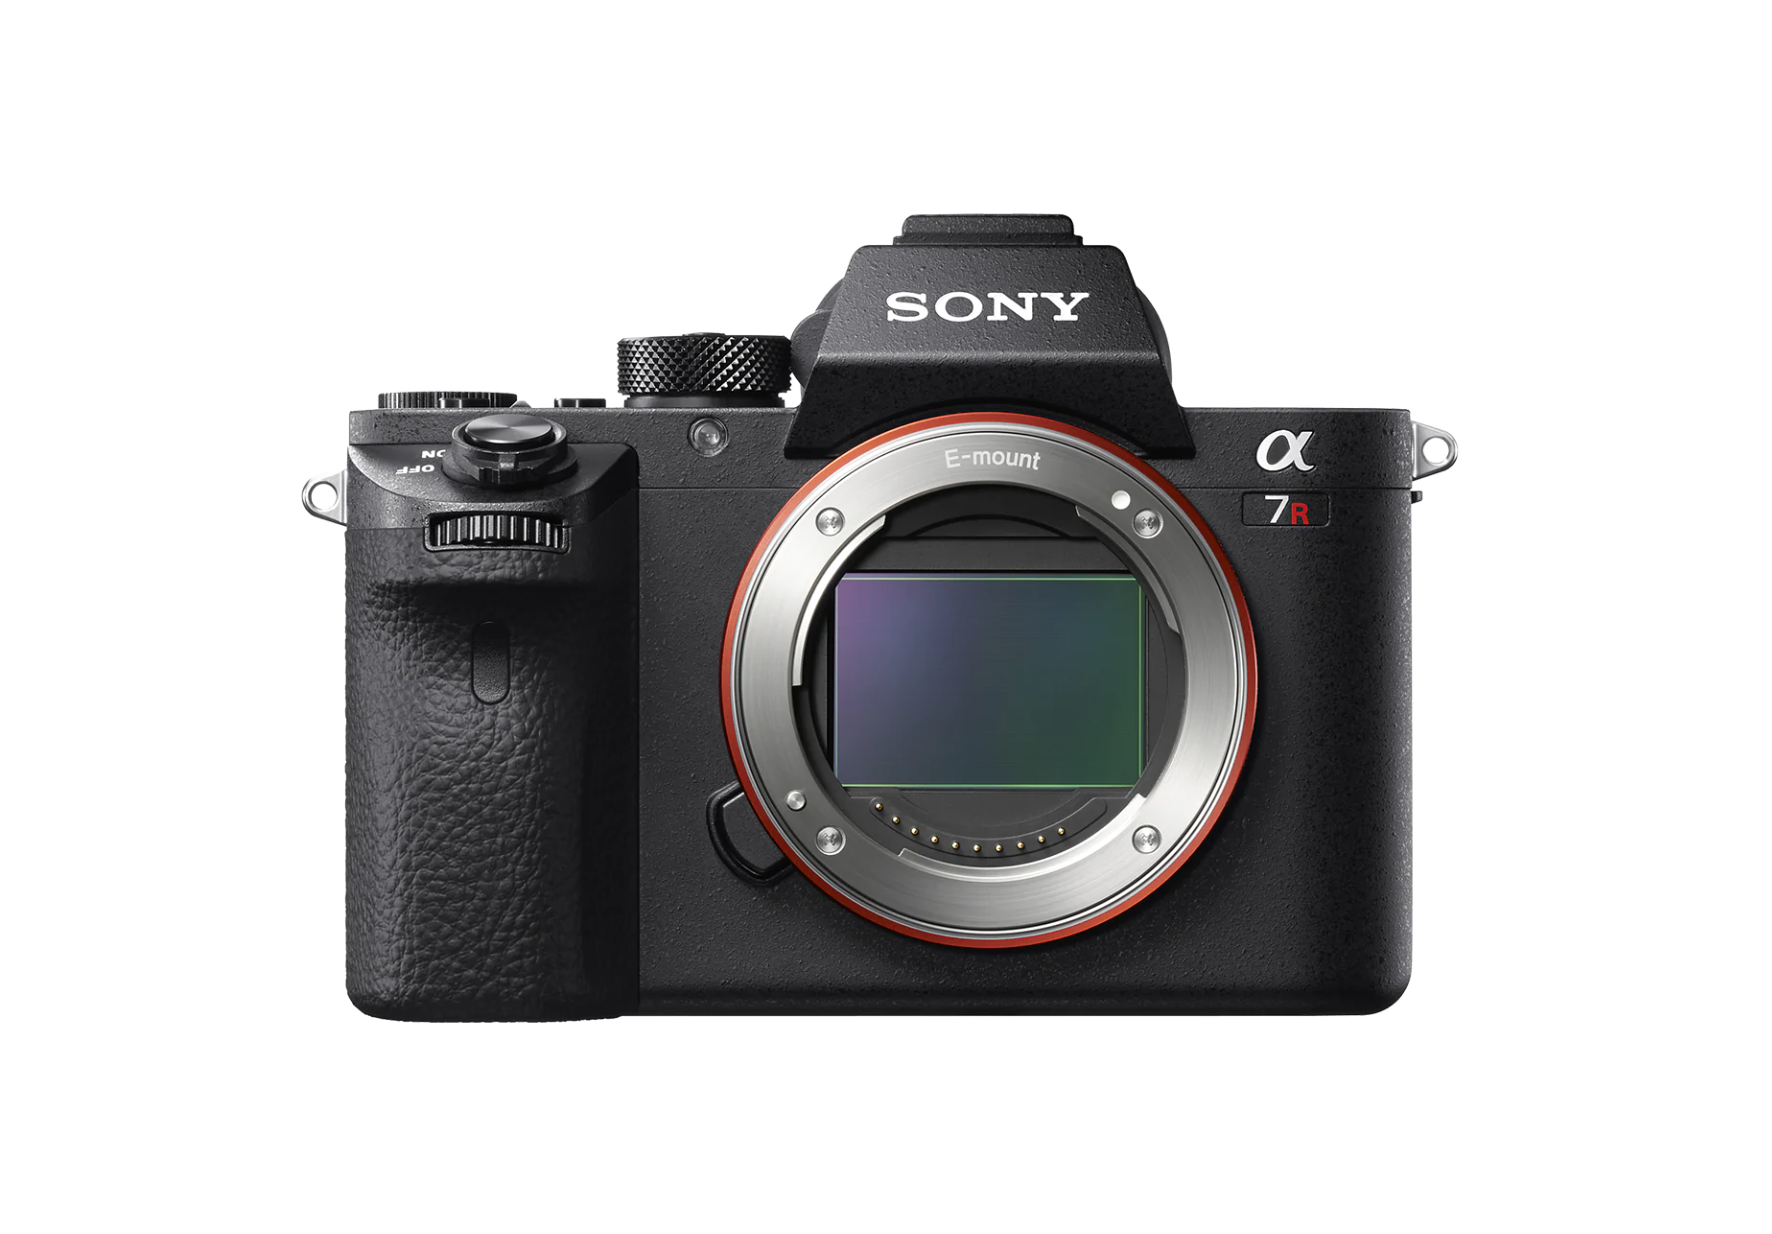
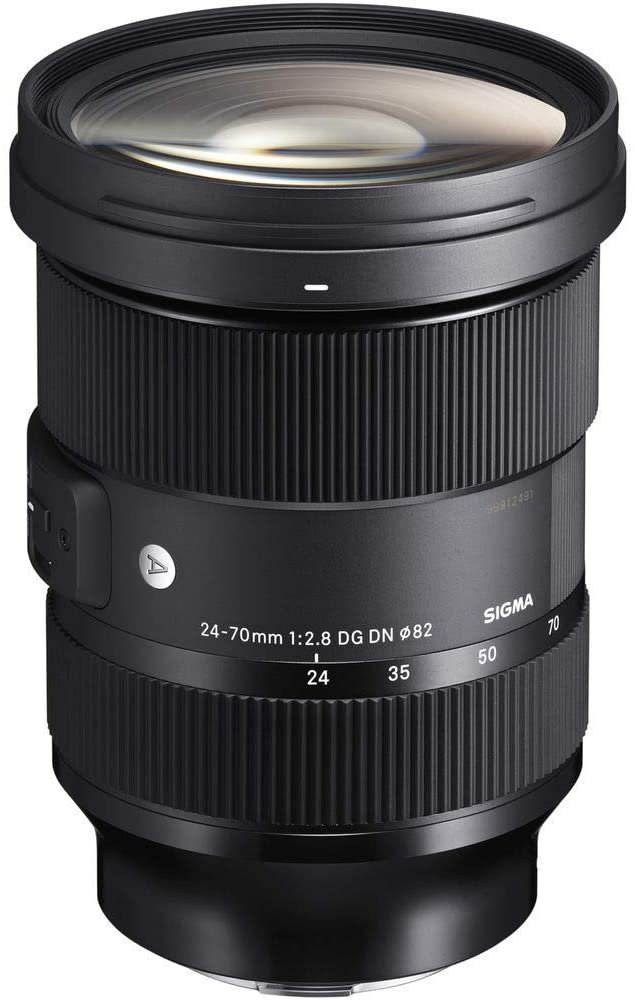
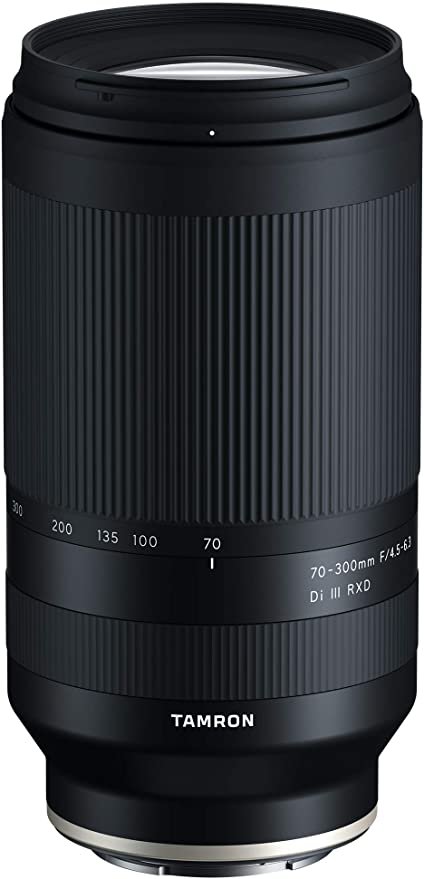
Shop My Travel Camera Gear