The Grueling Hike up Mt. Storm King is Well Worth the Olympic Peninsula Views: Here's What to Know
Switchbacks, ropes, cliffs, and expansive views: There's no dull moment on this short yet steep trail to arguably one of the best views Washington offers. Hikers come from around the world to experience this epic Olympic Peninsula adventure for themselves and I totally see why!
Not going to lie, the intense elevation gain intimidated me for years, but I finally took the leap, tested my limits, and tackled this bucket list item for myself, and while I may have died just a little in the process, it was all worth it at the end.
Here's what to expect on this epic hike.
Hey, friends! I love recommending the gear that I'm stoked about and use on the regular. As such, this post contains affiliate links to some of the products I love, and I'll receive commission upon any purchases made through those links at no additional expense to you.
Table of Contents
At a Glance:
Location: Lake Crescent, WA
Entrance Fees: National Park Pass required; $30 per vehicle per day; $55 annual; $80 National Parks annual pass. Purchase yours here.
Level: Intermediate/Hard
Length: 5.3 miles round trip
Elevation gain: 2,076'
Route type: Out & Back
Native Lands: Coast Salish
Open: Year-round
Best Time to Visit: May-October
Dogs Allowed: No
FAQ
Where is Mt. Storm King?
Mt. Storm King is in Olympic National Park on Washington’s Olympic Peninsula on the edge of Lake Crescent.
How hard is Mt. Storm King?
I’m not gonna lie, it kicked my booty, but it’s worth it! It’s a short but steep trail, so bring lots of water, some peak snacks, and get ready for a workout. The view is rad from up there!
Do I need a pass for Mt. Storm King?
Yes! You’ll need a National Park Pass. You can pick one up at the ranger station in Port Angeles!
Is Mt. Storm King safe?
Yes, the maintained trail is safe. The last leg to the top is unmaintained and requires some steep climbs using rope for support. Proceed at your own risk.
Is Mt. Storm King dog friendly?
Dogs aren’t allowed on national park trails.
Is Mt. Storm King worth it?
YES!
Read More: Why Salt Creek Should be on Your Olympic Peninsula Must List
What to Pack:
Water
Supportive hiking shoes with serious grip: I'd recommend something that protects your ankles while climbing over rocks and navigating steep terrain.
A windbreaker: Even on the hottest days, wind chill can be a real thing. Keep a lightweight windbreaker in your backpack just in case!
Snacks: We made sandwiches to enjoy at the top. Bring whatever's going to be a great reward to look forward to!
A backpack: I bring my Wandrd Prvke Pack everywhere!

Know Before You Go
Check the forecast before venturing out, as heavy rain and fierce wind are common on Mt. Storm King and carefully evaluate the conditions, your fitness, and decide if it's safe to proceed to the top. If there's snow, I highly recommend turning around after the first viewpoint. It's not worth the risk.
AllTrails is a great resource for keeping up with current trail conditions. Read recent trip reports for the most up-to-date information.
When's the Best Time to Visit?
May through October is peak season. I went in April and it was perfect, but snow will occasoinally stick around well into spring, so check those trip reports to see what you're getting yourself into. Going early spring or late fall will help you avoid the crowds and lessen human impact on the trails.
Getting There
Mt. Storm King is just outside of Port Angeles on Lake Crescent in Olympic National Park. To get there, find your way onto Highway 101–which is via the Bainbridge Island ferry if you're coming from Seattle–and park at the Visitor's Center.
Pro Tip: Plug "Marymere Falls" or "Storm King Ranger Station" into Google Maps instead of "Mt. Storm King". You could end up down a back road instead of the trailhead, and we don't want that!
Park at the Ranger Station with your park pass displayed proudly around your rearview mirror. Then, follow the Marymere Falls trail, passing under Highway 101, and continuing down the flat, wide trail towards the falls. Don't be fooled by this relaxing stroll through the forest! You'll reach the Mt. Storm King trailhead shortly (after about 0.5 miles), greeted by your first switchback. Embrace the burn!

Read More: Baker Hot Springs is the Off-the-Grid Washington Soak You've Been Searching For
The Climb
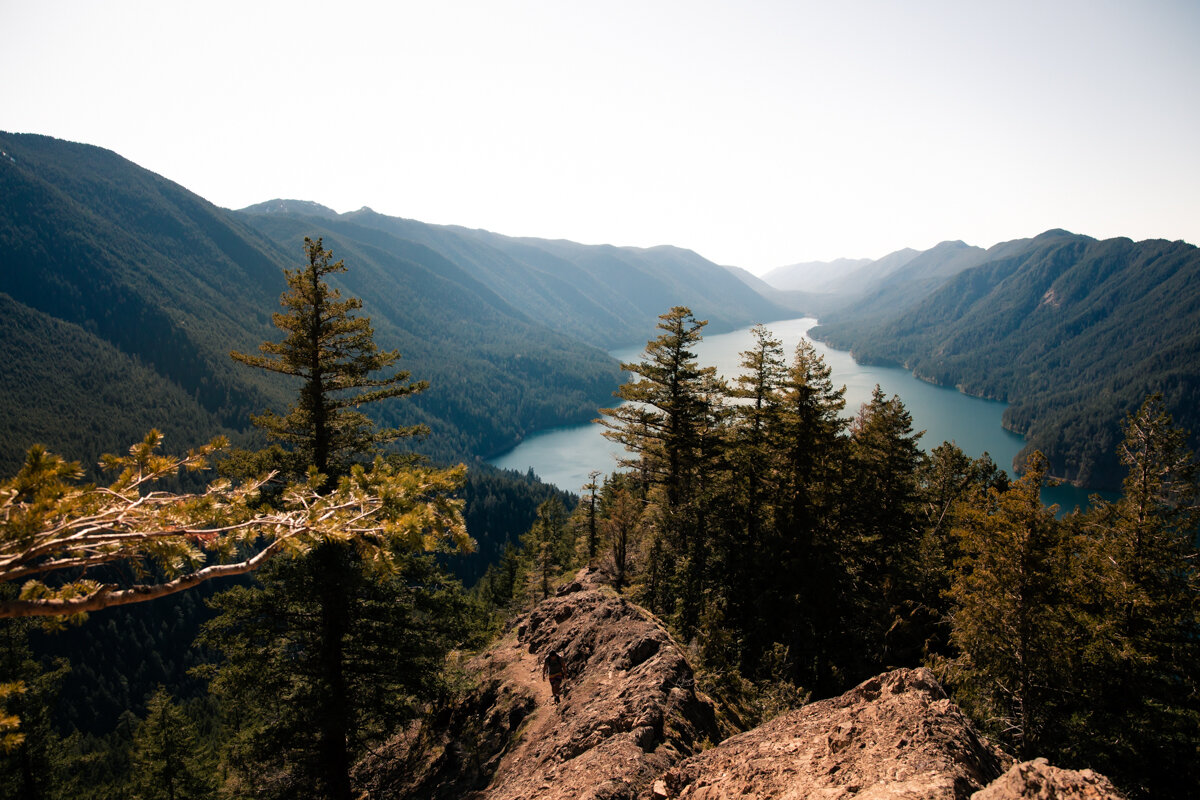
Slow and steady wins the race here. Again, climbing 1,000+ feet a mile is a leg burner to say the least. Don't feel defeated if you're out of breath. It's a feat! Take lots of breaks, enjoy the scenery, and have a great time! It's a gorgeous piece of forest, and at about 0.5 miles, the first view breaks through the trees.

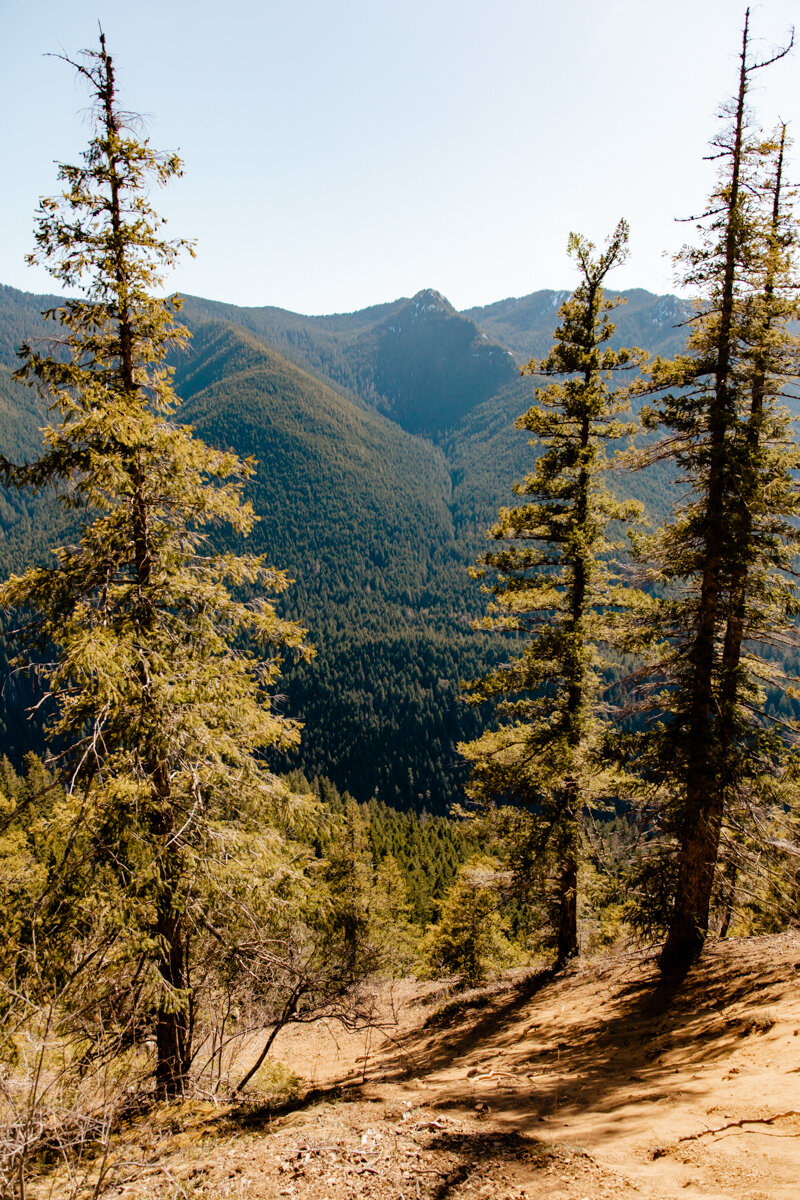
Further up, the scenery started to change. The forest thinned out, madronas replaced massive firs, and rock protruded through the forest floor as we neared the end of the maintained trail.

Read More: Hole in the Wall: Pro Tips for Exploring This Iconic Spot in Washington's Olympic National Park
At about 1.3 miles, we were faced with a tough decision: do we hang out at the viewpoint and soak it all in, or continue up an unmaintained, rope-lined trail for the famous photo?
I was tired, but committed. Tons of people do this hike, right? It couldn't be too bad! So off I went, up the first of six ropes–the sandwich and tootsie roll pop in my pack giving me that extra bit of motivation.

The Ropes
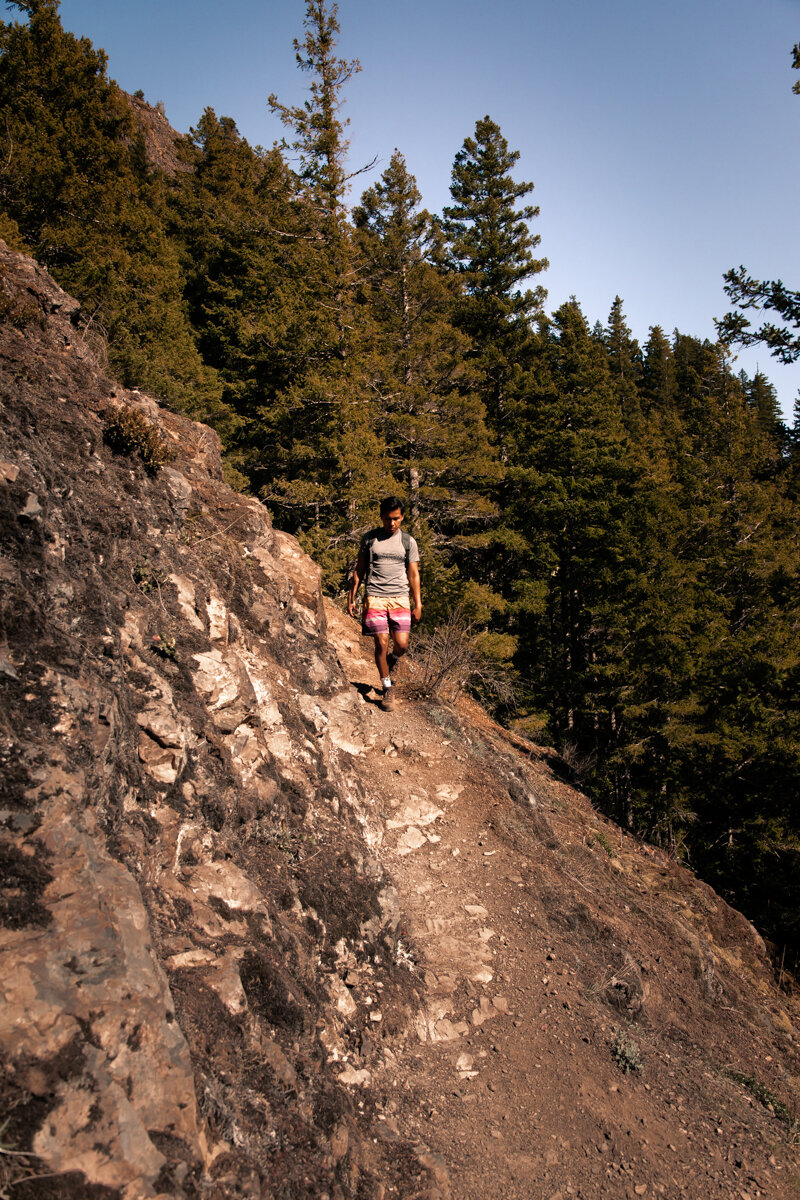
Here's where it gets sketch (and where those traction hiking boots come in clutch–leave those Nikes at home!). The grade is incredibly steep and you're relying on a self-installed rope to guide you over rock slippery with sand and loose gravel. It's also quite a bit of a drop on each side. The first two ropes were the sketchiest, in my opinion. If you can get past those, you're golden.
This hike isn't for the faint of heart. Acrophobics take note!

If you brought a pair of gloves, put them on to avoid rope burn.
It sounds scary, but this was honestly my favorite part. I forget about my sore legs and distance to the peak when something fun like rope gets introduced into the mix. The ropes were sturdy, and combined with my grippy hiking bots, I felt totally safe.

If you can, stop halfway up the first rope to enjoy the view. It's insane!
Pro Tip: Wait until your hiking buddies completely let go of the rope to begin your ascent/descent. It's hard (and scary) enough to climb these things without another person's body weight swinging them around.
After the first couple of ropes, there's a spot where the trail slid. Mind your step here. There's no rope to hold on to.
A few more ropes under our belt and we reached the last rocky terrain before the viewpoint.

Looking back at the last rocky part of the trail. The view is behind us.
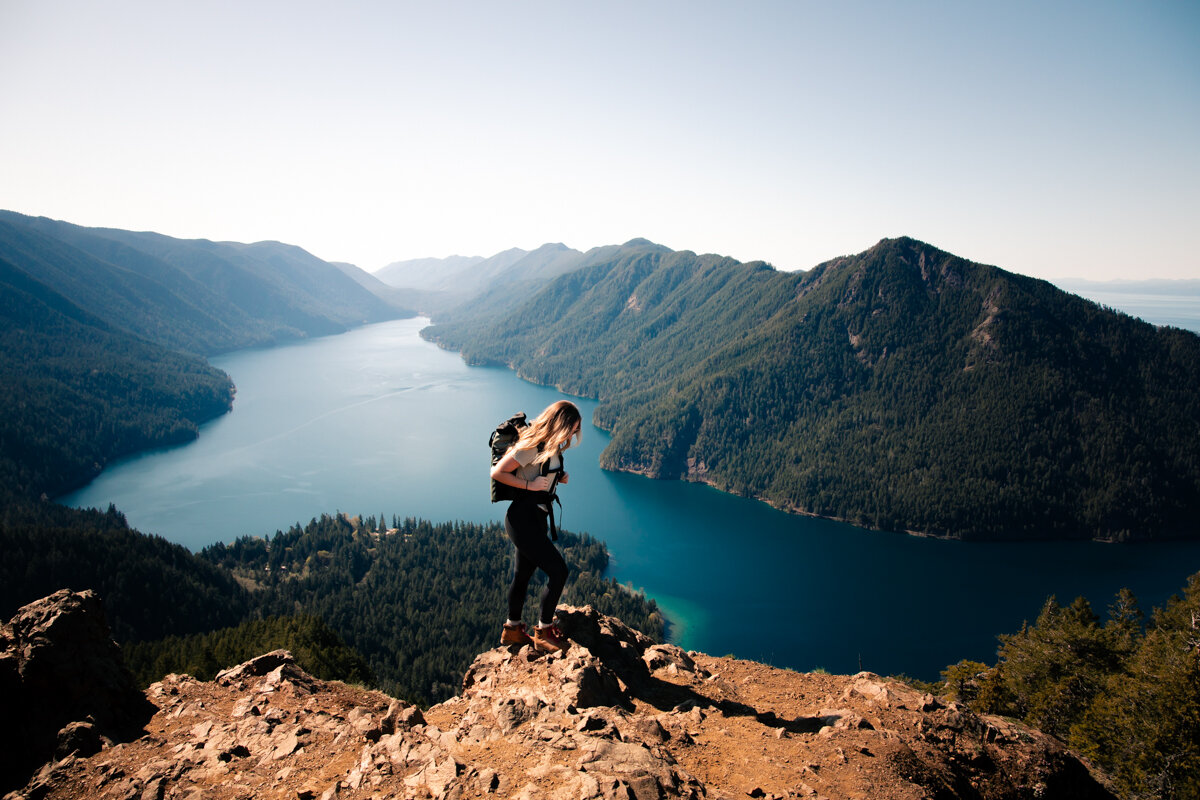
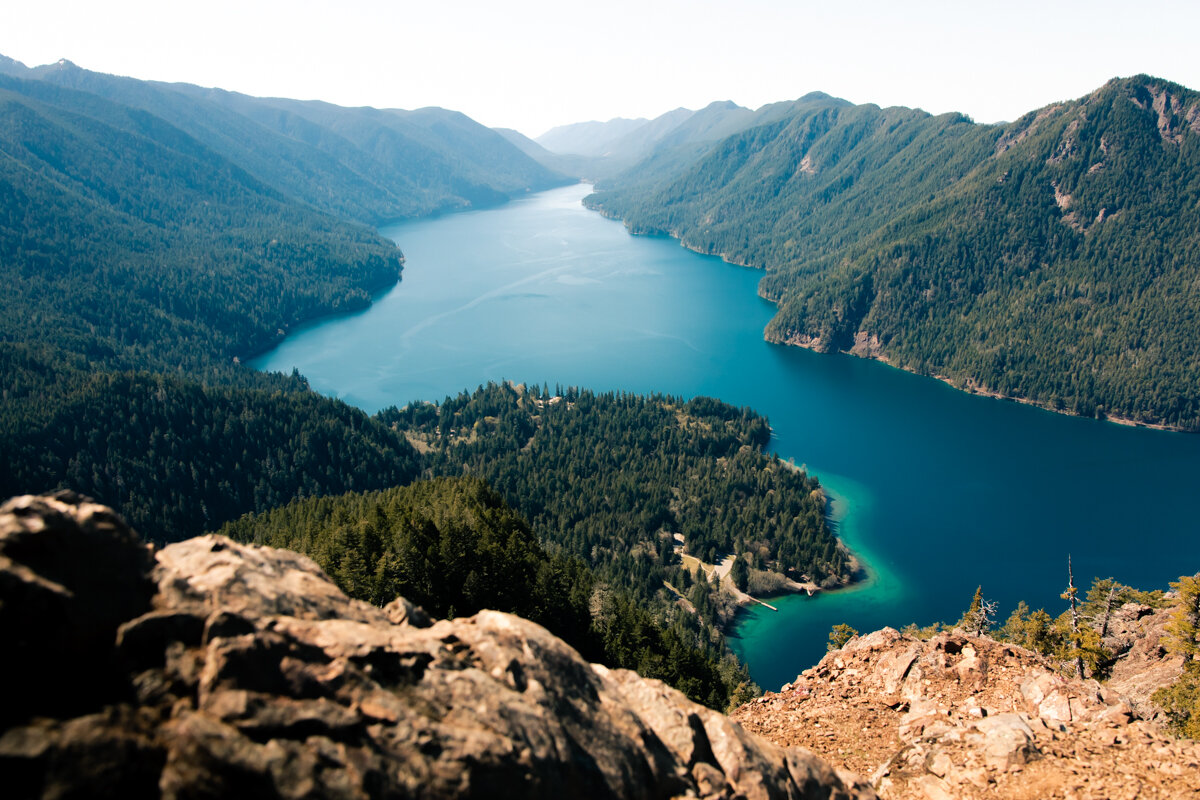
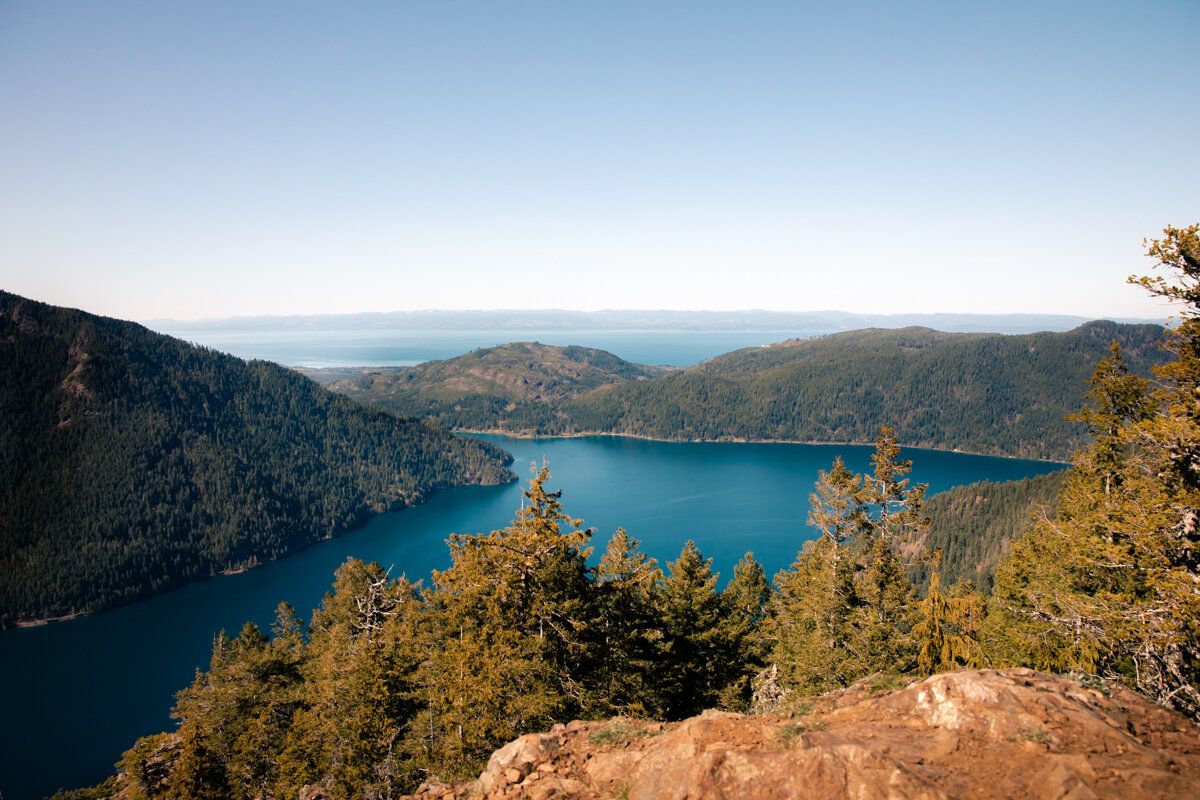
I'm not kidding when I say my jaw fell straight off my face. The Strait of Juan de Fuca and Lake Crescent emerged in all their vastness, the bright blue water even bluer from the sun's overhead rays.

We arrived at about midday and just in time for lunch. We whipped out our sandwiches and settled in for a killer meal with a view. Curious little birds flew overhead, trying to get a taste too.
Remember: Never feed wildlife! It's actually super bad for them and can make them really sick. More on that here.
We were lucky to get perfect weather on this hot day in April, so all we needed was a light windbreaker at the top to protect us from the elements.
Have Extra Time? Check out Marymere Falls!
It's only about 0.5 miles one-way from the Mt. Storm King trailhead.
Level: Beginner
Length: 1.7 miles round trip
Elevation gain: 296'
Route type: Out & Back
End With a Dip!
After safely descending, sweaty from the experience, and dusty from the climb, a refreshing dip in Lake Crescent was just what I needed. 10/10 would recommmend.

Remember...
Keep on practicing those Leave No Trace principles! These include:
Packing out what you pack in
Not feeding wildlife,
Staying on trail
