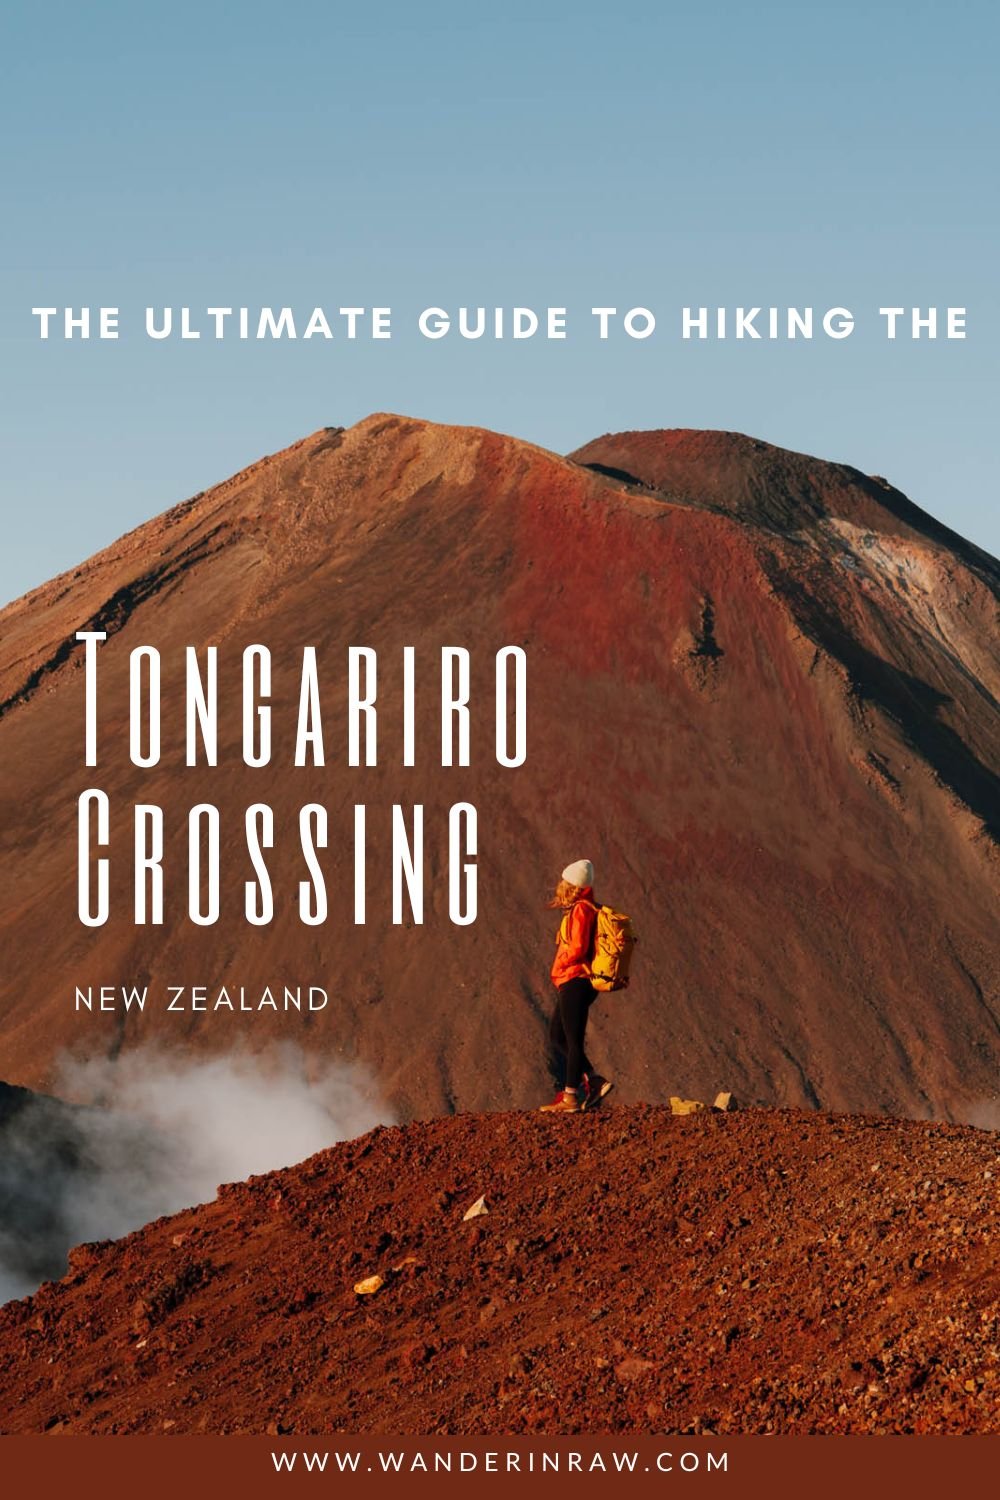
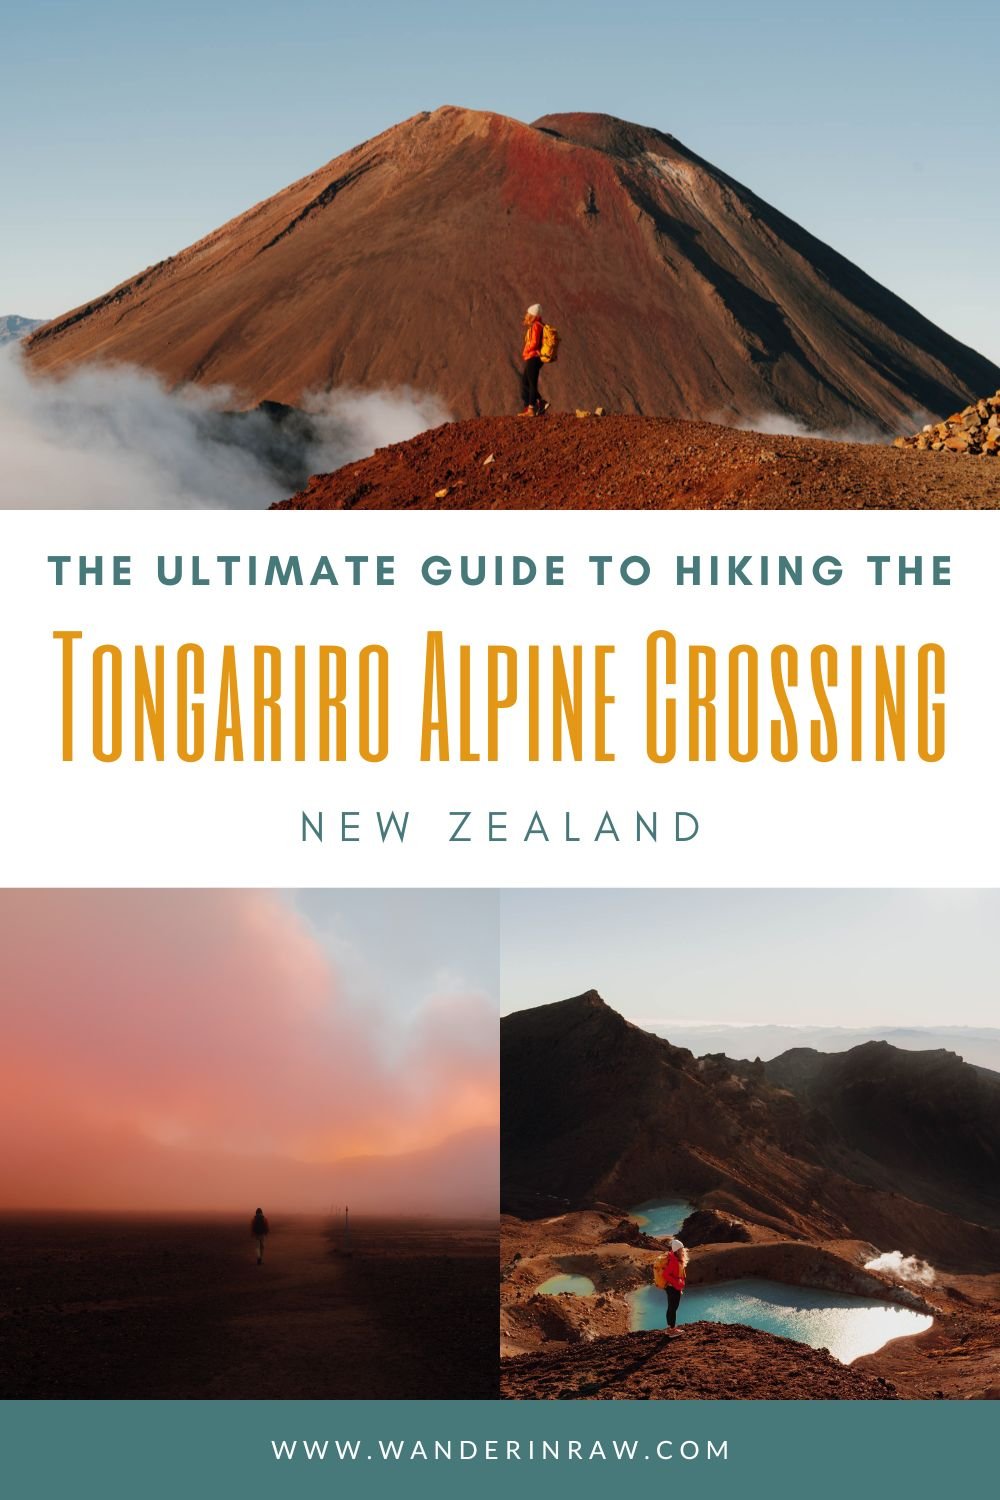
The Ultimate Guide to Hiking New Zealand's Tongariro Crossing
Otherworldly–some might even call it Mordor–New Zealand’s Tongariro Crossing is an epic 12.3-mile thru-hike on the North Island where you get to walk atop volcanic craters and among active geothermal landscapes. Like whaaaaat. I finally got to see why over 100,000 hikers traverse this landscape every year, and man, lace up those boots because you don’t want to miss this. Here’s everything to know for an epic Tongariro Crossing experience, including how to book your Tongariro Crossing shuttle, avoid the crowds, where to park your car, what to expect on the trail, and more.

Mt Ngauruhoe, Tongariro Crossing
Hey, friends! This post may contain affiliate links to some of the things I love, and I'll receive a commission upon any purchases made through those links at no expense to you.
Table of Contents
Tongariro Crossing At a Glance:
Distance: 19.4 km hike (about 12 miles)
Time: 6 to 8 hours
Elevation Gain: 736 meters (~2,100’)
Elevation Loss: 1,236 meters (~4,050’)

Toilets on the Tongariro Crossing
Toilets:
The good news is, there are plenty of toilets throughout the entire track (six to be exact). Bring your own toilet paper and use the facilitie as needed. Do not pee on the track. There’s no reason to. The toilets are placed throughout the track at each mile listed below.
Mile 0.7
Mile 2.9
Mile 4
Mile 6.6
Mile 8.3
Mile 10.5
FAQ
-
It’s rated hard on AllTrails I believe mostly because of the distance (12.3 miles), but the elevation gain really isn’t too terrible. If you do some level of physical activity, like to hike, and come prepared, you should be fine!
-
Yes! It’s totally free. That said, because it’s a point-to-point track (thru-hike), you’ll want to hire a shuttle to take you ack to your car. This is where the expenses come in. They range from $30-50 USD.
-
Usually 6-8 hours. This includes breaks!
Know Before You Go!!!
You’ll be hiking in an active volcanic landscape, AND an alpine environment. While the track isn’t necessarily too difficult, you’re going to be exposed to the elements for 6-8 hours. Keeping tabs on the weather up until you depart for your hike is SO IMPORTANT! The weather can change super quickly, so if you even have the slightest uneasy feeling in your gut that there might be a little too much rain or wind, go with it. Reschedule. It’s not worth the risk. Not to mention, rain likely means no views.
If you’d like a second opinion (which I highly recommend), swing by the visitor’s center in Whakapapa. They’re there to help! You can also learn some pretty sweet facts about Tongariro National Park while you’re there too!
Tongariro Crossing Packing List:
Layers are your friends! The weather can change pretty quickly in these harsh alpine environments. Come prepared for anything and you’ll have an epic time!
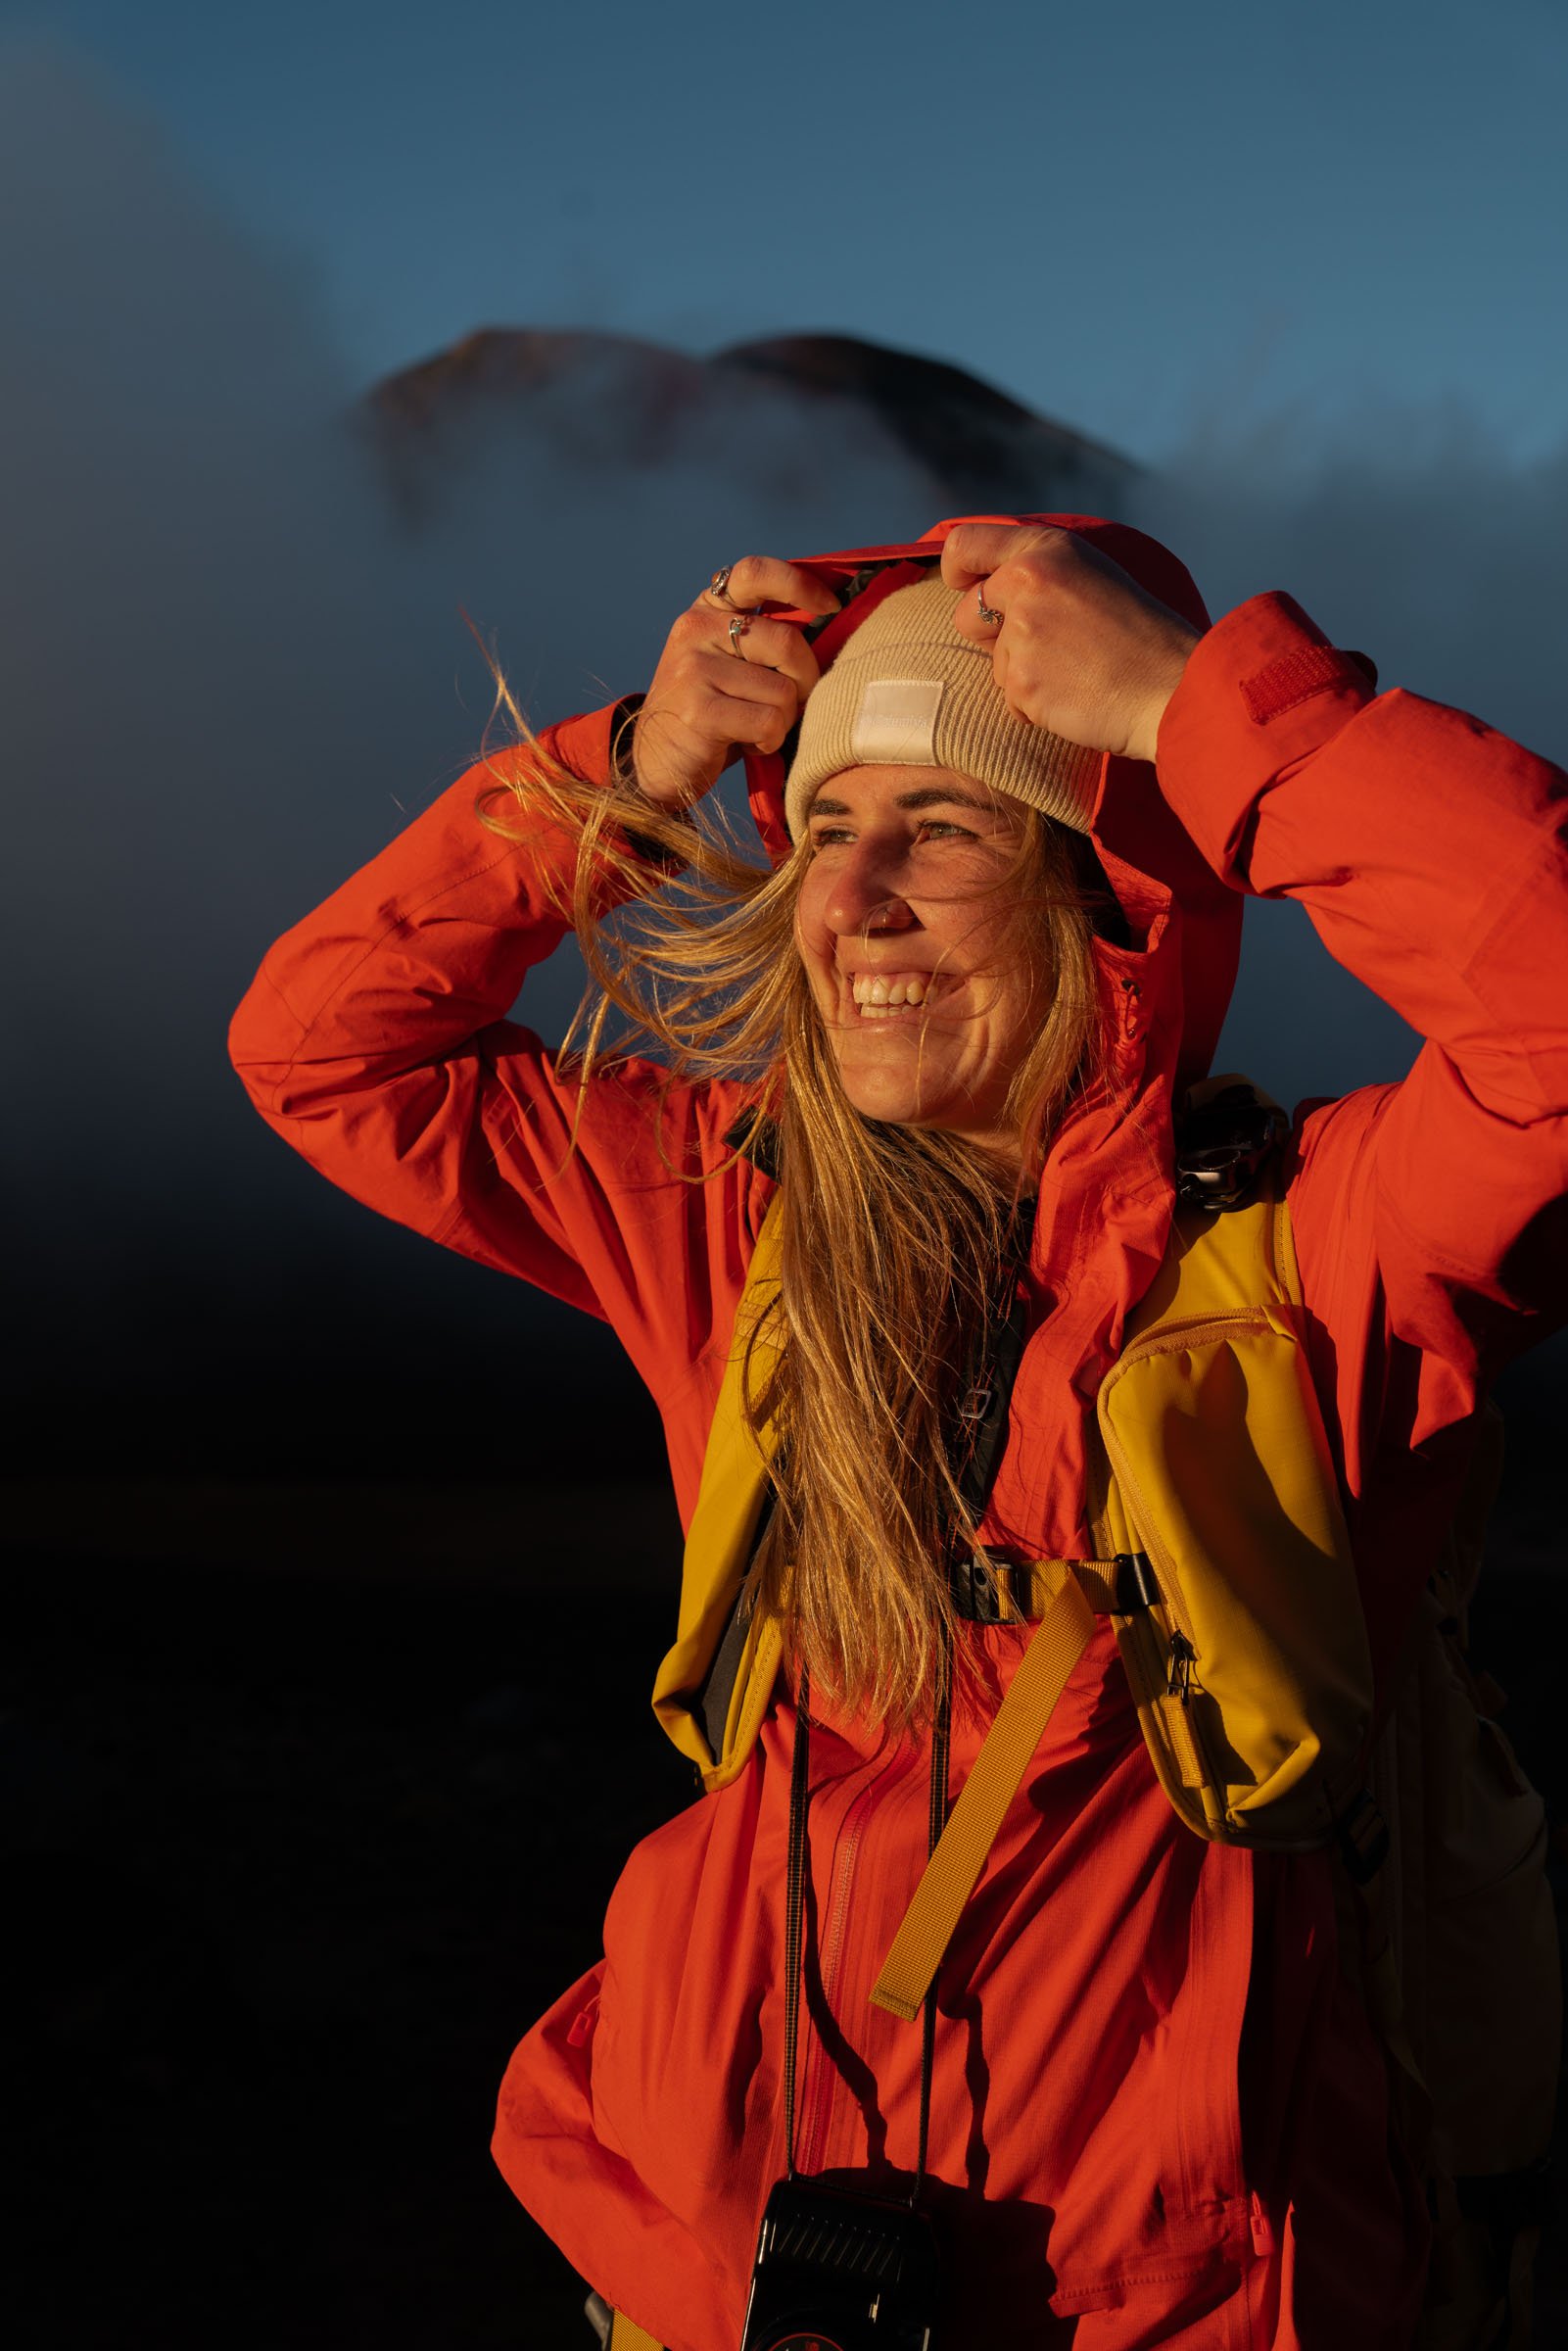
Raincoat. This is a non-negotiable. Our shuttle driver wouldn’t let you on if you didn’t have a quality raincoat. They’re obviously great at protecting you from rain or mist (the fog up there is wet, lemme tell ya!), but the wind up there is fierce, and these act as windbreakers too! I wore my REI XeroDry raincoat.
Puffy or warm mid-layer. I started in my puffy and switched to just my raincoat once the sun came up.
Beanie or a warm hat (especially if you’re hiking in the dark). I wore my beanie up until the Emerald Lakes, where I swapped it for a baseball cap.
Baseball cap. The sun is no joke. Protect yourself. Which brings me to my next item.
Sunscreen. Self explanatory. I love my Kinfield!
Quality hiking boots or shoes. Preferably ones you’ve broken in already. It’s not necessarily a hard hike, but it is a long one, and your feet will probably be hurting by the end whether you have good boots or not. Mine did. Do your soles a favor and bring along good boots! I wore my Danners, per usual.
Quality socks. Your boots are sometimes only as good as your socks. I’d recommend merino wool hiking socks.
Water. 1.5L minimum, but better to have more than not enough. There are no water sources to refill so you’ll need to pack enough for the whole adventure. While there are lakes, they are sacred and are not to be touched. I filled my Osprey water bladder to 2.5 L and only drank 1. Oops.
Camera. I brought along my Sony a7r III with my 24-70 GM II lens, and my Canon 35m II point-and-shoot film camera.
Toilet paper. There are plenty of toilets along the track, but no toilet paper. Bring some just in case. It’s a long day!
Lunch. Something easy and delicious! I opted for a pastrami and cheese croissant sandwich.
Snacks. I brought granola bars for protein and Sour Patch Kids for a little sugar boost here and there! Snacking throughout the hike kept me going!
A backpack to put it all in. I had my Shimoda X30 camera backpack that fit everything nicely!
The popular Tongariro Crossing is a one-way track (hike) that requires some prep and planning, and at 12.3 miles, I was honestly surprised to learn how many visitors hit this trail. But the elevation (if going south to north) really isn’t terrible. It’s totally doable if you’re reasonably active and like to hike! Just come prepared (see the packing list), take it slow, and enjoy the views. They’re pretty dang incredible.

Emerald Lakes, Tongariro Crossing
Booking Your Shuttle
Unless you’re traveling with two cars (or have a really kind friend), you’ll need to book a shuttle to bring you back to your car. Parking at the start of the track is limited to 4 hours–you’ll still be on the trail! The good news is, you have options. We love options.
Option 1:
Drive to Ketetahi Car Park the morning of, park on the street to save money, or in the car park for $15. You’ll catch the “Tongariro Expeditions” shuttle to the trail start at Mangatepopo and have your car waiting for you at the end–no need to reserve a return shuttle time slot, so you can take as much time on the trail as you’d like! $41.20/pp
Option 2:
Drive to the park and ride in National Park (yes, it’s a town–cool name, right?), wait by the TCS sign and catch the shuttle to the trail start at Mangatepopo there. The shuttle will pick you up at the Ketetahi Car Park when you’re finished and bring you to your car. You’ll need to pre-select your departure and return times. Make sure you give yourself plenty of time so you don’t miss your return bus! $34.09/pp
Option 3:
Drive to (or stay overnight at) Discovery Lodge, which is just 10 or so minutes from the trail start at Mangatepopo. The “Alpine Co” shuttle offers the earliest shuttle for those hoping to catch sunrise on Tongariro Crossing, which is why we chose to go this route! We stayed overnight in a Camping Hut ($65-$95 NZD/night) and caught the first shuttle out of there at 5 a.m. They have cabins, motel rooms, and van parking too.
We made it to the Crossing by sunrise at 8:11 a.m. They offer return shuttles every hour from 11:30 a.m. with the last one at 3:30 a.m. You don’t need to choose a time slot ahead of time, and it’s nice to have that flexibility in case you want to spend more time on the Crossing! $43/pp
I was a little disappointed to have to hike the boardwalk section at the beginning in the dark, but you can’t have it all! I fully plan to return to just the boardwalk section at sunset one day (sunset is the prime time of day to see the sun set Mount Ngauruhoe aglow anyways!).
Option 4:
Book a round-trip shuttle from whatever town you’re staying in. I’d recommend staying in Taupo for the shortest drive! Check out this shuttle option.

Friendly Reminders from Tongariro National Park:
The summit of Mt Ngauruhoe and Mt Tongariro are considered sacred. Please keep to the main track and do not touch the top of these sacred areas.
The pristine mountain lakes are also sacred. Same rule applies about touching the water! This includes washing hands and paddling feet.
Take your rubbish with you! What you take in you MUST take out with you!
Drones are not allowed.
Please don’t poop on the trail. Plz. There are SIX toilets for that.
View of Mt. Ngauruhoe from Blue Lake, Tongariro Crossing
Hiking New Zealand’s Tongariro Crossing
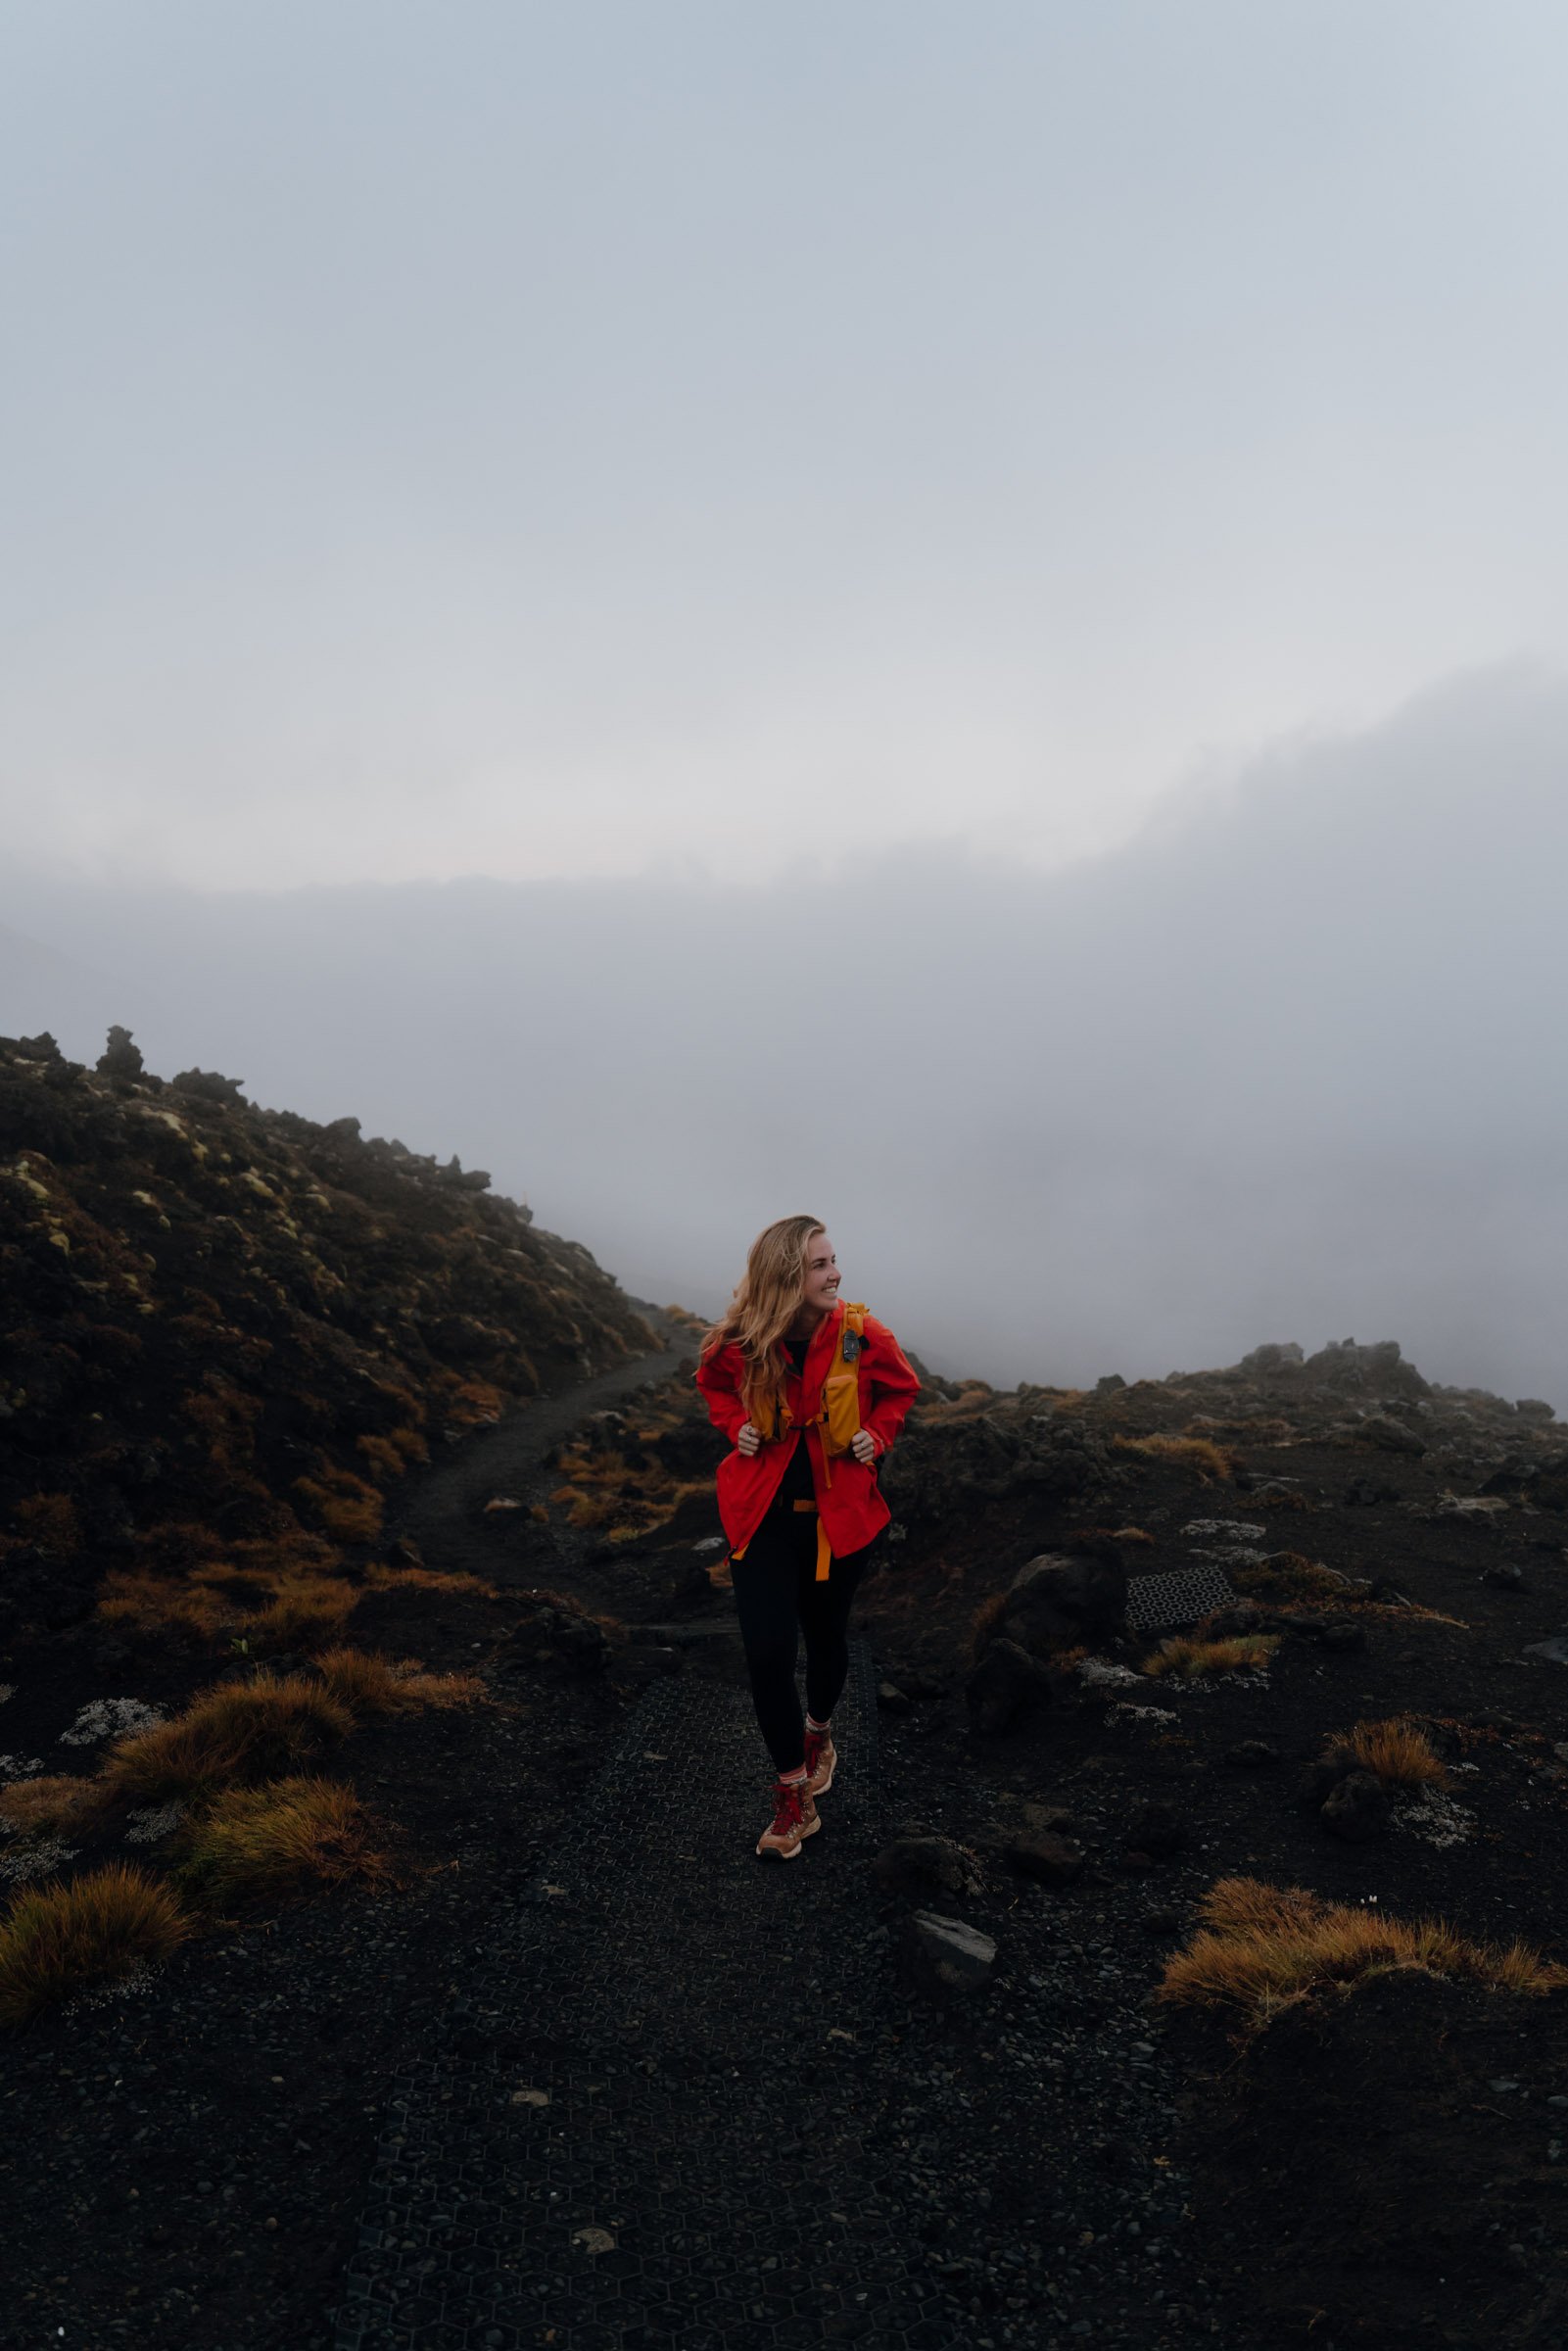
Here we gooooo! The exciting part!! You parked your car, caught the shuttle, and are lacing up those boots with a slightly heavier pack and a ton of excitement.
The trail begins pretty chill and mostly flat with a wide path–sometimes dirt, sometimes boardwalk–guiding you through low-lying brush and volcanic rock for the first hour of your hike. You’ll pass your first toilets at 0.7 miles. There are a few inclines that then level out, gaining about 800’ over the first 2.7 miles. Epic views of Mt Ngauruhoe (also known as Mount Doom from Lord of the Rings) will be off to your right on a clear day.
The top of Devil's Staircase on the Tongariro Crossing
Then the real incline begins. It’s not called the “Devil’s Staircase” for nothin’. You’ll gain about 1000’ over the next 1.3 miles, passing a toilet on your way up. This section will take about another hour. Don’t forget to turn around and take a peek at the valley below! It’s a sight!
Then, thennnn you’ll reach the beginning of the epicness everyone talks about. But first, another bathroom stop, just in case you need to go!

South Crater, Tongariro Crossing
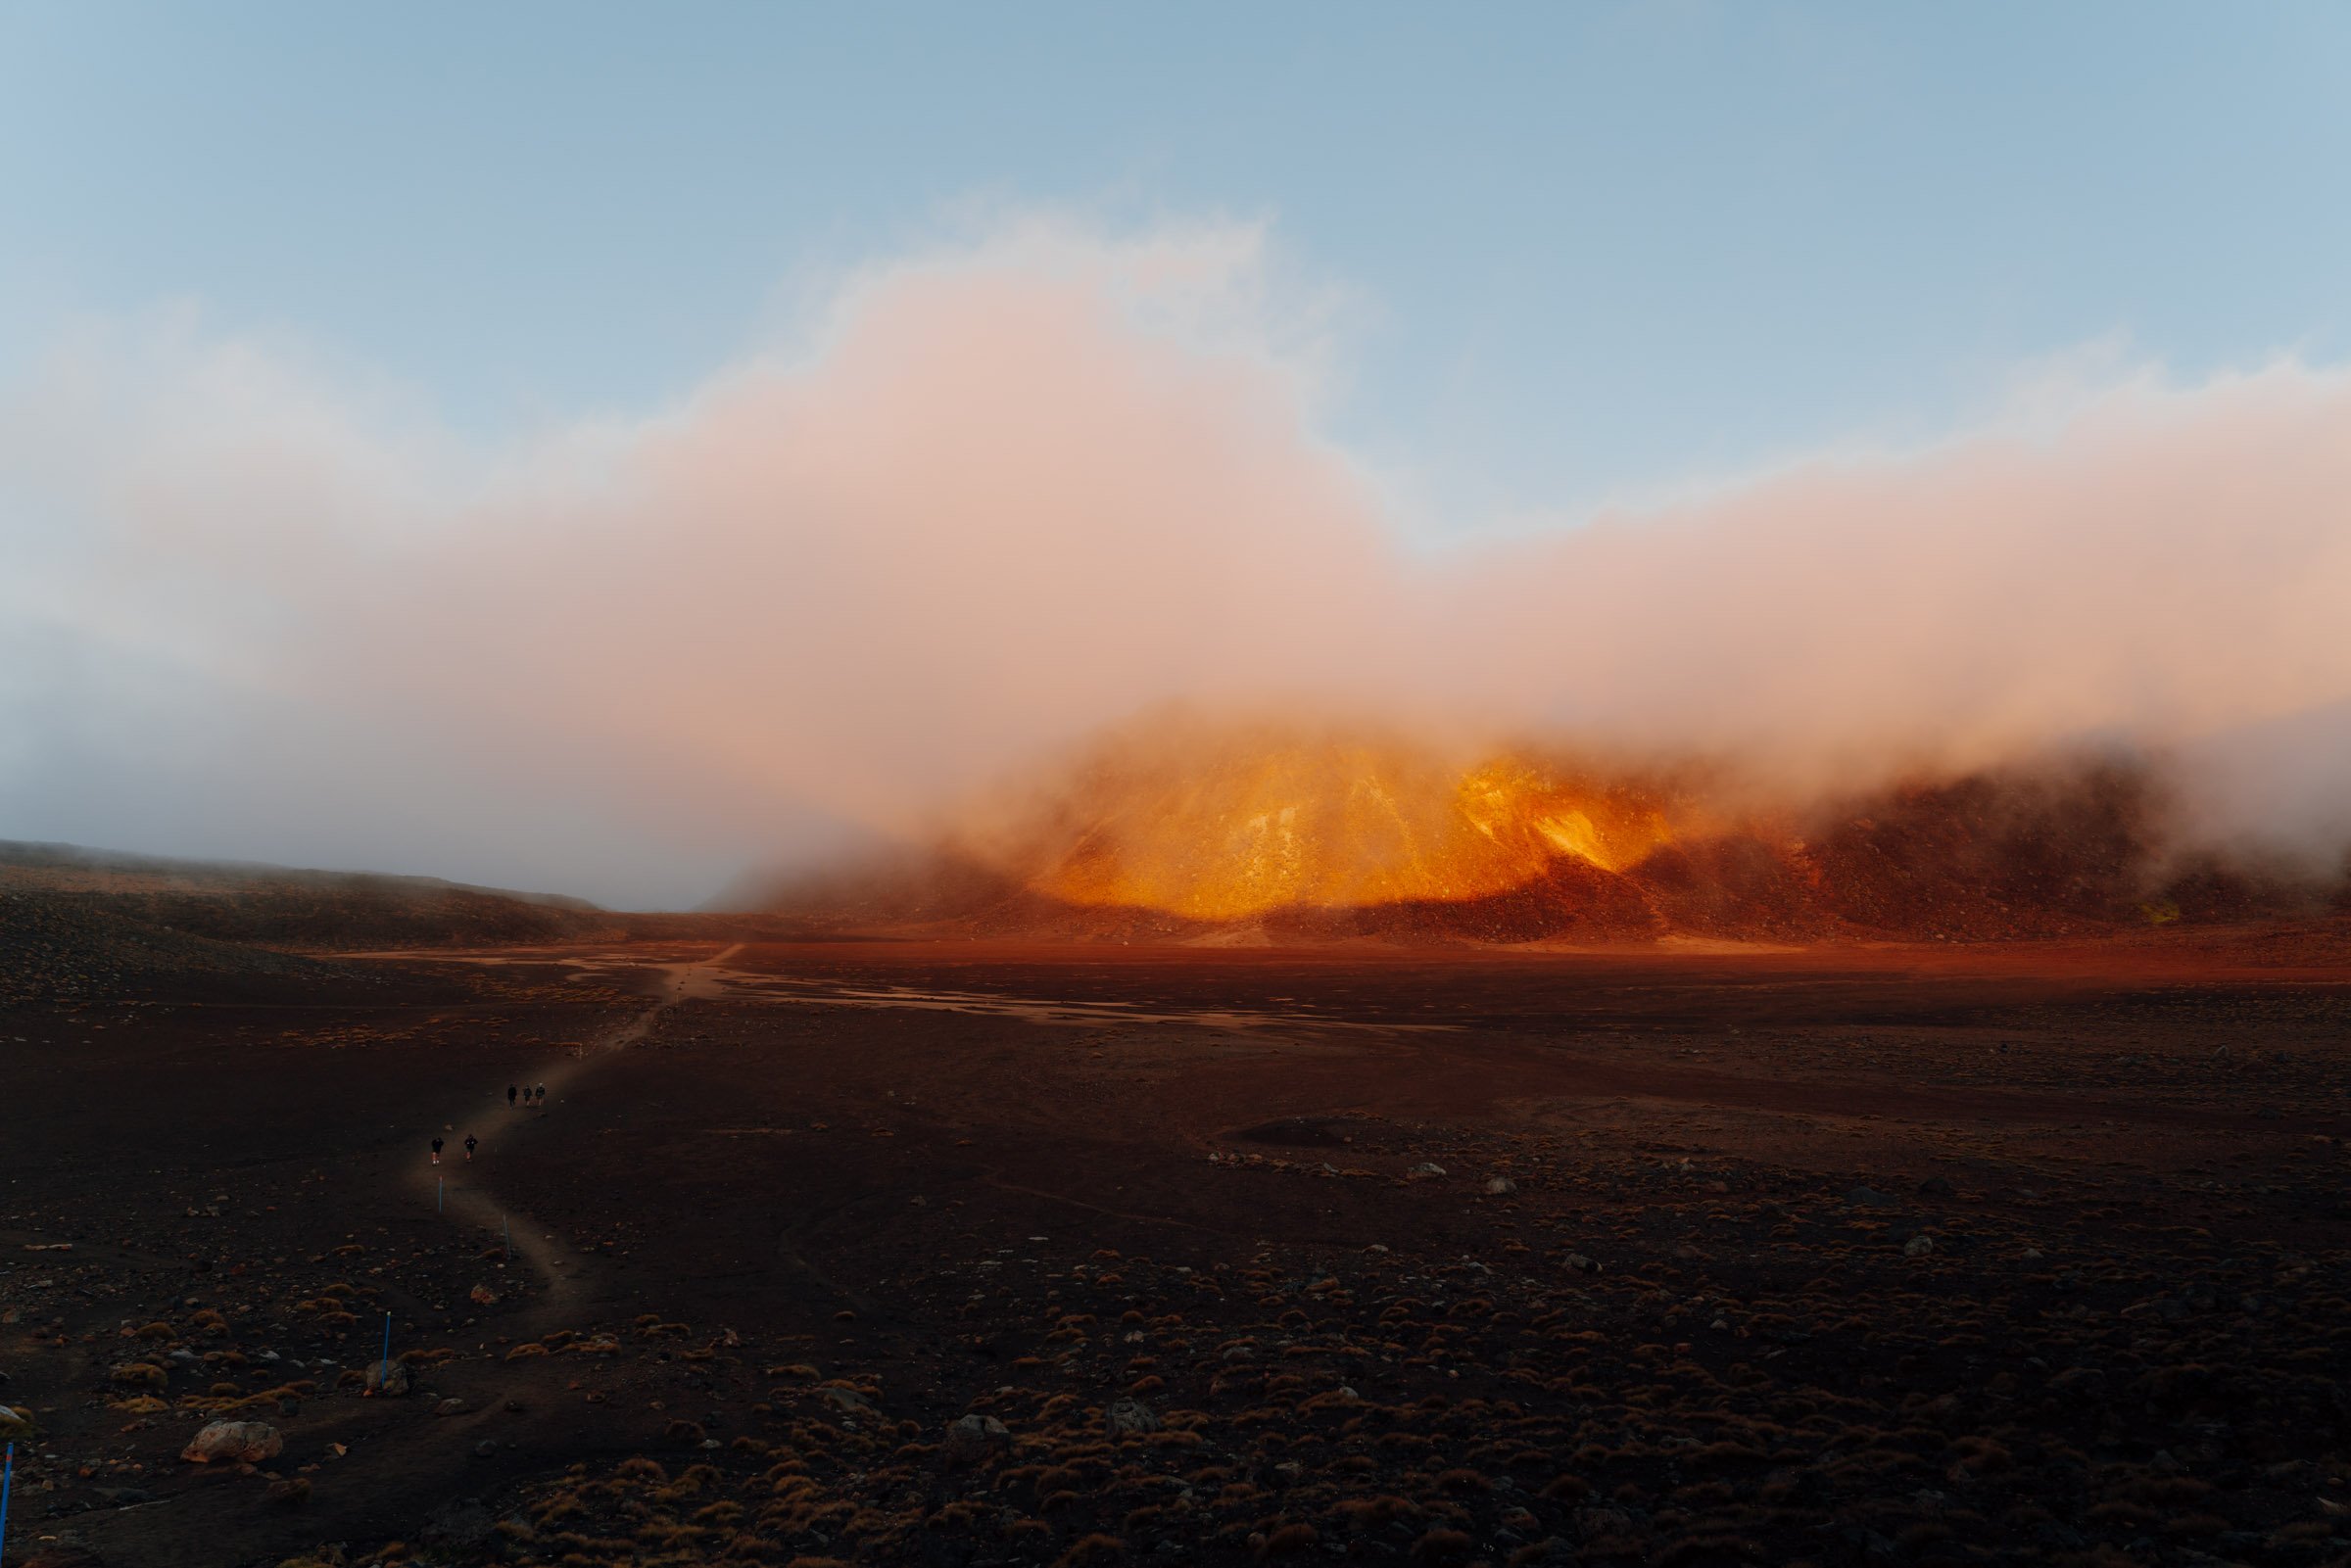
You’ll reach the South Crater next. And you get to walk right through it. This is where we started to see epic sunrise colors paint the clouds a bright pink and orange. I straight up skipped with happiness at the beauty of this place. Also the fact that I was standing on a crater in an active volcanic landscape.

South Crater, Tongariro Crossing

Looking up at the rim from South Crater, Tongariro Crossing

View from South Crater, Tongariro Crossing

View of Mt. Ngauruhoe from South Crater, Tongariro Crossing
HA. What is life. Oh also, this is the perfect time to bring out your windbreaker or rain jacket. I’ll explain why next.
View from the South Crater’s rim, Tongariro Crossing
At 4.5 miles, you’ll climb to the rim to be rewarded with epic views of the volcanic valleys on the other side, and a sweeping view of South Crater.

Tongariro Crossing
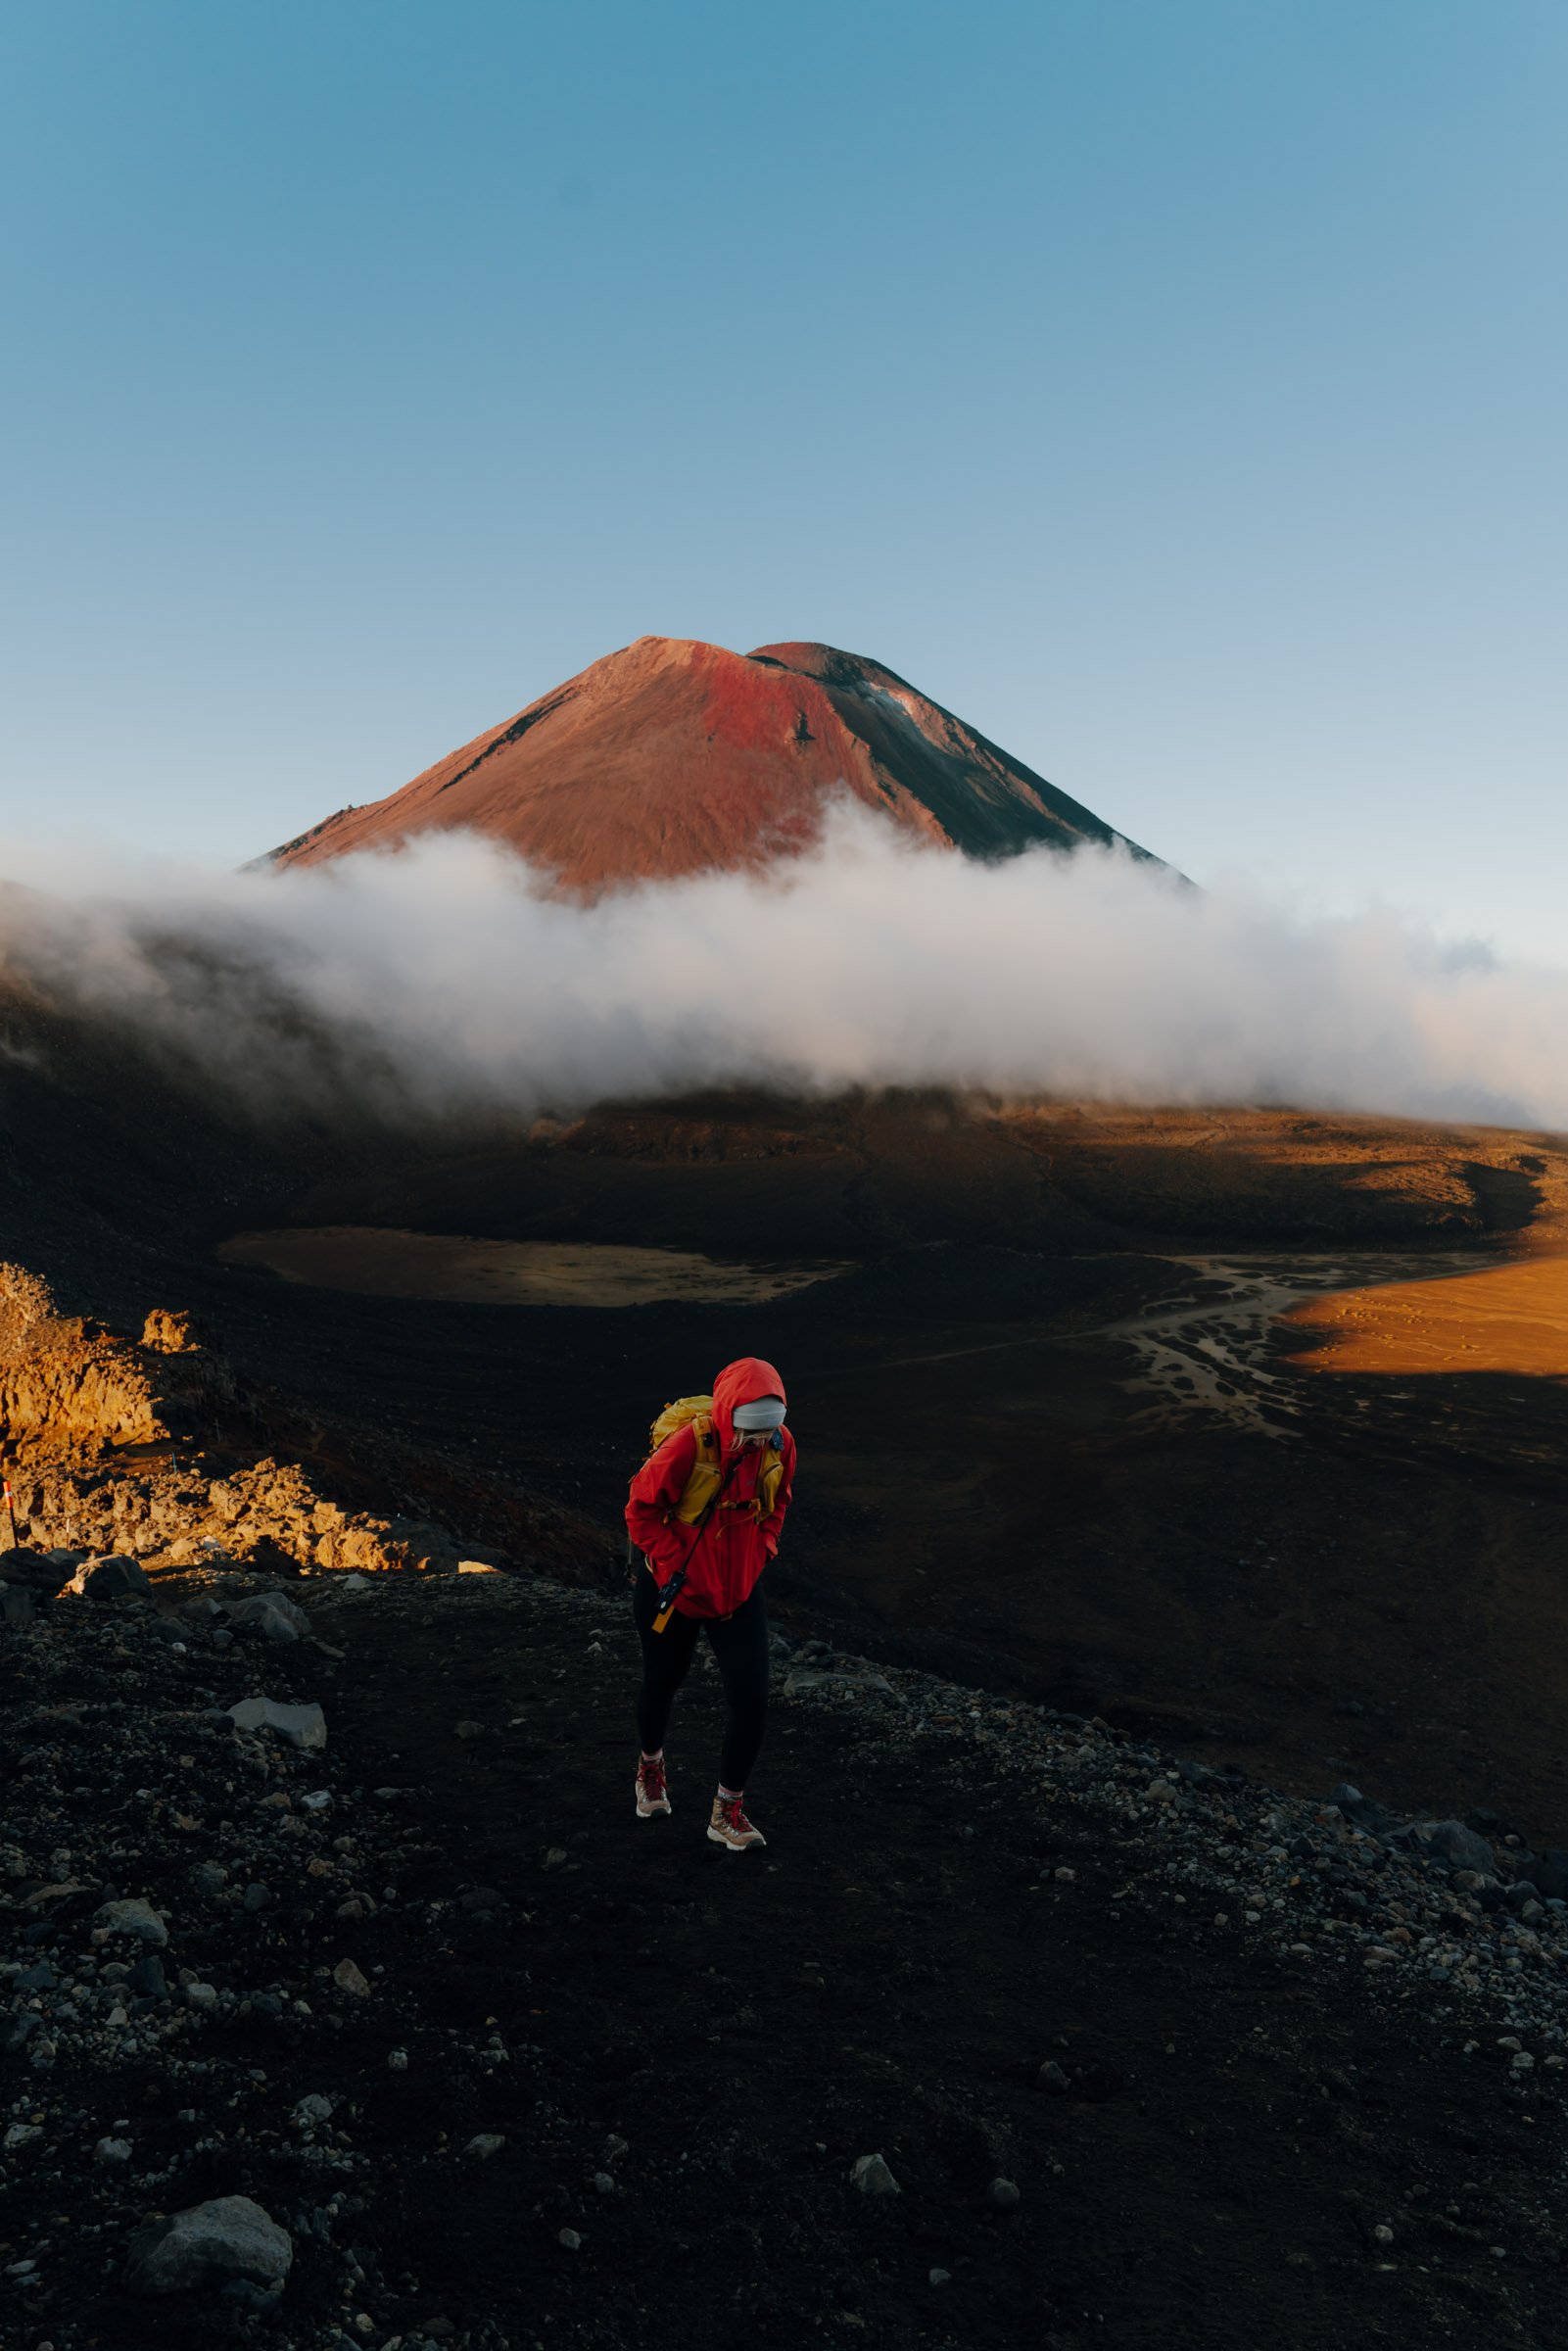
Mt Ngauruhoe, Tongariro Crossing
Brace yourself, the winds up here are FIERCE. I honestly don’t think I’ve experienced winds this strong, and I’ve been to Patagonia. I hope you’re wearing your windbreaker or rain jacket!

Hiking to the highest point on the Tongariro Crossing
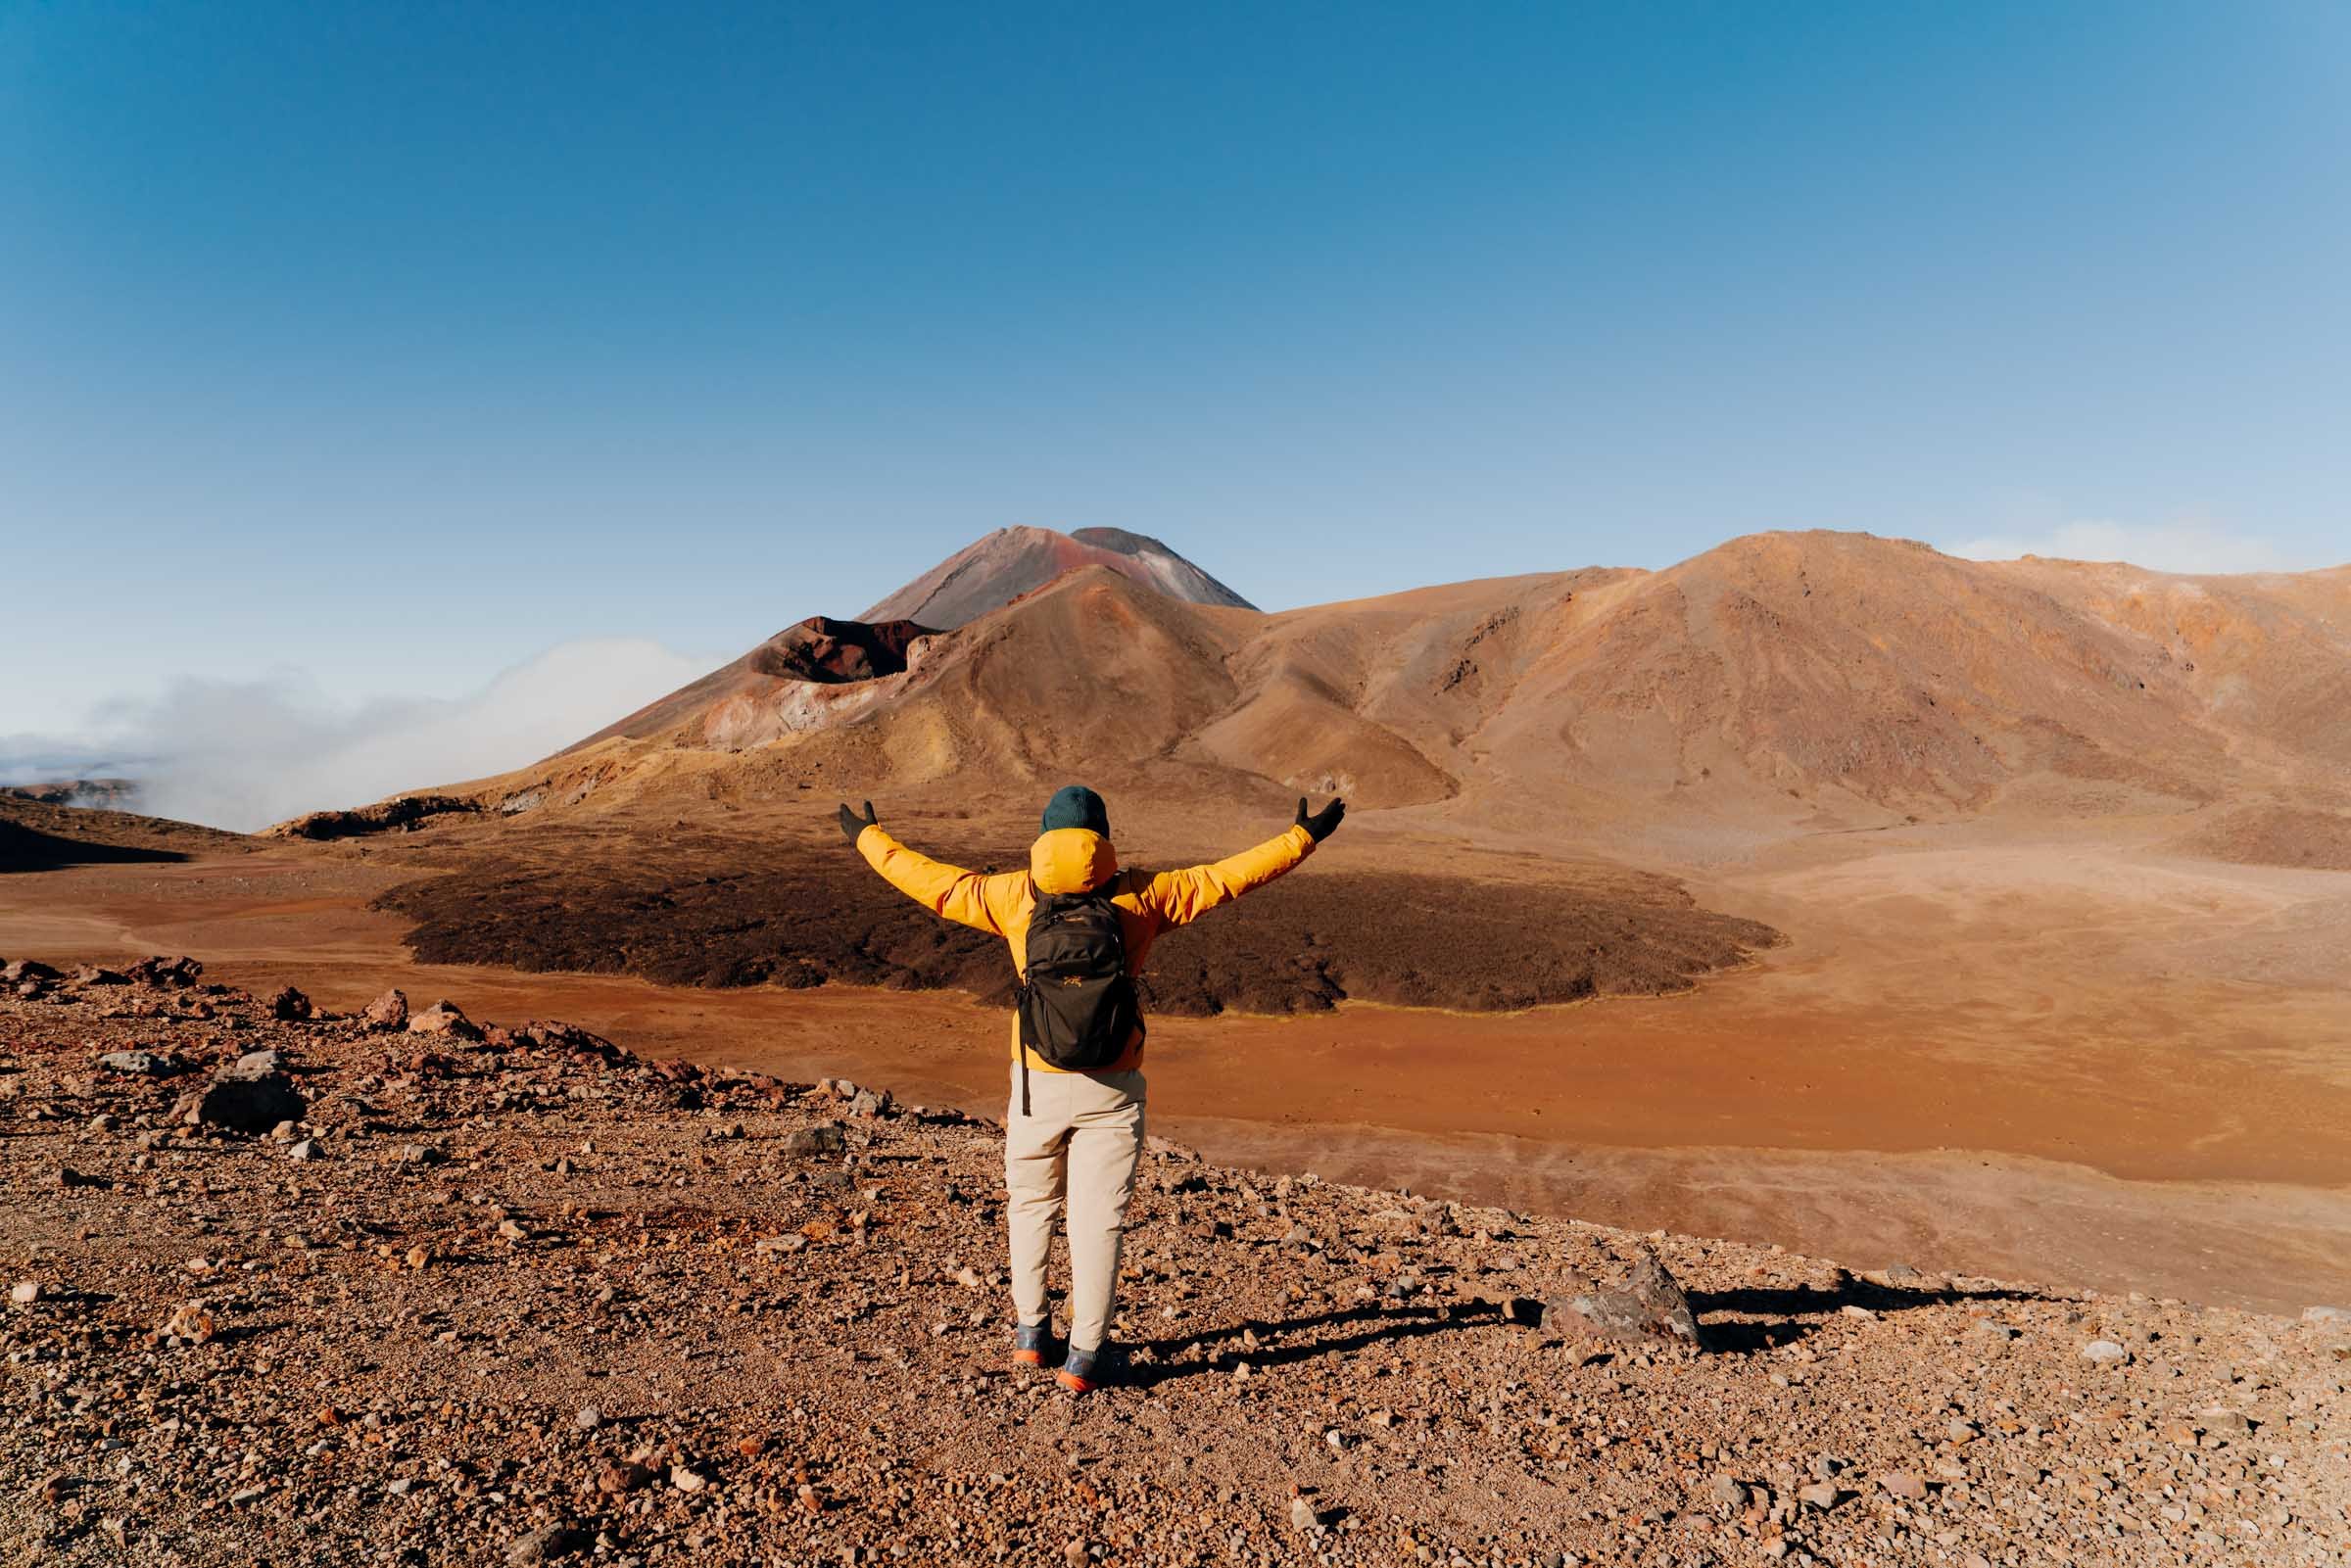
Another half a mile and 600’ and you’ll be at the tippy top. Take in the 360º views, wallow in nature’s magic, peek into the Red Crater to the east, indulge in Mt. Ngauruhoe’s beauty, take a gander at the Emerald Lakes below, soak up the vast Central Crater, and feast your eyes on the Blue Lake beyond. It’s all downhill from here. Well, mostly.

Red Crater, Tongariro Crossing

Mt. Ngauruhoe, Tongariro Crossing

Emerald Lakes, Tongariro Crossing
Walking down the other side, I immediately thanked the Park for making this a south-to-north track. It was straight ash and rock, like running down a sand dune. I did not envy the souls trying to make their way up this thing. Below, the gorgeous blue Emerald Pools awaited. That’s where we’d stop for lunch.

Blue Lake, Tongariro Crossing

Emerald Lakes, Tongariro Crossing

Emerald Lakes, Tongariro Crossing
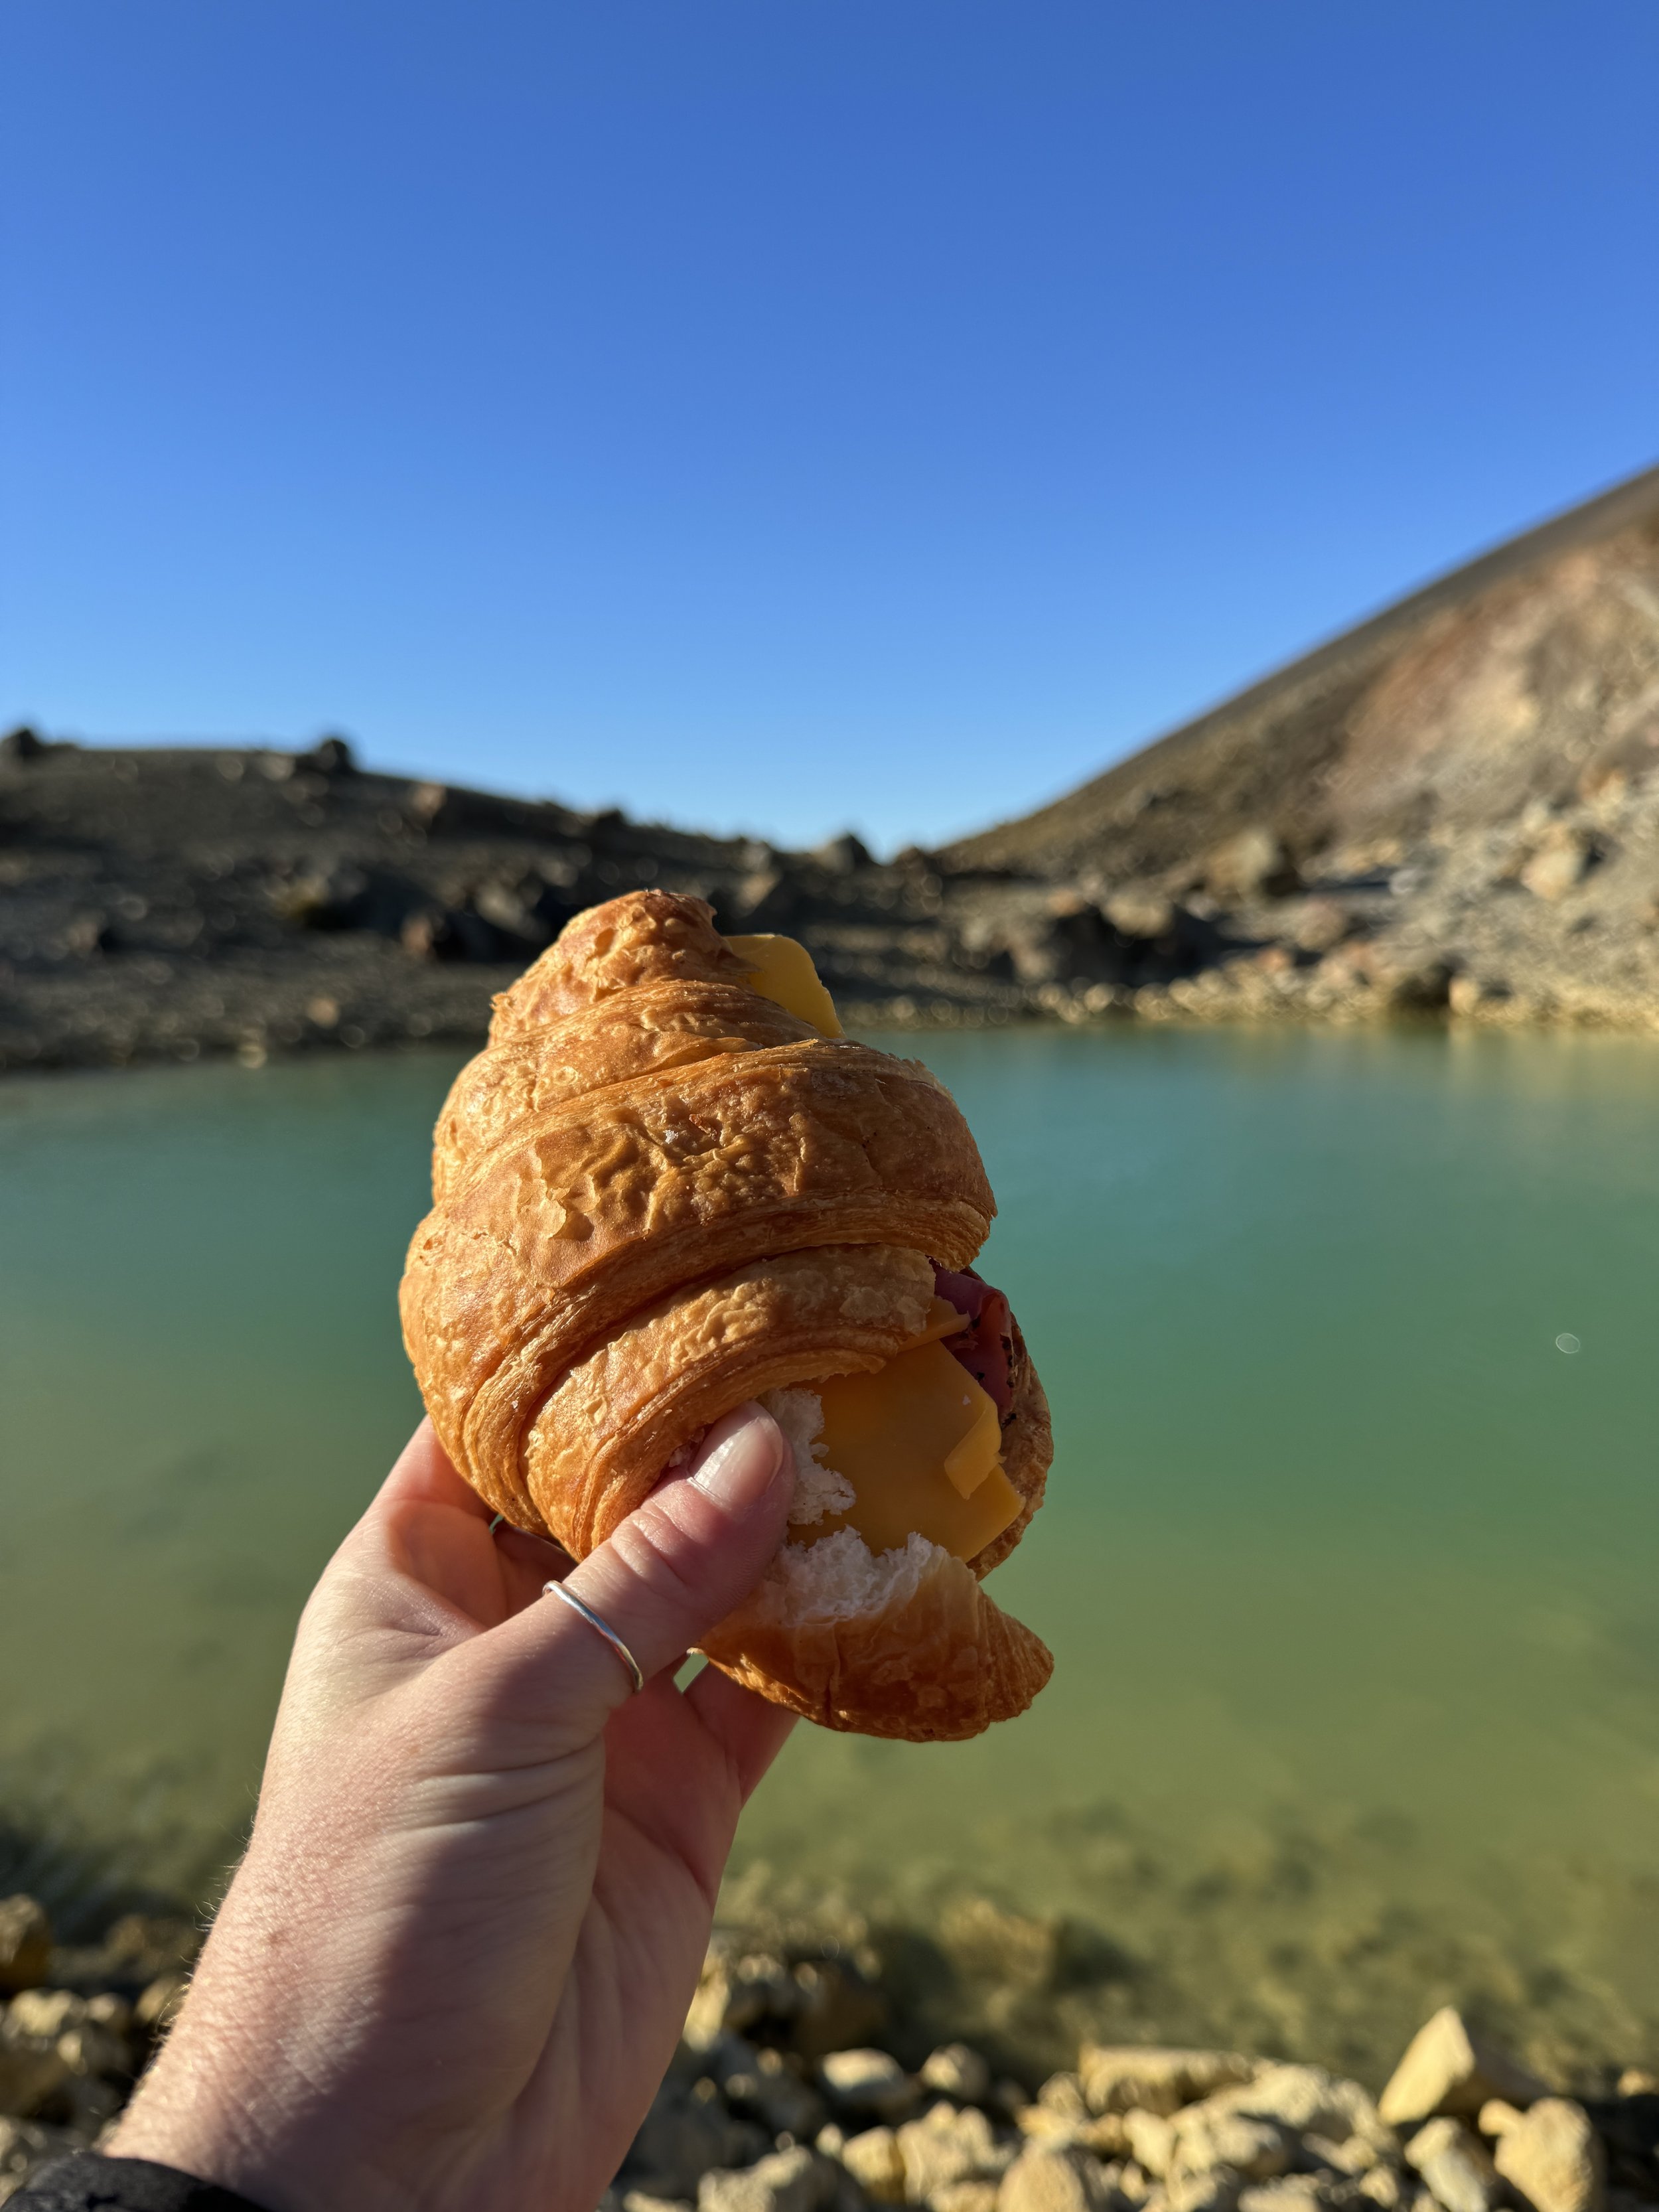
Lunch
We lost about 500’ in 0.3 miles and found a spot sheltered from the wind to break out my pastrami and cheese croissant sandwich and a Sour Patch or two.
The next section is flat until you reach the base of Blue Lake. You’ll climb about 200’ in a mile (not bad at all) as you pass between Blue Lake on your right and Mt. Ngauruhoe on the left. You can check out a cool-looking lava flow in the Central Crater from up here!

Blue Lake, Tongariro Crossing

View of Mt. Ngauruhoe from Blue Lake, Tongariro Crossing
More toilets wait for you just around the corner at the 8.3-mile mark.
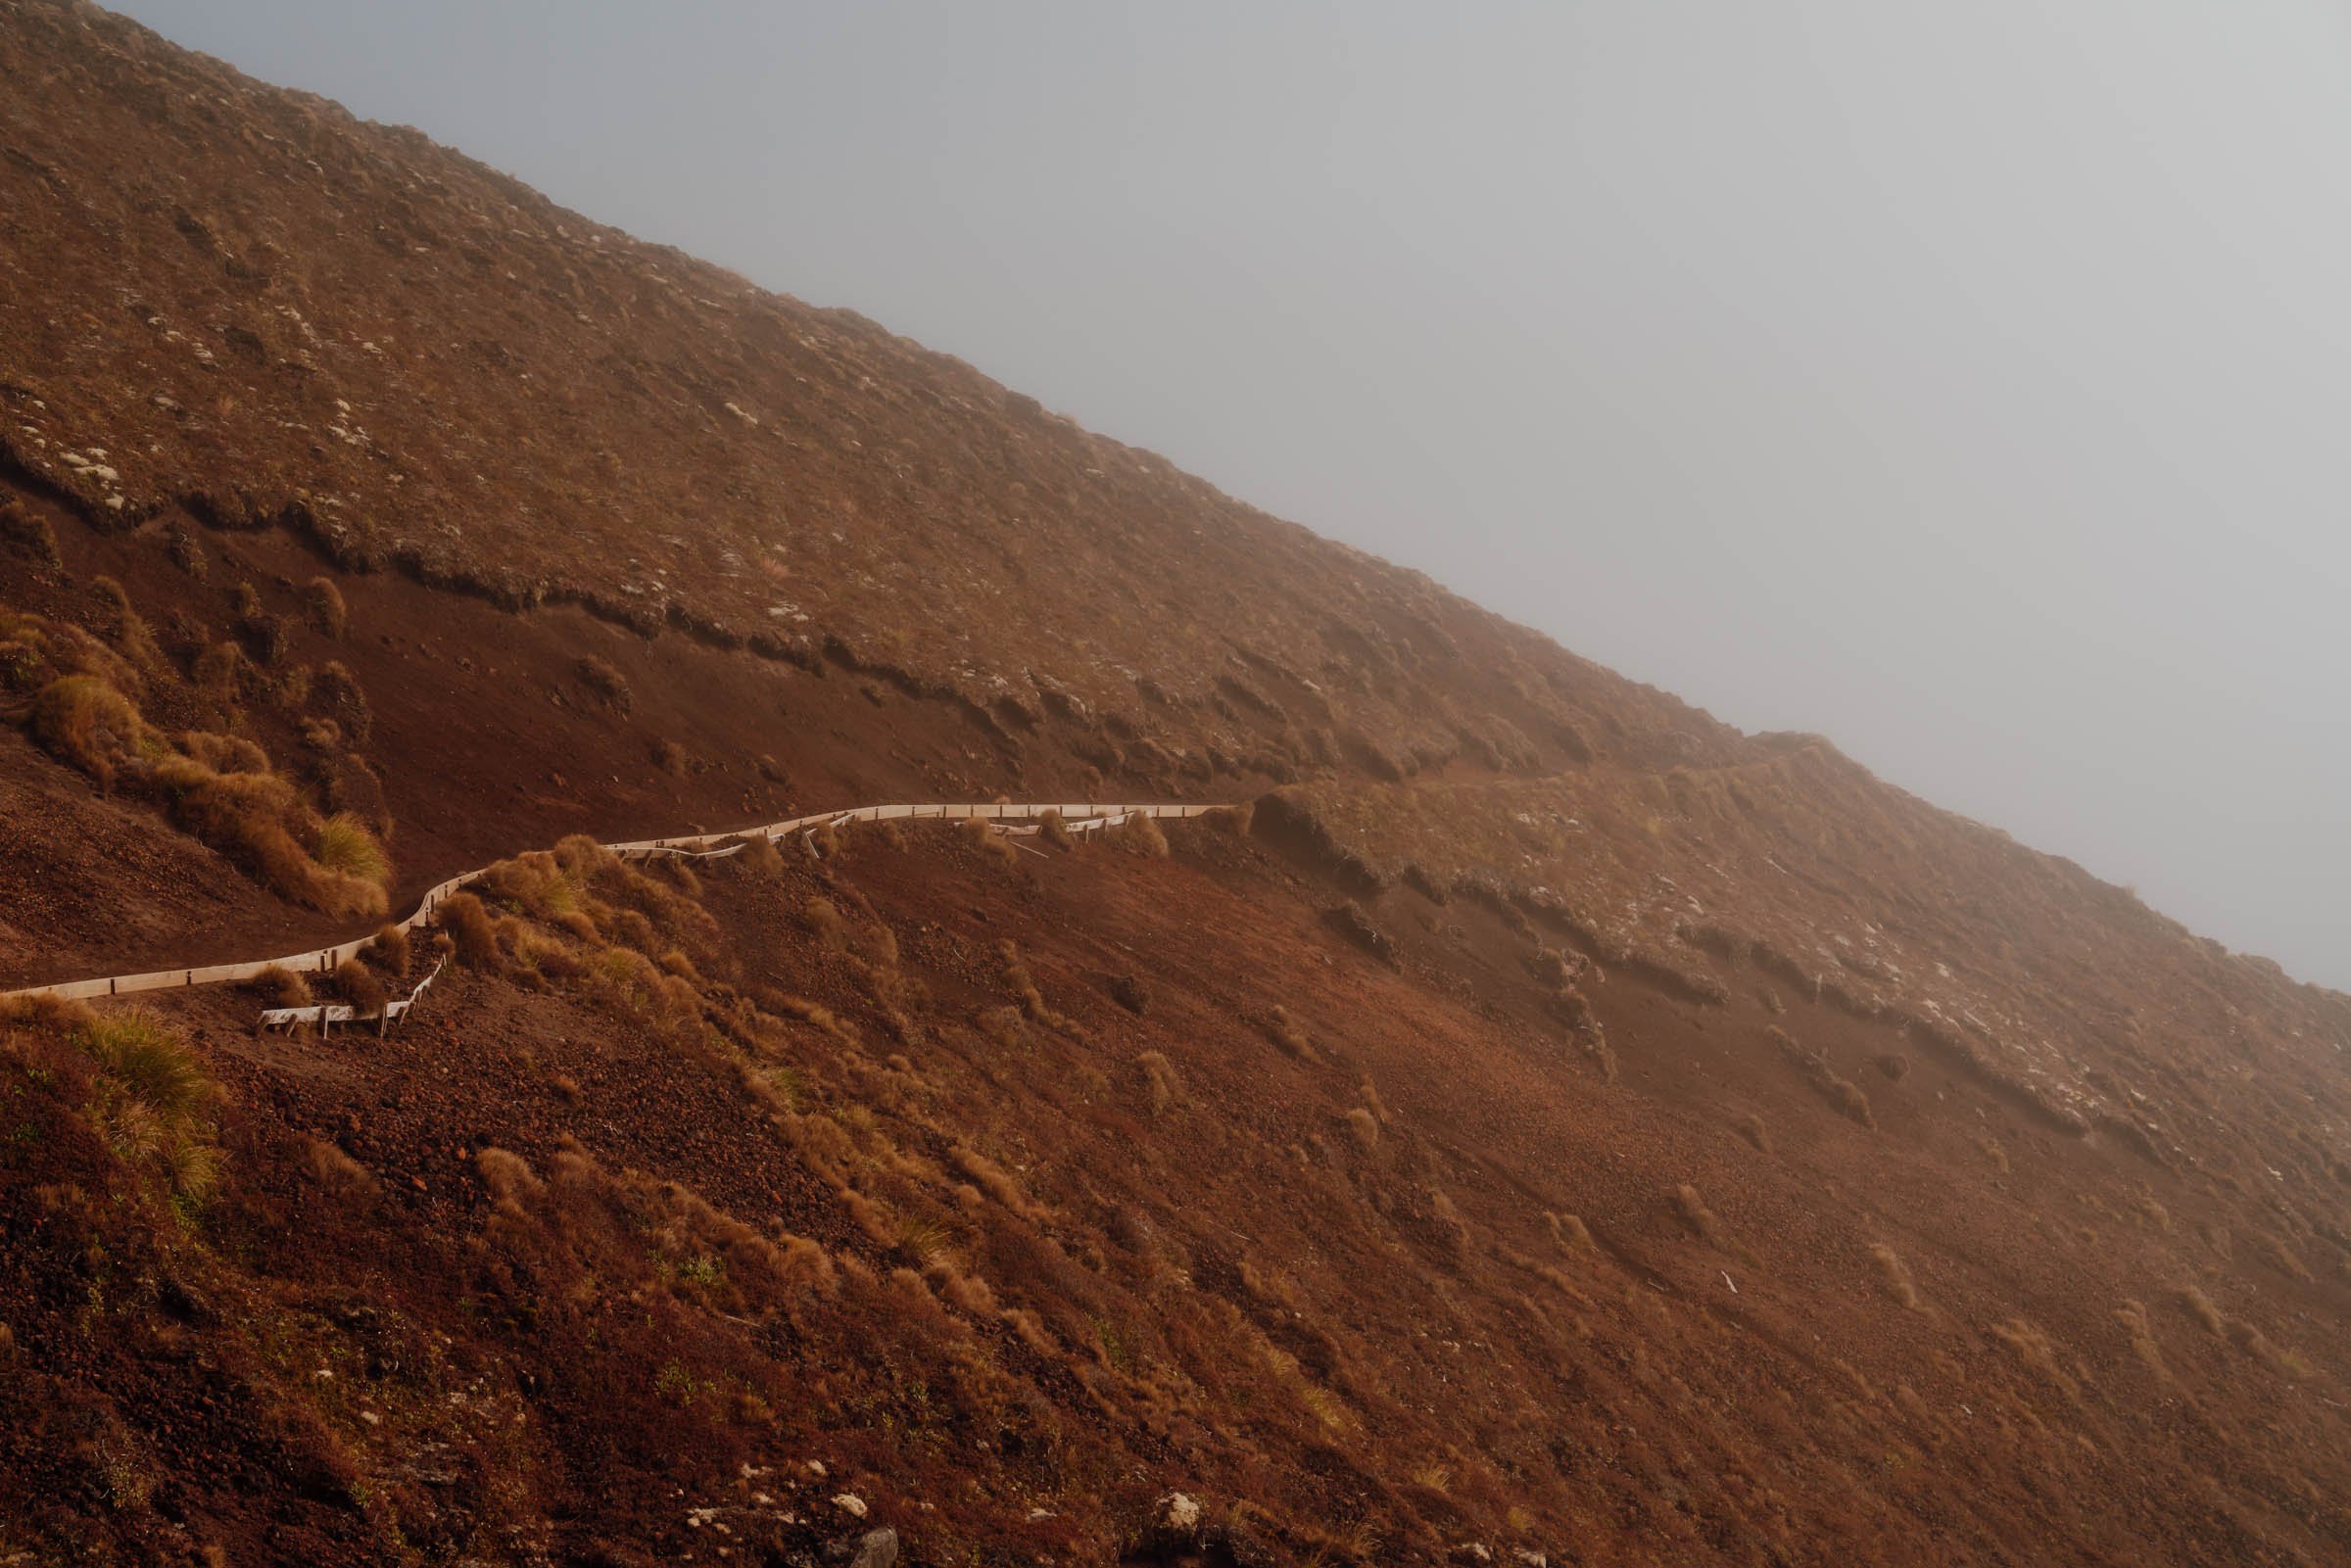
Second half of the hike on the way down to Ketetahi Car Park
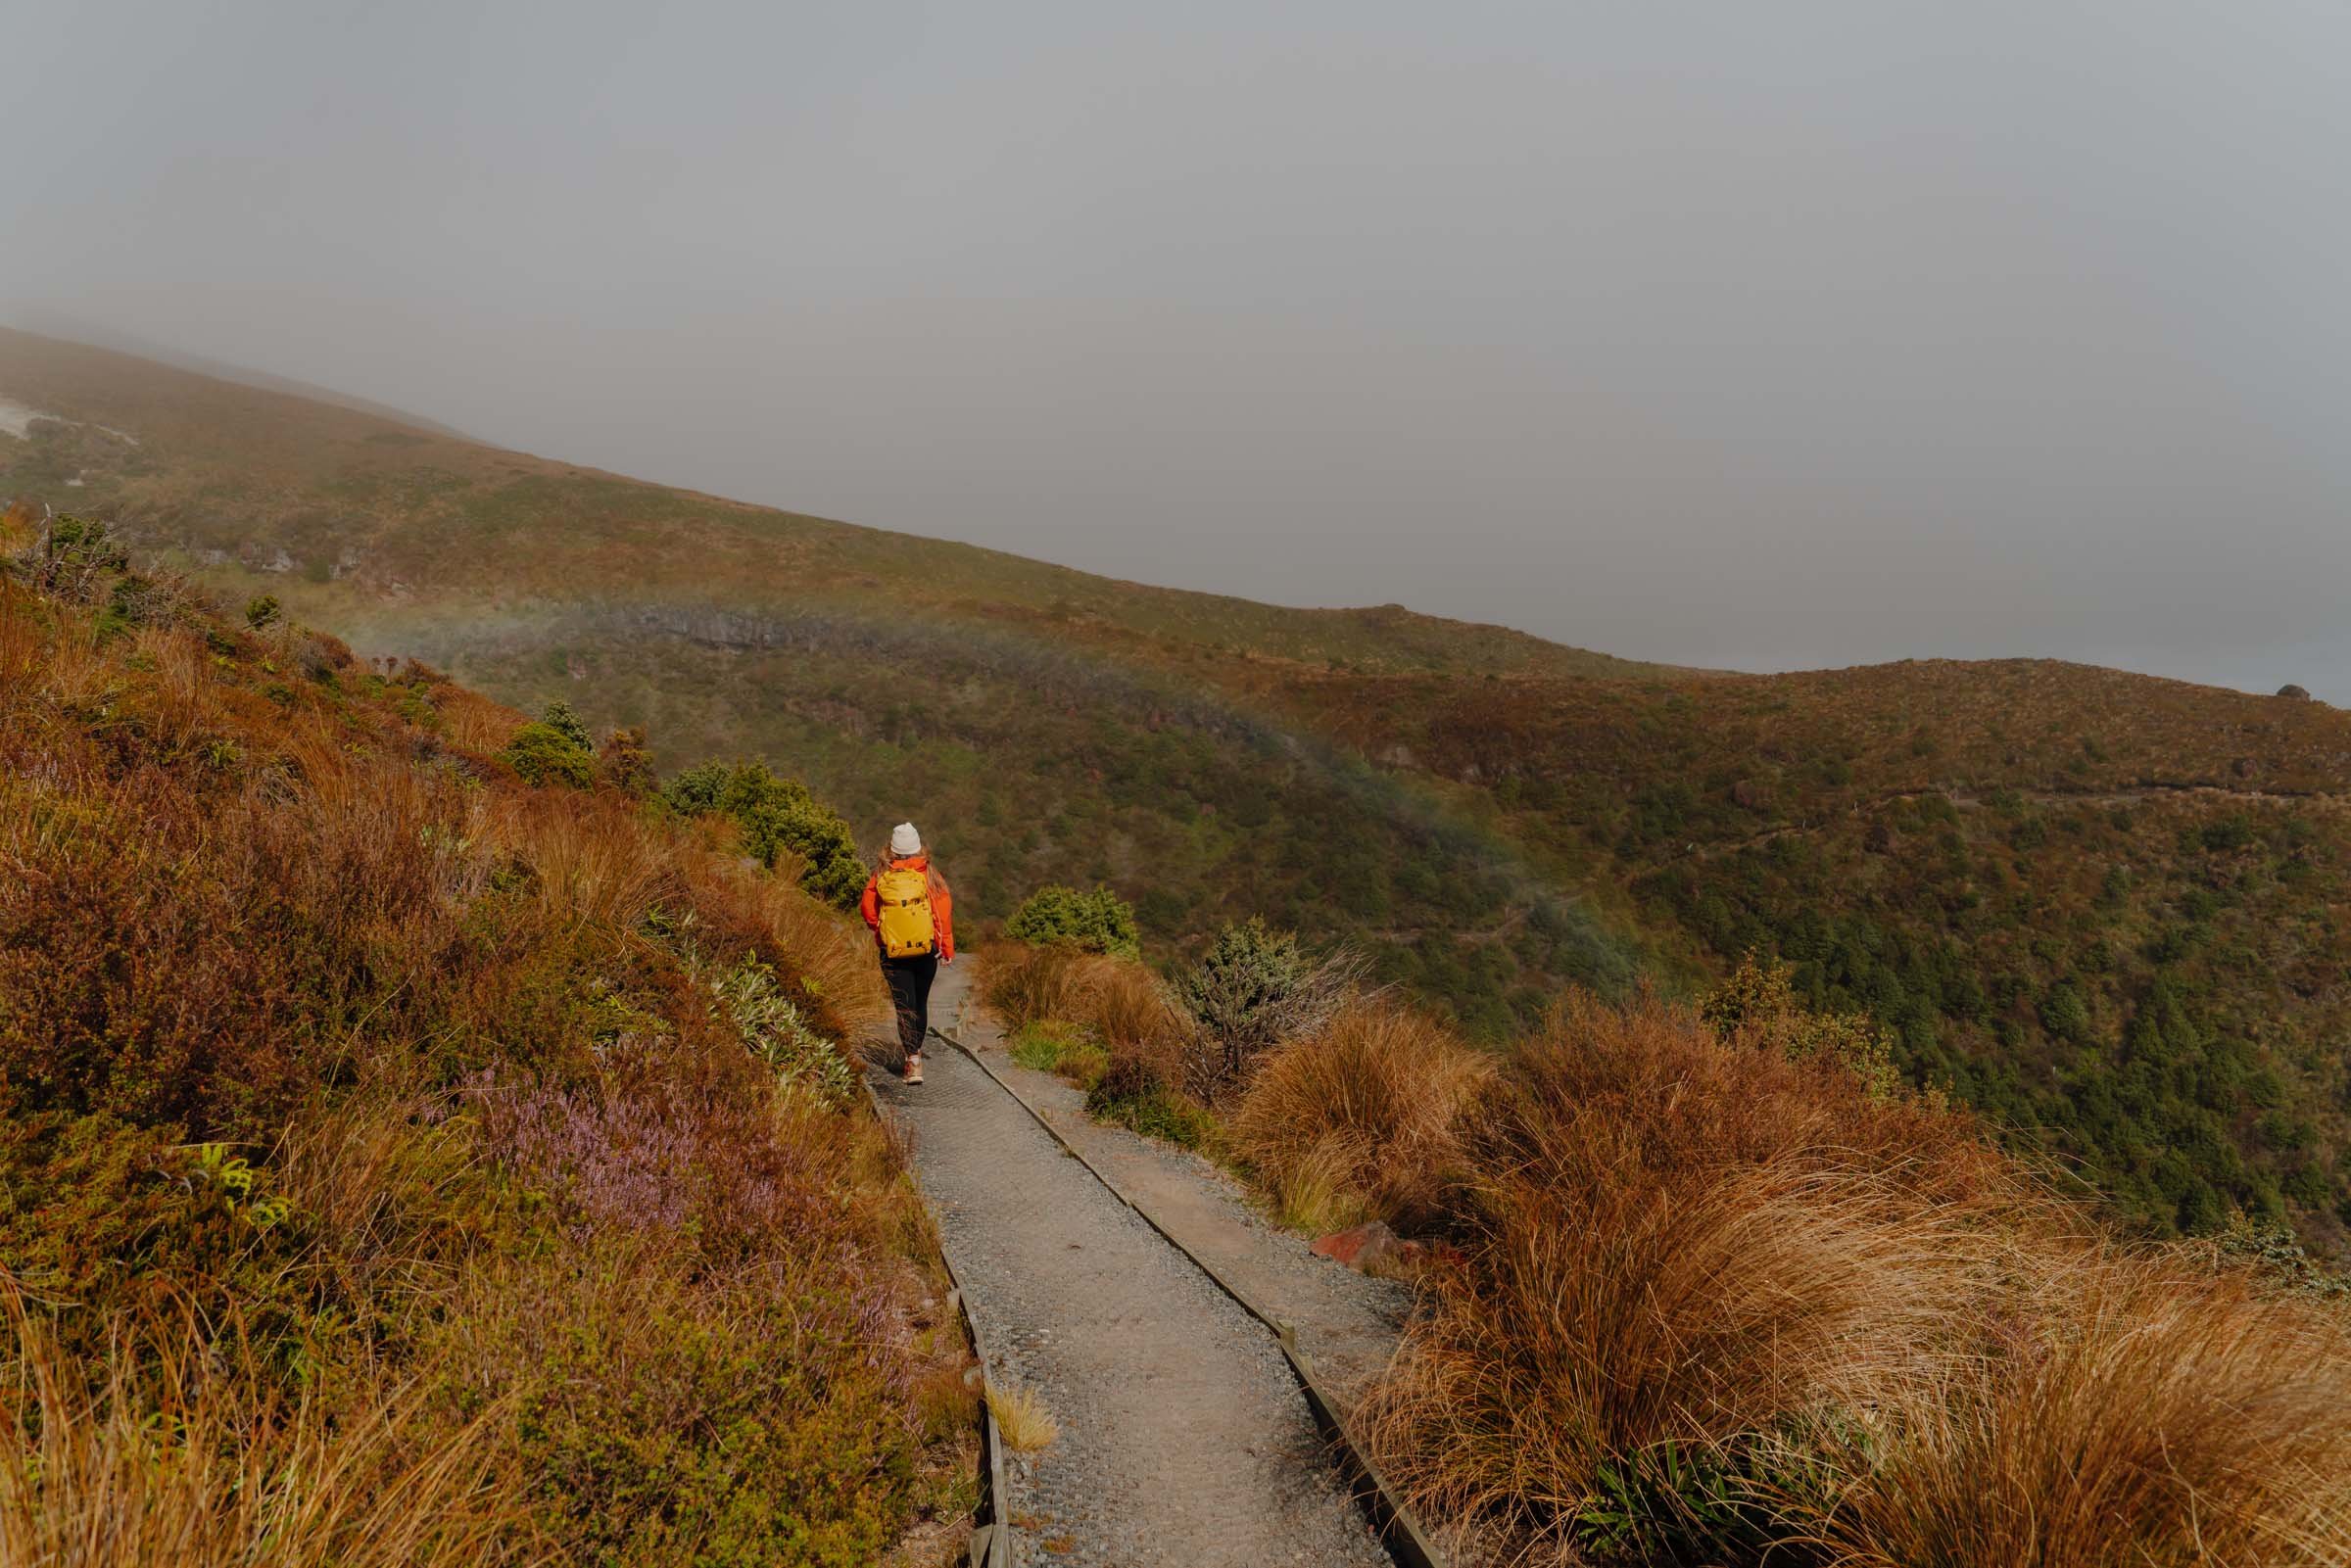
Tongariro Alpine Crossing
The last half of the hike seemed to drag on. It was gorgeous, don’t get me wrong, but you look down over the grassy hillside and see the trail wind and wind and wind and the tiny little humans are hiking way down below and you realize just how many miles you still have until you’re at the bottom. You’ll also have the not-so-pleasant rotten egg aroma most of your way down thanks to the lovely geothermal activity just west of you. The colors it creates on the hillside are really nice though!
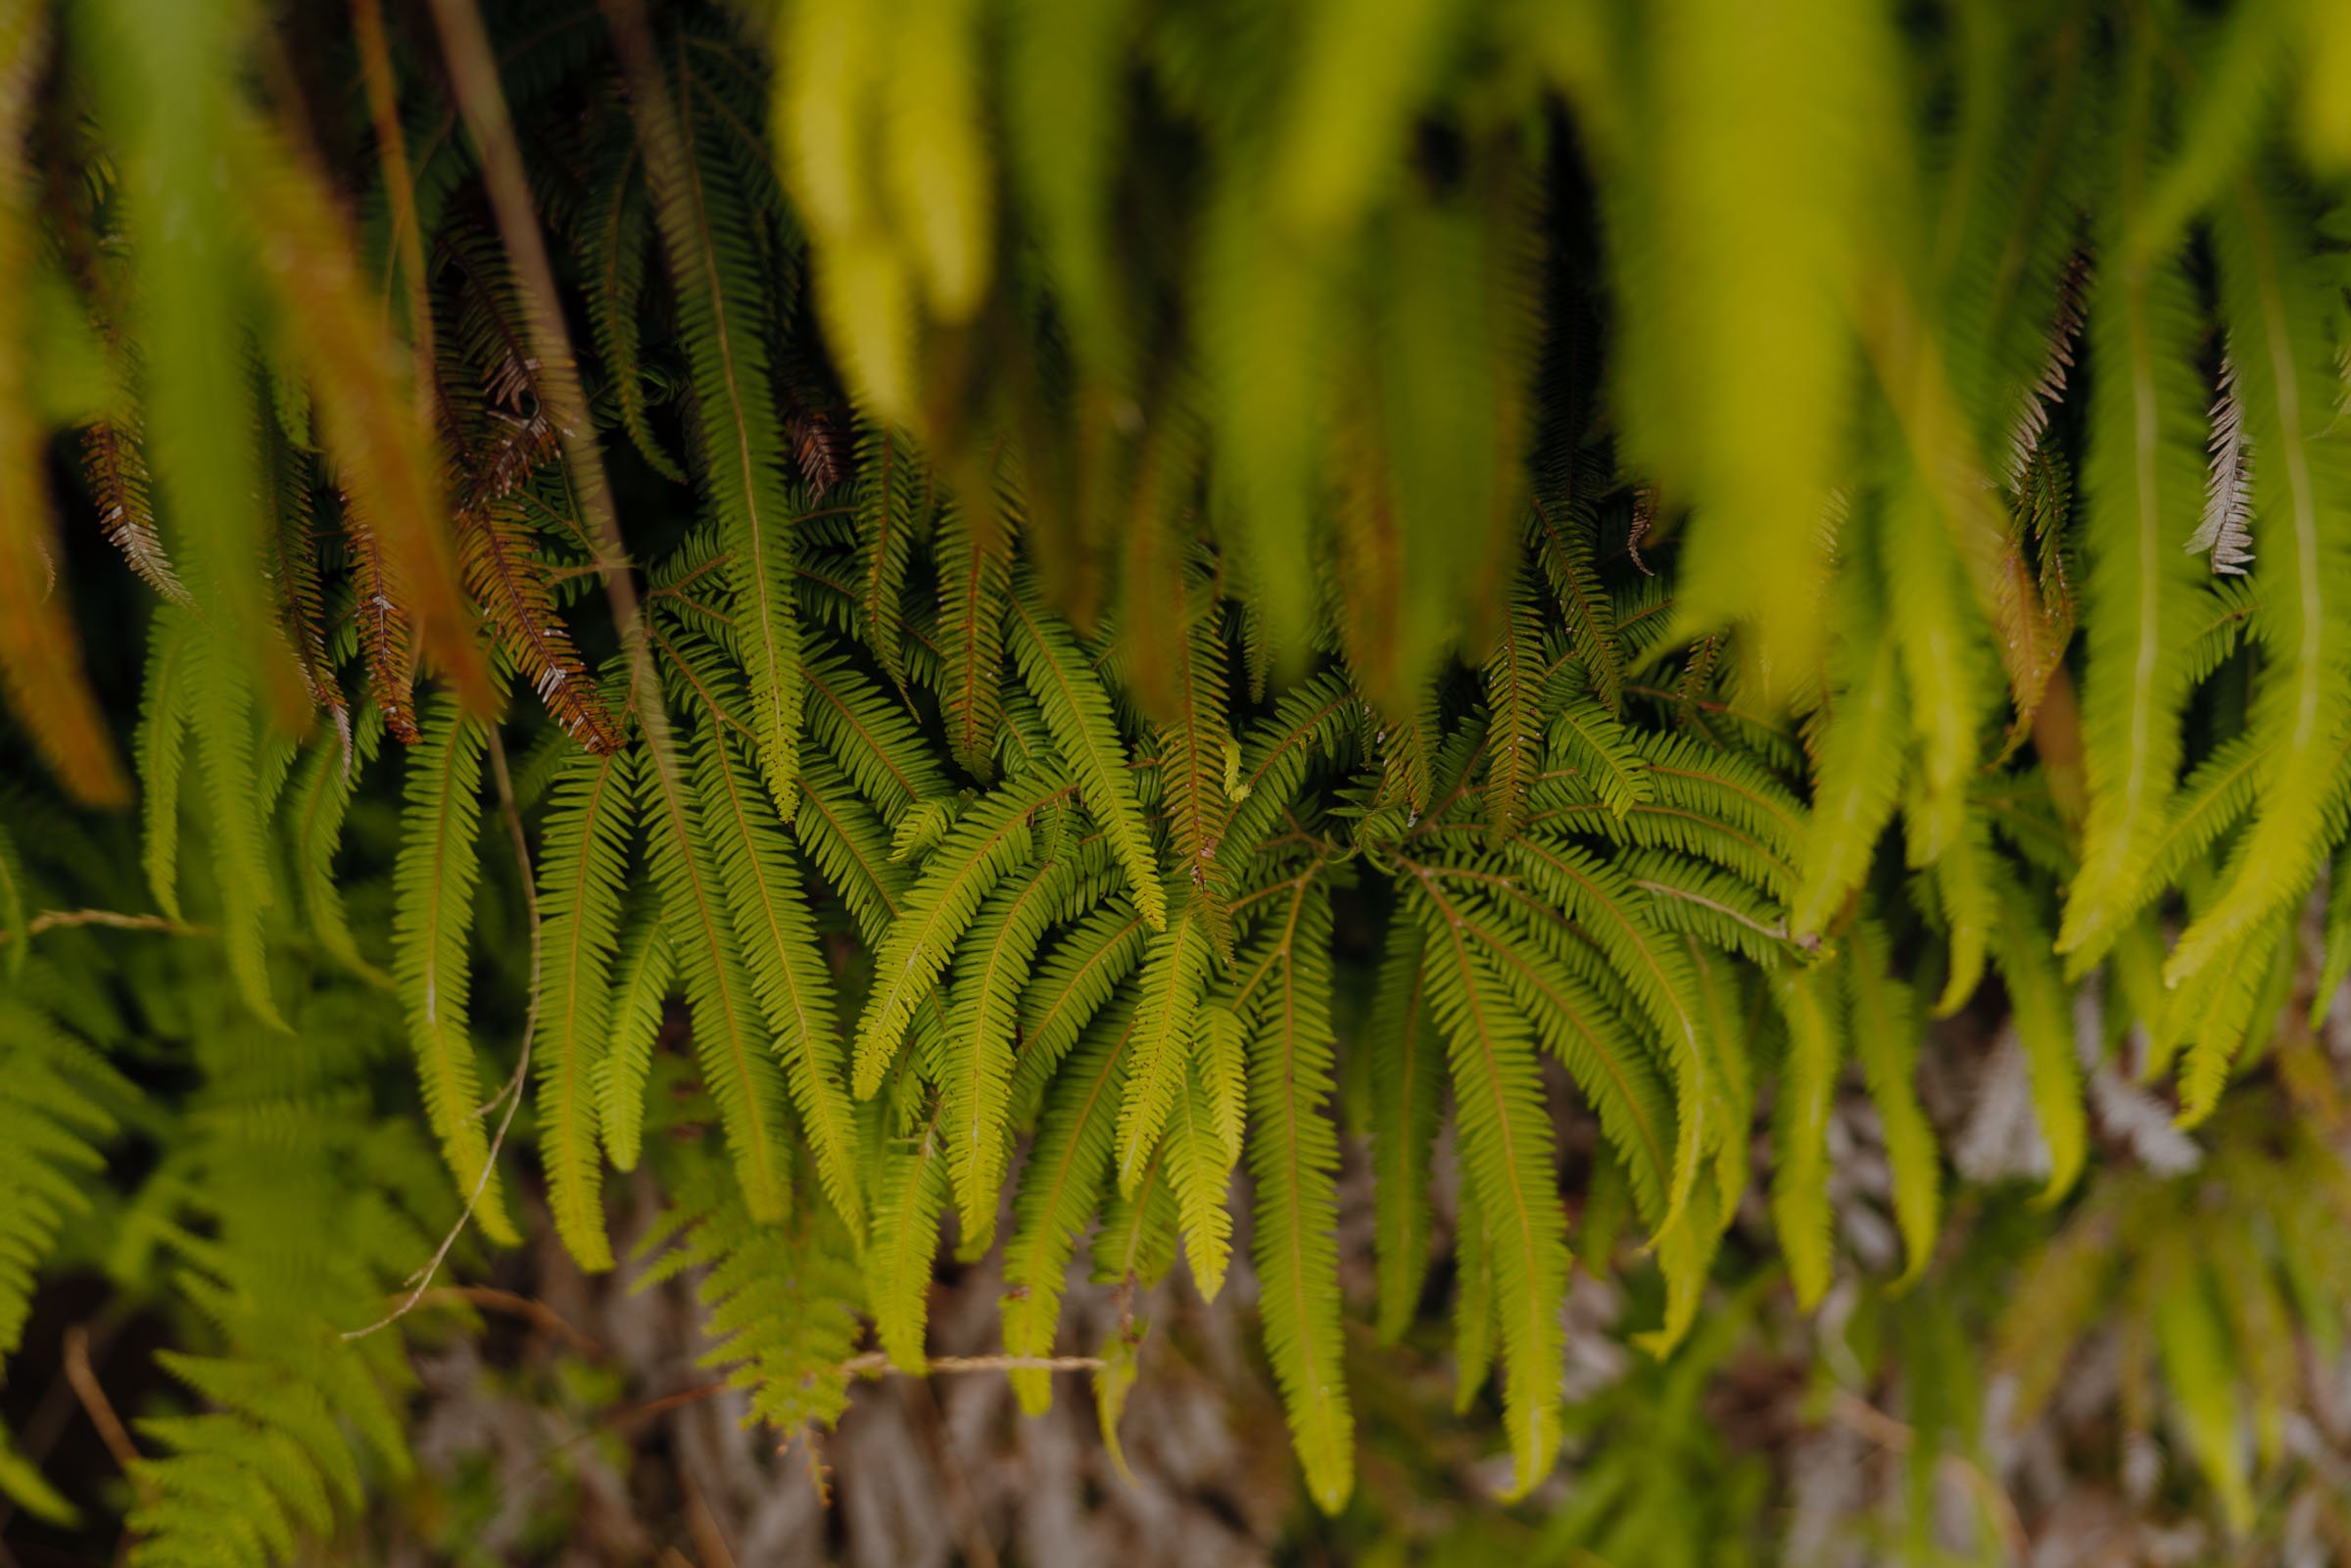
Don’t forget to look closely at the flora!
Another set of toilets are at the 10.5-mile mark (it’s your last chance to go before the end of the track). Just after, the trail will suddenly be surrounded by forest and you’ll remember you’re in New Zealand thanks to the gorgeous fern trees. You’ll hike along a river and over a boardwalk and bridge, eventually reaching a fork in the trail. I’d recommend veering left when you see that little guy with the binoculars for a short 50-foot jaunt to a beautiful waterfall.

iPhone shot of Ketetahi Falls, Tongariro Crossing
This also means that the end is near! Just 0.5 miles from here, you’ll be at the Ketetahi Car Park.
WAHOO! YOU DID IT!
I hope you had an EPIC time. It’s too beautiful not to!
If you have any suggestions or updates to this post, please let me know! Things change and I try my best to keep up, but there’s nothing more authentic than your first-hand experiences.
If you did it, let me know how you it went through my contact page! It’s always a pleasure hearing from you!
Leave No Trace
Always remember to leave no trace–pack out what you pack in, leave what you find, prepare for every adventure, and respect the outdoors and each other every step of the way. Learn more about how to leave no trace here.
And if you do decide to venture out, drop a comment below or shoot me an email to tell me how it went!
Happy adventuring!